I started this thread on the SCMAS site, and wanted to migrate it over here as well to get the opinions of some more CO reefers!
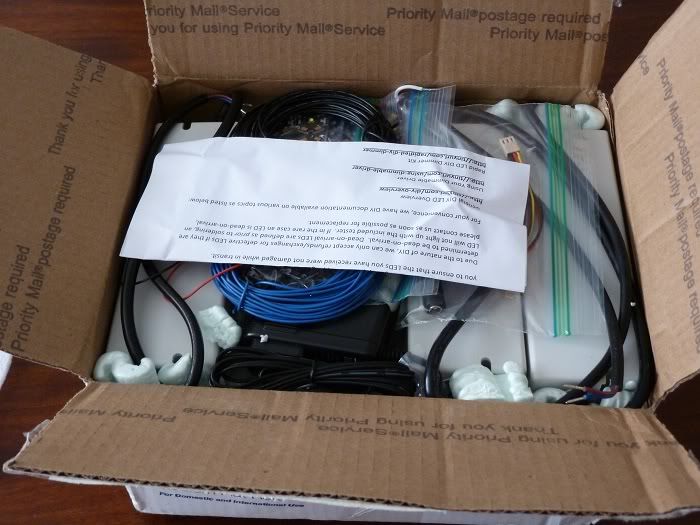
I have been plotting like a mad scientist since the day I got my tank running and today I pulled the trigger and ordered the goods from Rapid LED. What I've found in my reading on the subject is that everyone has an opinion on LED builds and for the most part those opinions are strong. So I wanted to present anyone who finds themselves in the situation I am in a step-by-step build guide that includes my rationale for the decisions I made. That way someone can see how I arrived at my conclusions and either agree and get tips, or vehemently disagree and know what they DON'T want to do. Either way I am thrilled to get started building this and glad to be able to share the process with some of my local reefers!
That being said I love constructive criticism so if there is something I am doing that I can change and do better please do let me know!
So here is my plan..
I had a few things going into this build plan that I knew I wanted;
1. I am dead set on having this fixture dimmable, with independent color controls.
2. I wanted my drivers to be able to play nice with the Reef Angel Controller, which I will be purchasing when my build gets close to done.
3. I am really hoping to build something that is not hideous, but we'll see!
I was initially planning on going with the Bridgelux LEDs featured on Aquastyle Online, but couldn't get one of their dimmable kits because they don't support PWM dimming, which the Reef Angel uses. So I looked into just buying the LEDs from Aquastyle because the prices are incredible and there was a great build featured on the forums here that used them.
In the end I decided to go with Cree LEDS for a few reasons, first of which was these two cost comparisons (I'm going to use rough numbers).
Bridgelux - (72 LED x $2) + (6 Drivers x $34) + (72 Optics x $.50) = $384
Cree - (52 LED w/Optics x $5.50) + (4 Drivers x $34) = $422
This only includes costs that would have been variant between the two builds.
So we had a difference of $38 to go with Cree which gives me 60 Watts less power usage consumption with getting to order from Rapid LED whom quite a few people have said good things about.
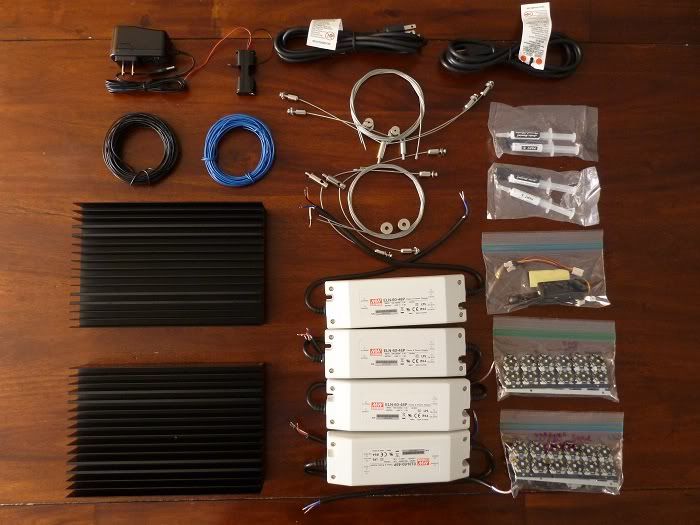
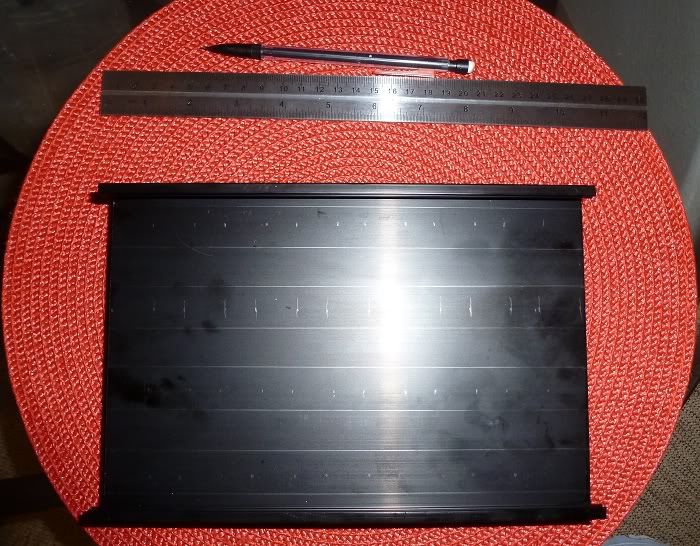
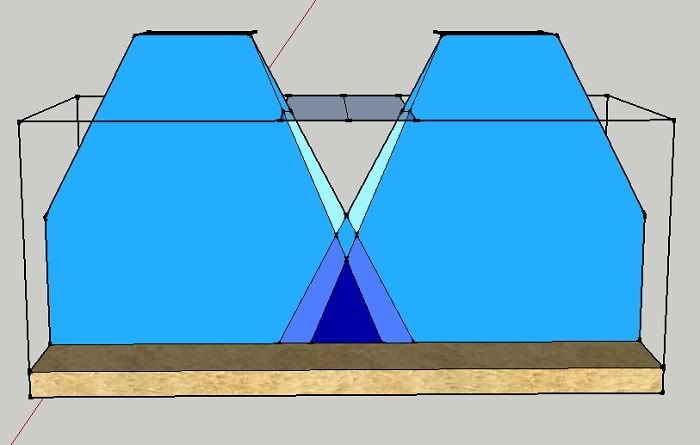
Once I had the LEDs picked it was time to go about picking out a heatsink. I looked at a few sizes and put them in Google Sketchup with 55 degree lenses to see what kind of coverage I would get. I wound up choosing the 6x9 Anodized Black heatsink again from Rapid LED. I feel pretty good about the light coverage, especially when I consider that I have my tank set up with two piles of LR which would be perfectly positioned under each light.
I am concerned about putting LEDs that close together on a heatsink (there will be about 3/4 inch between them) but to combat this have only purchased the two-fan power kit from Rapid LED, their fan runs 44CFM so I am ordering 2 75CFM case fans from Newegg instead. Hopefully this provides enough cooling considering I shouldn't be running the LEDS near full-power. I will get some temperature readings once I get it built, so for now I'm hoping my plan is good.
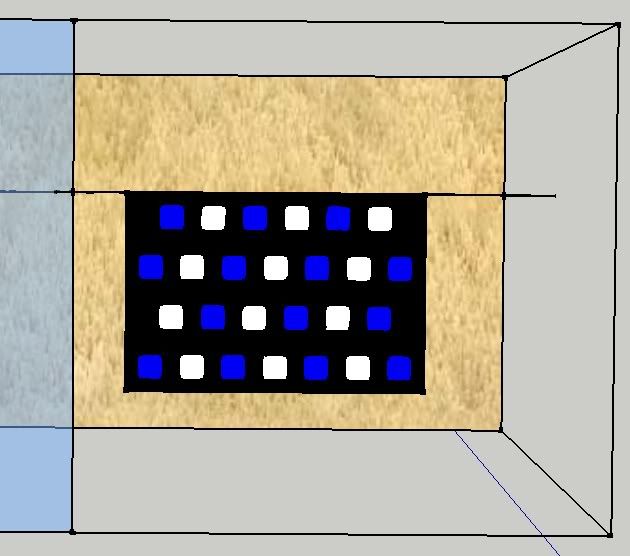
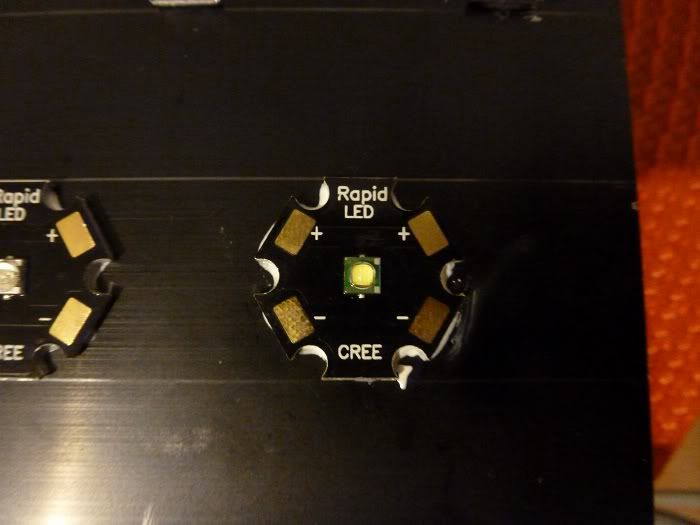
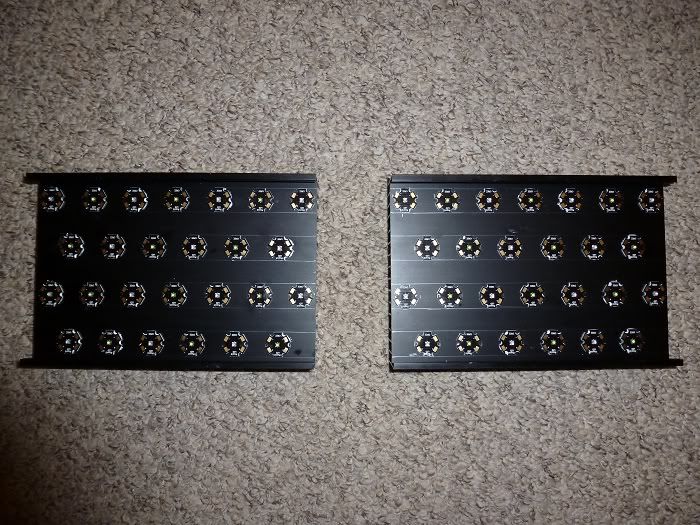
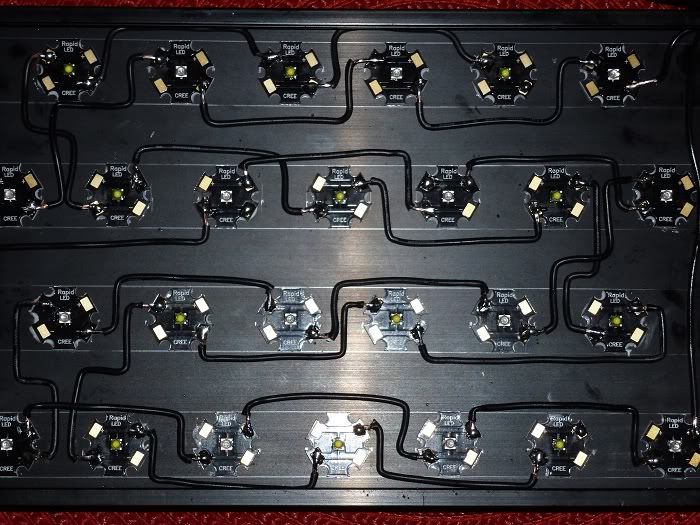
Heres an example of what my LED layout will look like. The blues are XT-E Royal Blue, White are XP-G R5 Cool White.
There will be two MeanWell 60-48p drivers for each fixture, to control colors independently. I will put 12 Cool Whites on a driver and 14 Royal Blues on a driver each.
Other notes for the build
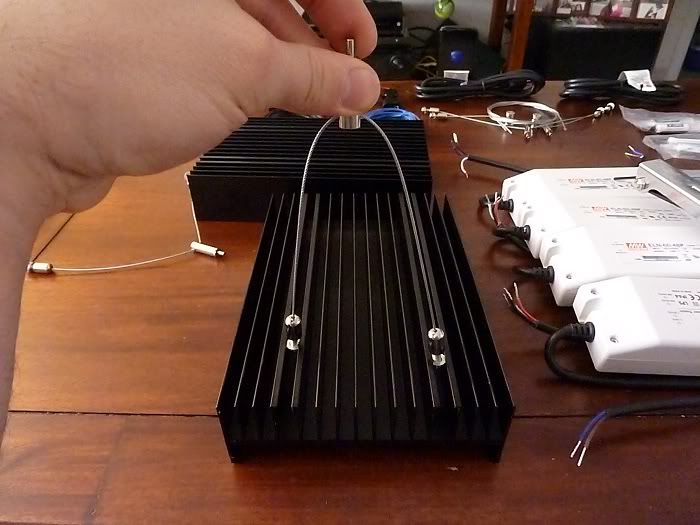
- I will use the Y-shaped hanging kit. Part of why I love that heat sink is the extruded fins are designed to work with it.
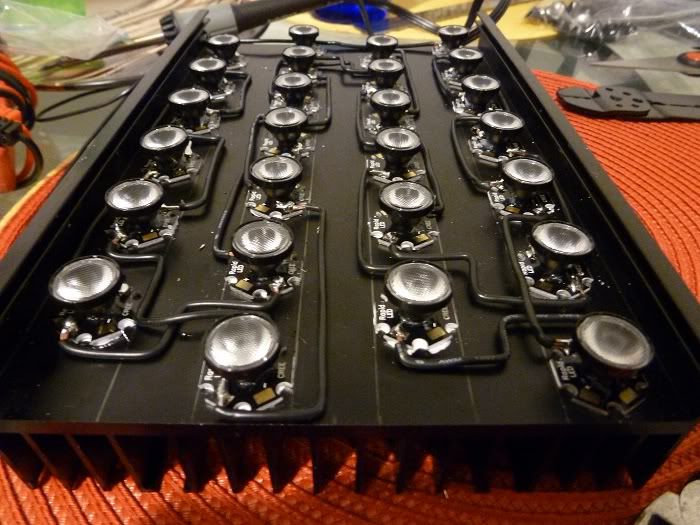
- LEDs on the perimeter will have 55 or 65 degree lenses while LEDs in the center will have 80 degree lenses to help with light spread.
- I'm going to run both drivers per color off of one Power cord to simplify control with the Reef Angel
I have been plotting like a mad scientist since the day I got my tank running and today I pulled the trigger and ordered the goods from Rapid LED. What I've found in my reading on the subject is that everyone has an opinion on LED builds and for the most part those opinions are strong. So I wanted to present anyone who finds themselves in the situation I am in a step-by-step build guide that includes my rationale for the decisions I made. That way someone can see how I arrived at my conclusions and either agree and get tips, or vehemently disagree and know what they DON'T want to do. Either way I am thrilled to get started building this and glad to be able to share the process with some of my local reefers!
That being said I love constructive criticism so if there is something I am doing that I can change and do better please do let me know!
So here is my plan..
I had a few things going into this build plan that I knew I wanted;
1. I am dead set on having this fixture dimmable, with independent color controls.
2. I wanted my drivers to be able to play nice with the Reef Angel Controller, which I will be purchasing when my build gets close to done.
3. I am really hoping to build something that is not hideous, but we'll see!
I was initially planning on going with the Bridgelux LEDs featured on Aquastyle Online, but couldn't get one of their dimmable kits because they don't support PWM dimming, which the Reef Angel uses. So I looked into just buying the LEDs from Aquastyle because the prices are incredible and there was a great build featured on the forums here that used them.
In the end I decided to go with Cree LEDS for a few reasons, first of which was these two cost comparisons (I'm going to use rough numbers).
Bridgelux - (72 LED x $2) + (6 Drivers x $34) + (72 Optics x $.50) = $384
Cree - (52 LED w/Optics x $5.50) + (4 Drivers x $34) = $422
This only includes costs that would have been variant between the two builds.
So we had a difference of $38 to go with Cree which gives me 60 Watts less power usage consumption with getting to order from Rapid LED whom quite a few people have said good things about.
Once I had the LEDs picked it was time to go about picking out a heatsink. I looked at a few sizes and put them in Google Sketchup with 55 degree lenses to see what kind of coverage I would get. I wound up choosing the 6x9 Anodized Black heatsink again from Rapid LED. I feel pretty good about the light coverage, especially when I consider that I have my tank set up with two piles of LR which would be perfectly positioned under each light.
I am concerned about putting LEDs that close together on a heatsink (there will be about 3/4 inch between them) but to combat this have only purchased the two-fan power kit from Rapid LED, their fan runs 44CFM so I am ordering 2 75CFM case fans from Newegg instead. Hopefully this provides enough cooling considering I shouldn't be running the LEDS near full-power. I will get some temperature readings once I get it built, so for now I'm hoping my plan is good.
Heres an example of what my LED layout will look like. The blues are XT-E Royal Blue, White are XP-G R5 Cool White.
There will be two MeanWell 60-48p drivers for each fixture, to control colors independently. I will put 12 Cool Whites on a driver and 14 Royal Blues on a driver each.
Other notes for the build
- I will use the Y-shaped hanging kit. Part of why I love that heat sink is the extruded fins are designed to work with it.
- LEDs on the perimeter will have 55 or 65 degree lenses while LEDs in the center will have 80 degree lenses to help with light spread.
- I'm going to run both drivers per color off of one Power cord to simplify control with the Reef Angel