
The Etoimos 270g FOWLR build
- Thread starter Etoimos
- Start date
Looks great!
I too like this look, will be interesting to see how they look once the white on black contrast is lost.
Did you create the spires with rod and cement?
Did you create the spires with rod and cement?

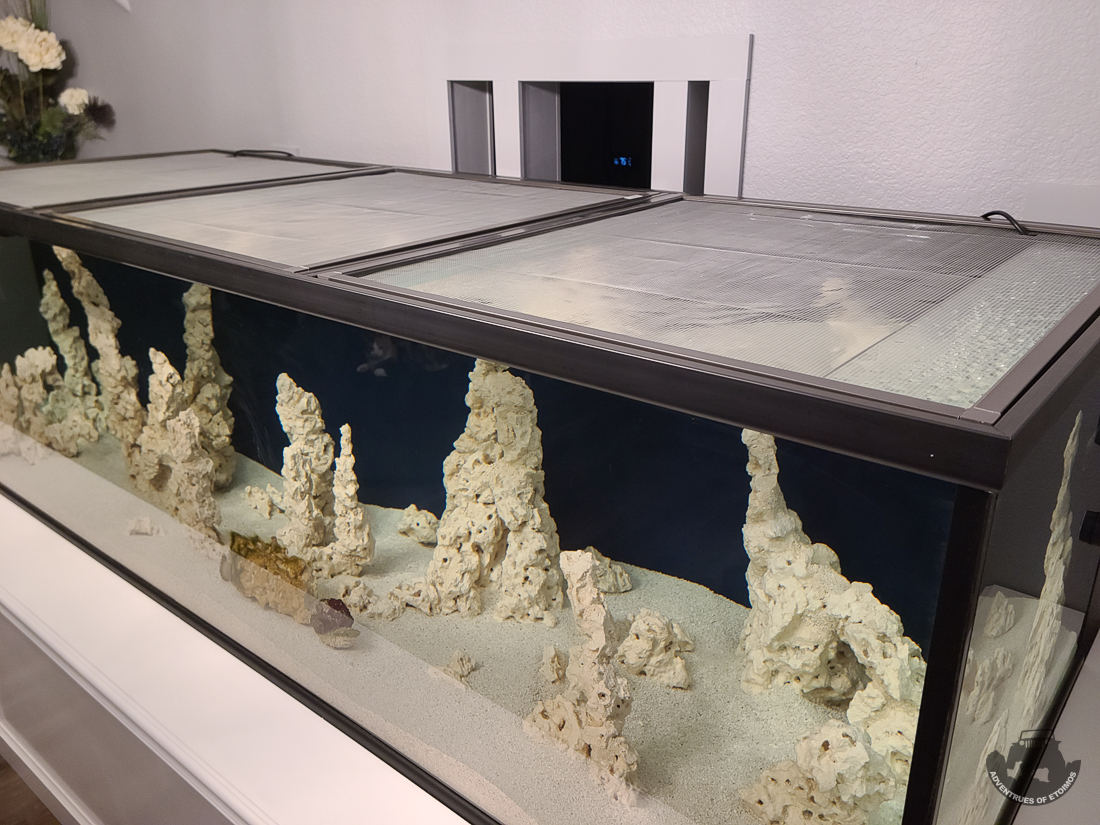
I did not use any rods for the rock spires, they were all made with crushed rock and very thin superglue. You can see the process I used in this post.
To make adding the rock and sand easier, I made a quick and dirty table for me to stand on and set the rock on while I was moving them around.
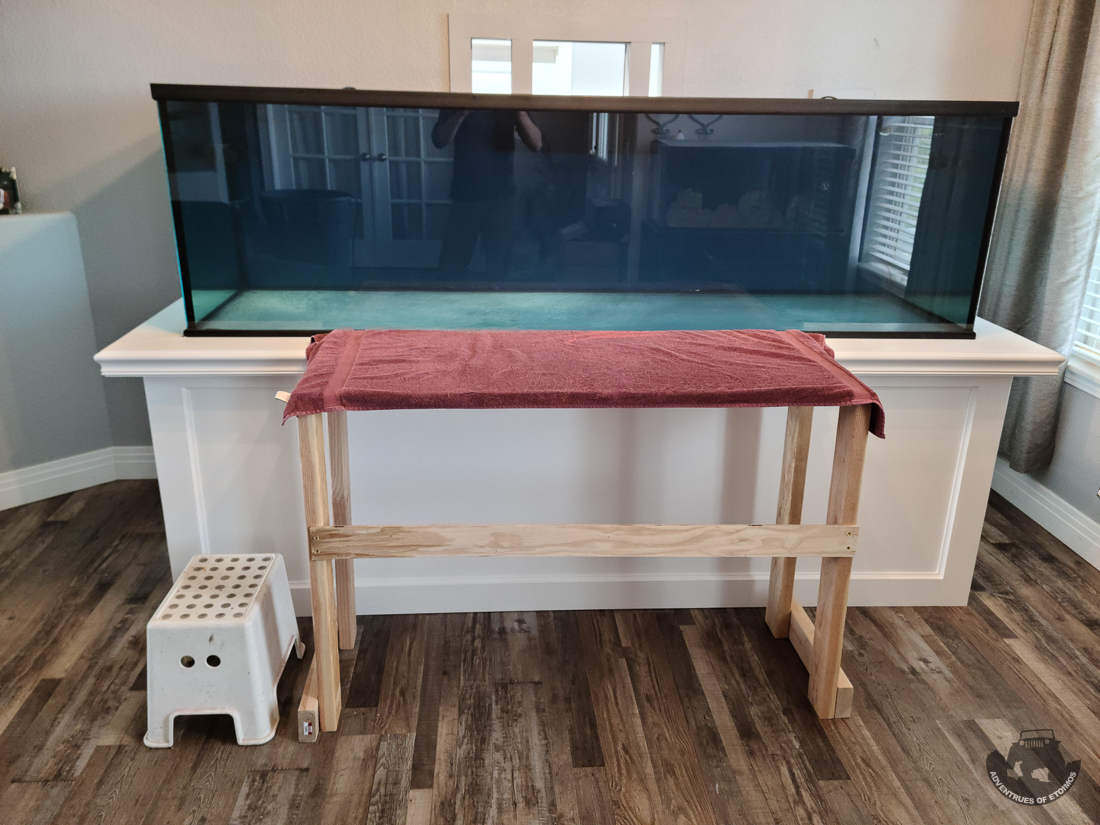
I built it so that it has front lip that will rest on the lip of the tank stand with a towel sandwiched between them. It worked very well and I plan on keeping it for future tank maintenance. I will need to beef up the long lateral support as I initially just used some scrap plywood I had laying around. I also think I will put the supports on hinges so that I can break it down for easy storage and setup.... one day!
I also made some simple screen covers for the top of the tank to keep in any jumps we might get.
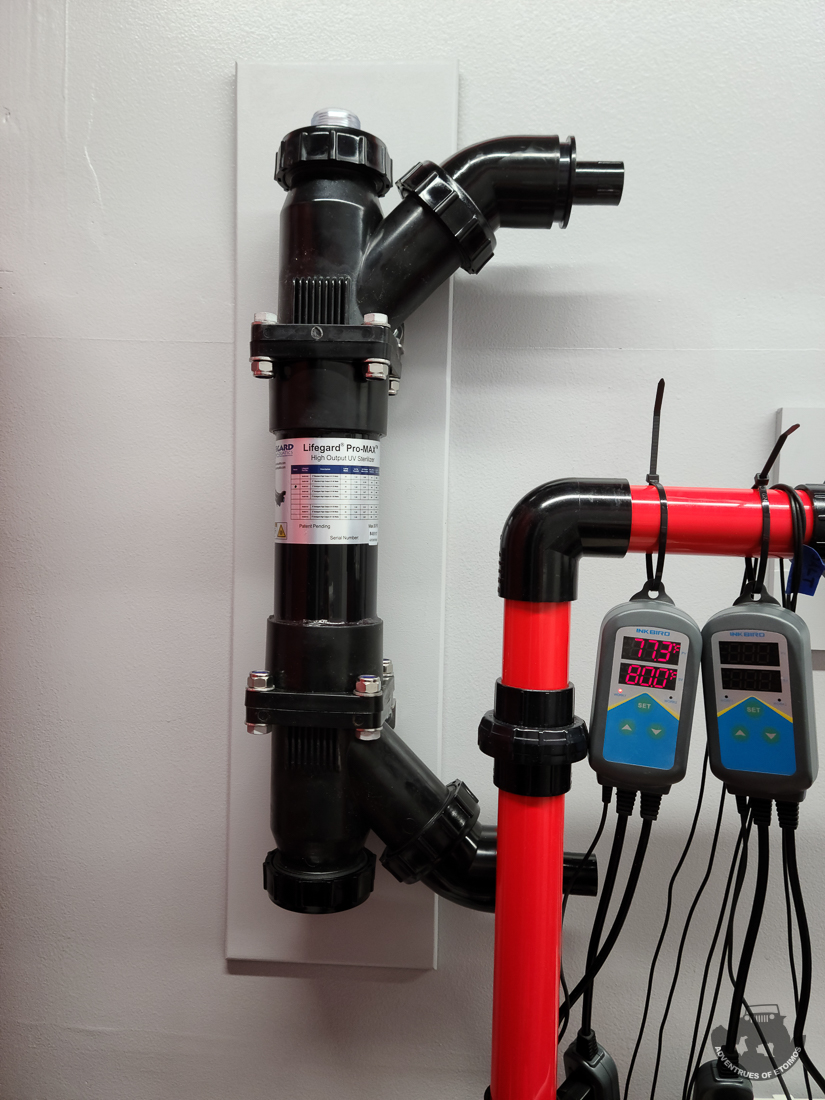
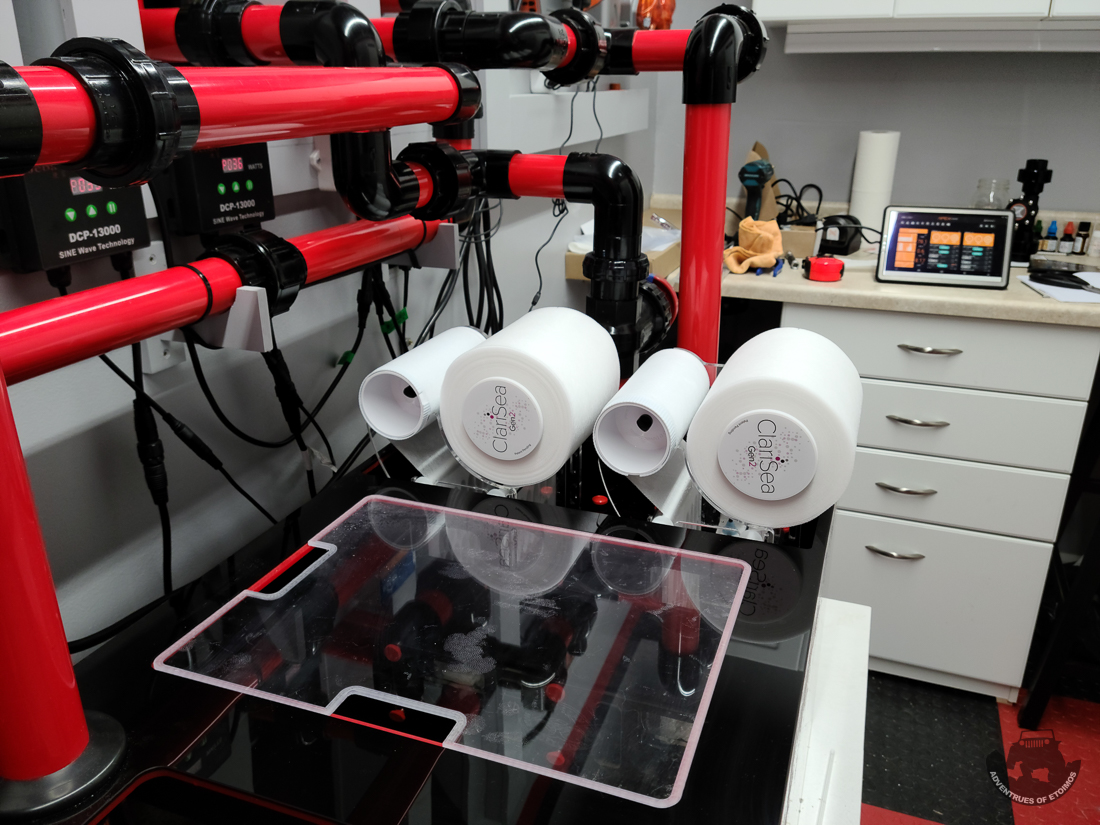
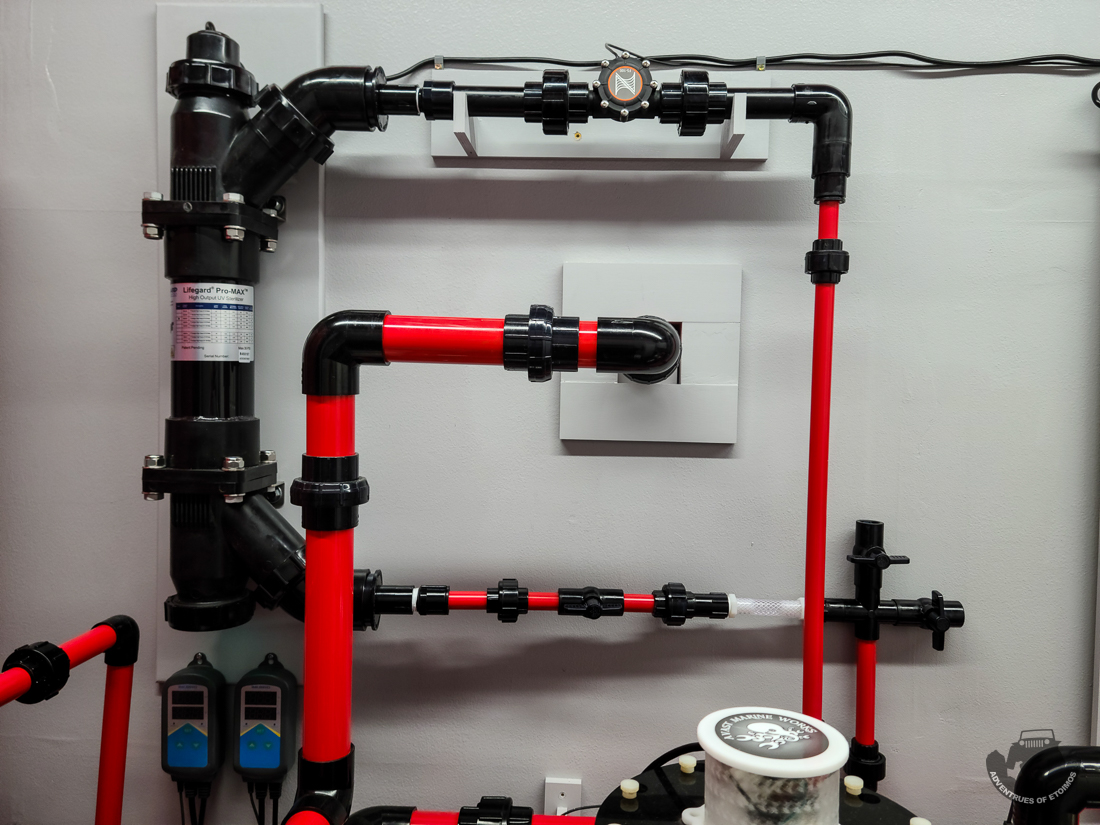
Over on the fish room side of things, I got the UV mounted, but not plumbed (ignore the messing heater cords, I'm still working on cable management and stuff)...
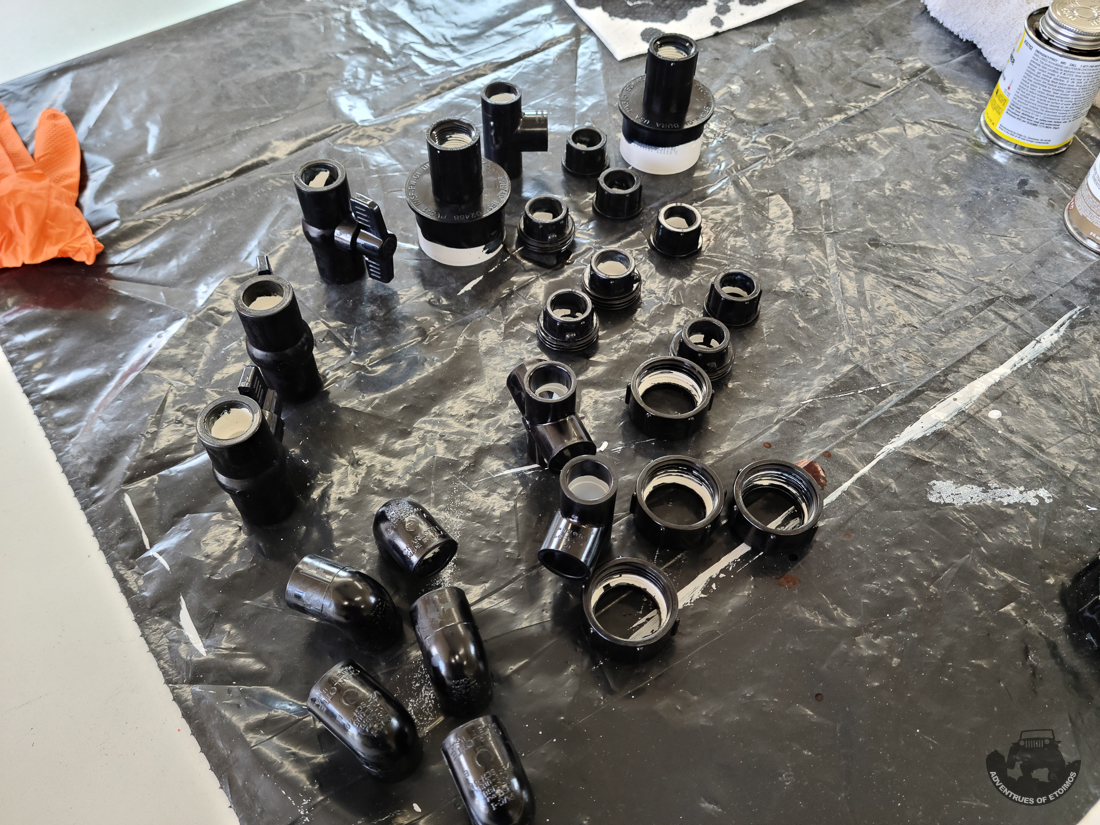
I also stained up yet another batch of PVC fittings, this time to build the manifold to run the UV and maybe some reactors down the road...
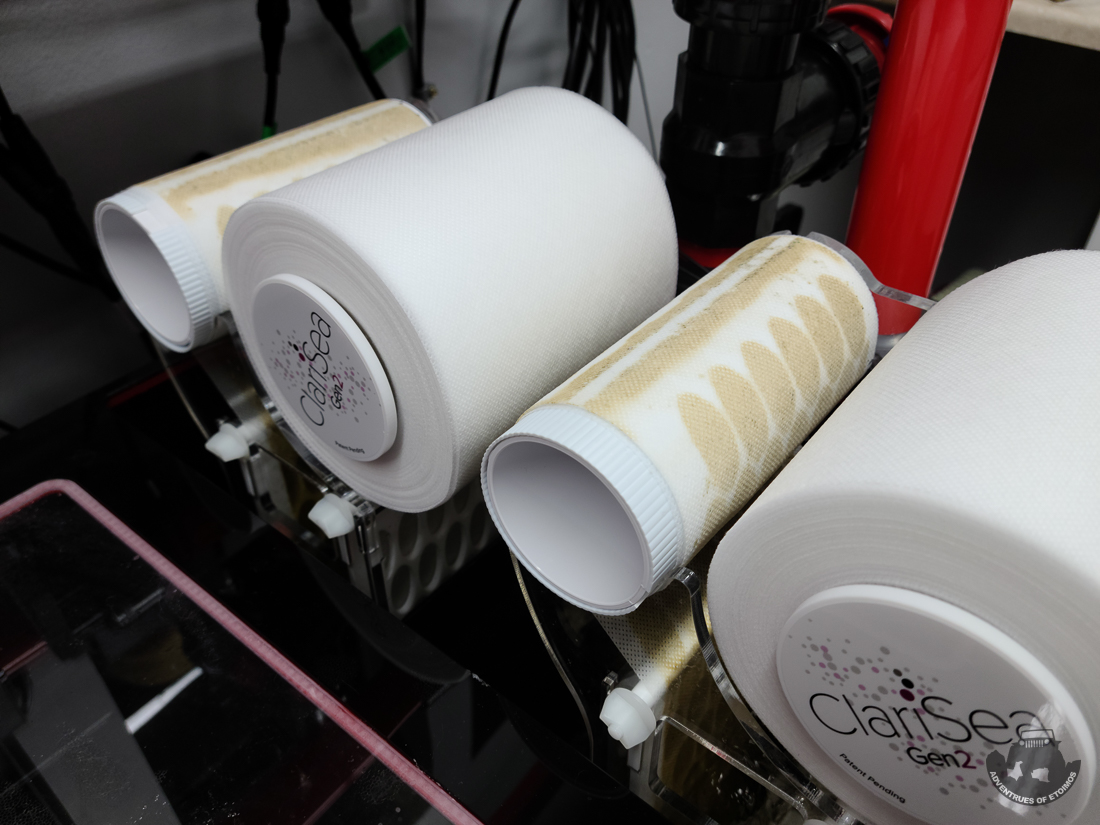
Earlier this week I removed the filter sock setup in the sump...
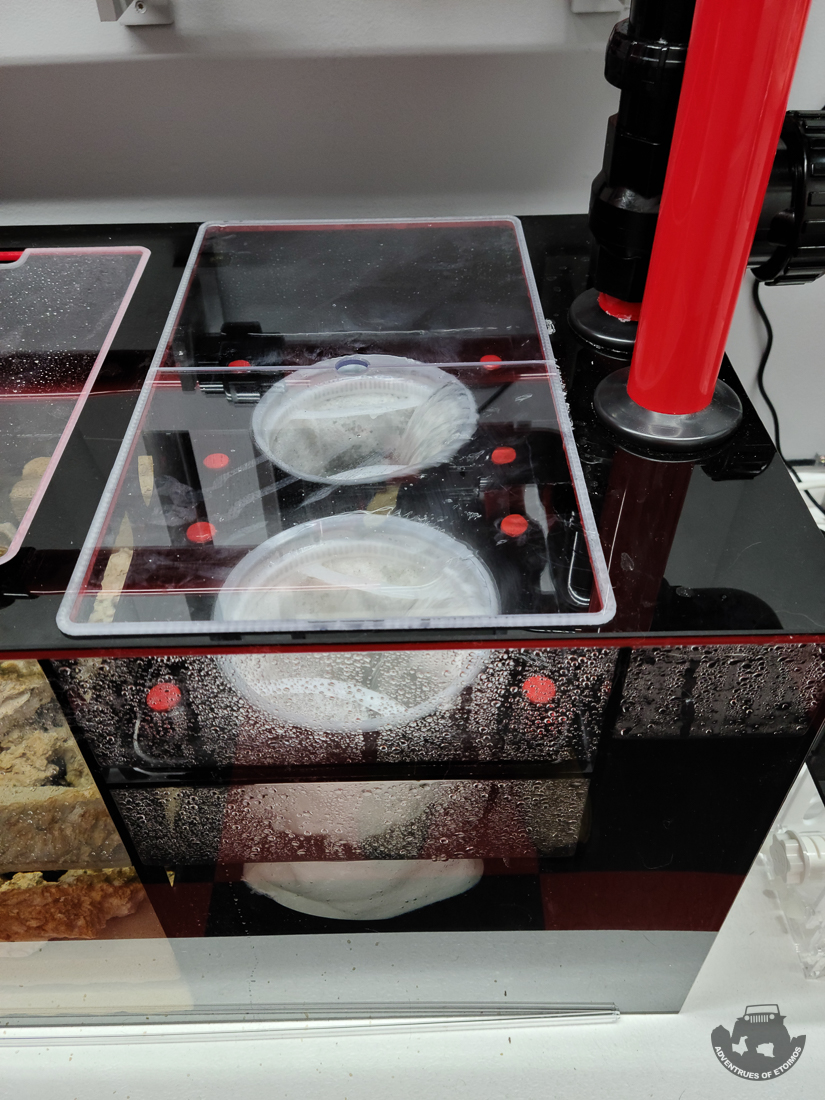
And replaced them with dual Clarisea SK-5000 roller filters.
I also stained up yet another batch of PVC fittings, this time to build the manifold to run the UV and maybe some reactors down the road...
Earlier this week I removed the filter sock setup in the sump...
And replaced them with dual Clarisea SK-5000 roller filters.
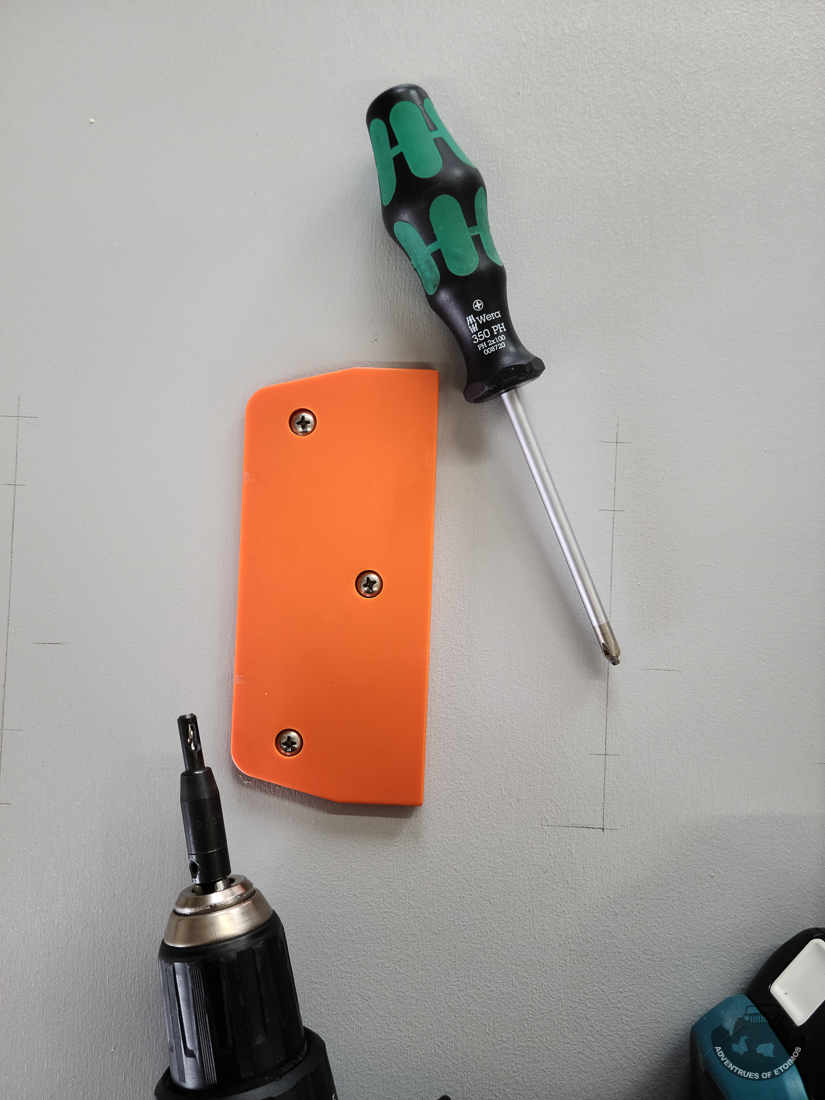
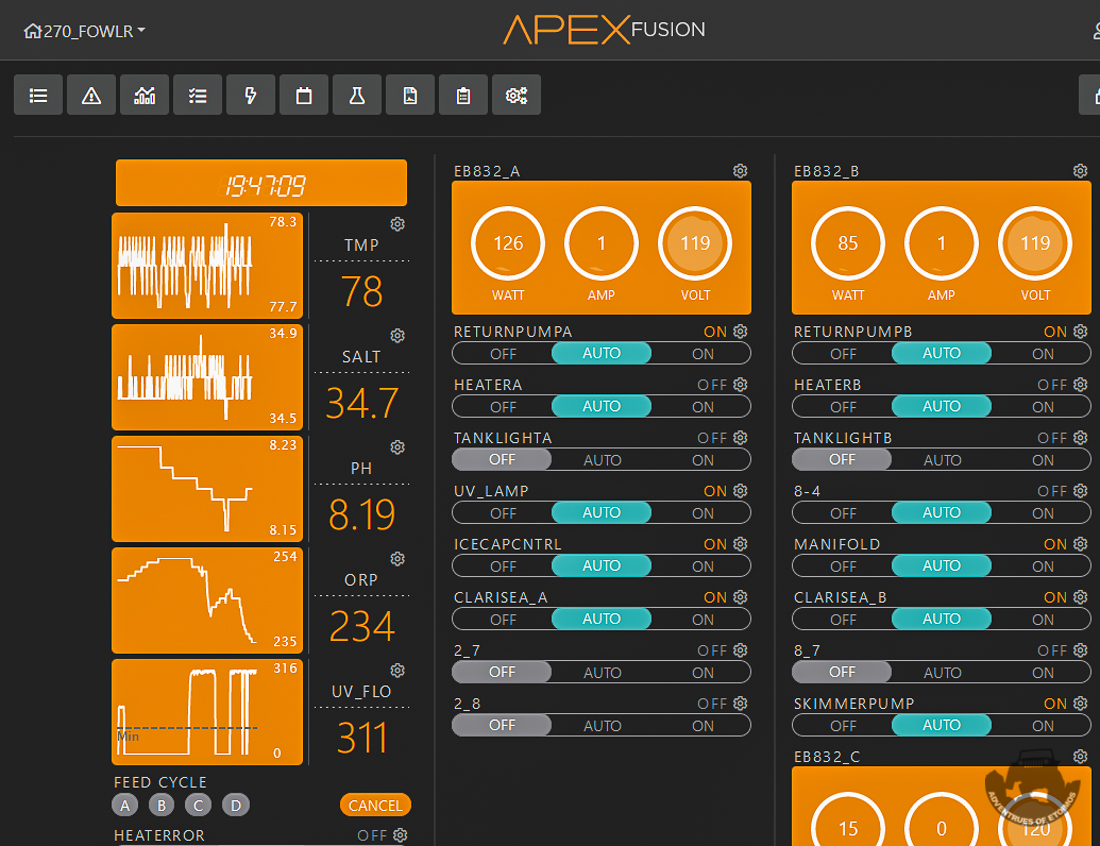
The biggest project this past week and a half was laying out and building the apex controller board.
The use of a self centering drill bit keeps the screws from going off at an angle and making your modules unlevel.
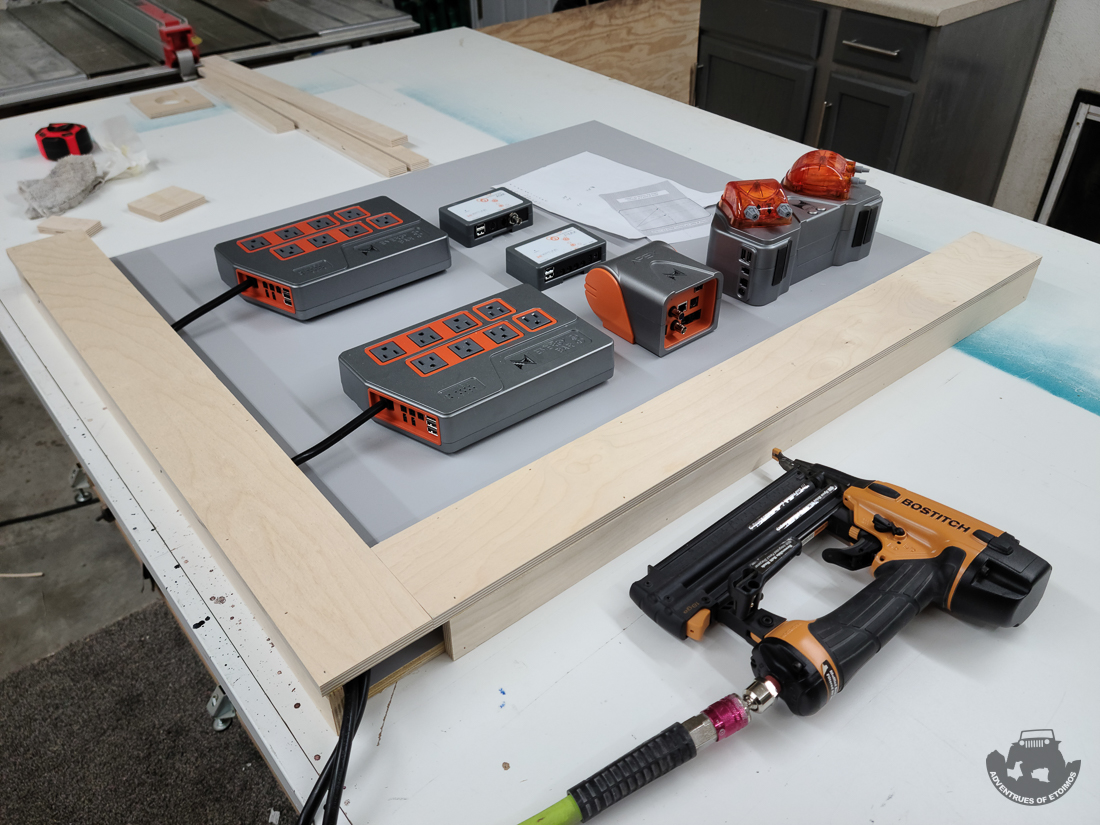
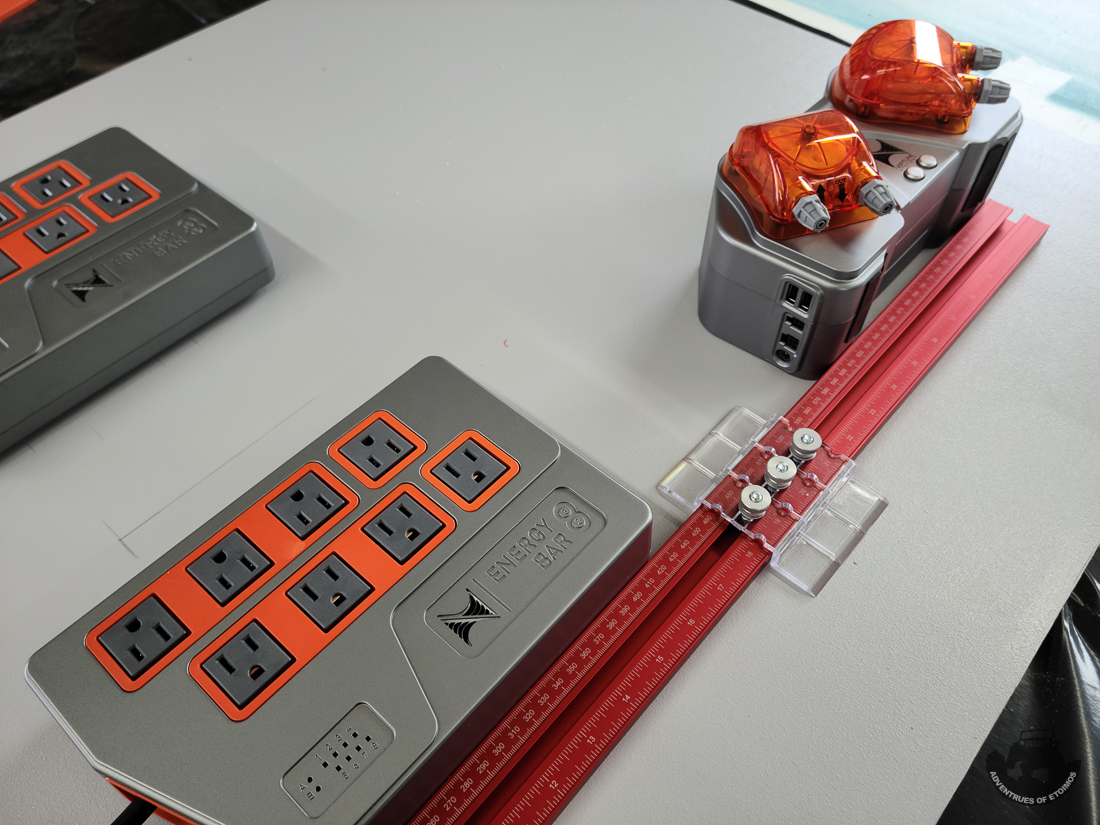
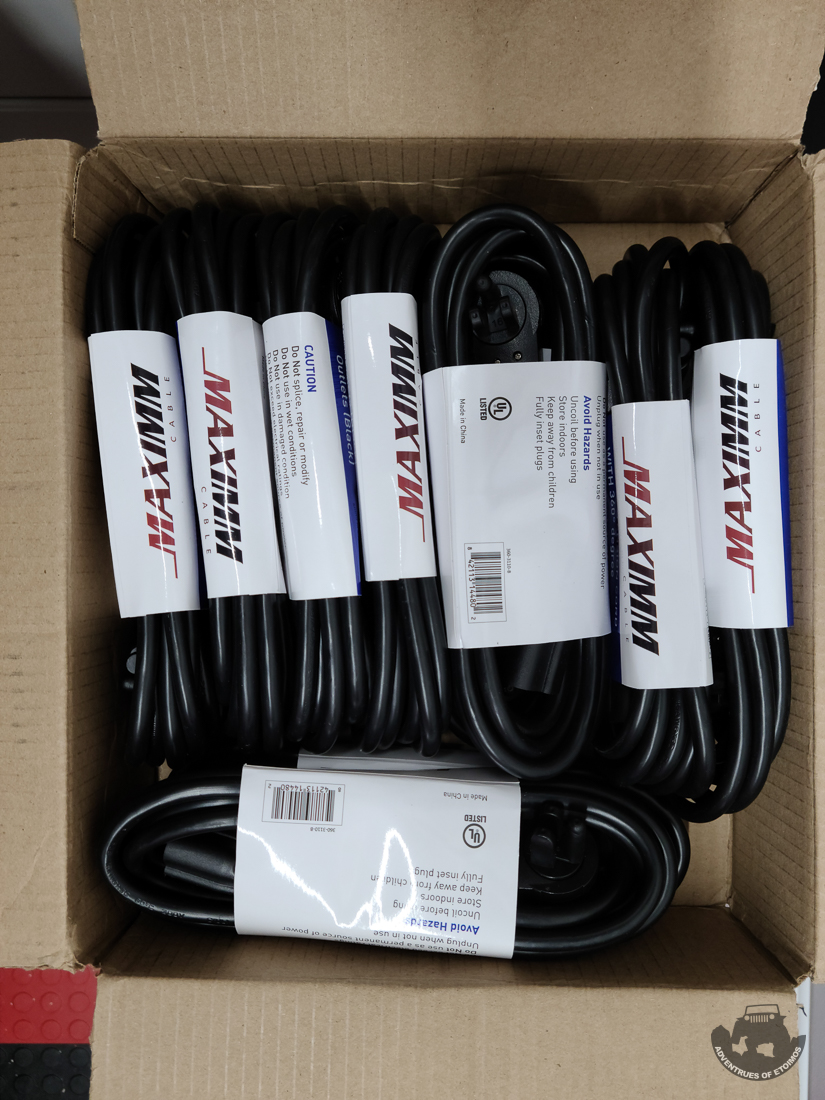
Once mounted to the wall, it was time to start connecting some equipment to it. To keep things tidy, I ordered some rotating flat plug extension cords.
And to make it easy to keep track of what cord went to what, I make up some labels on my laser engraver.
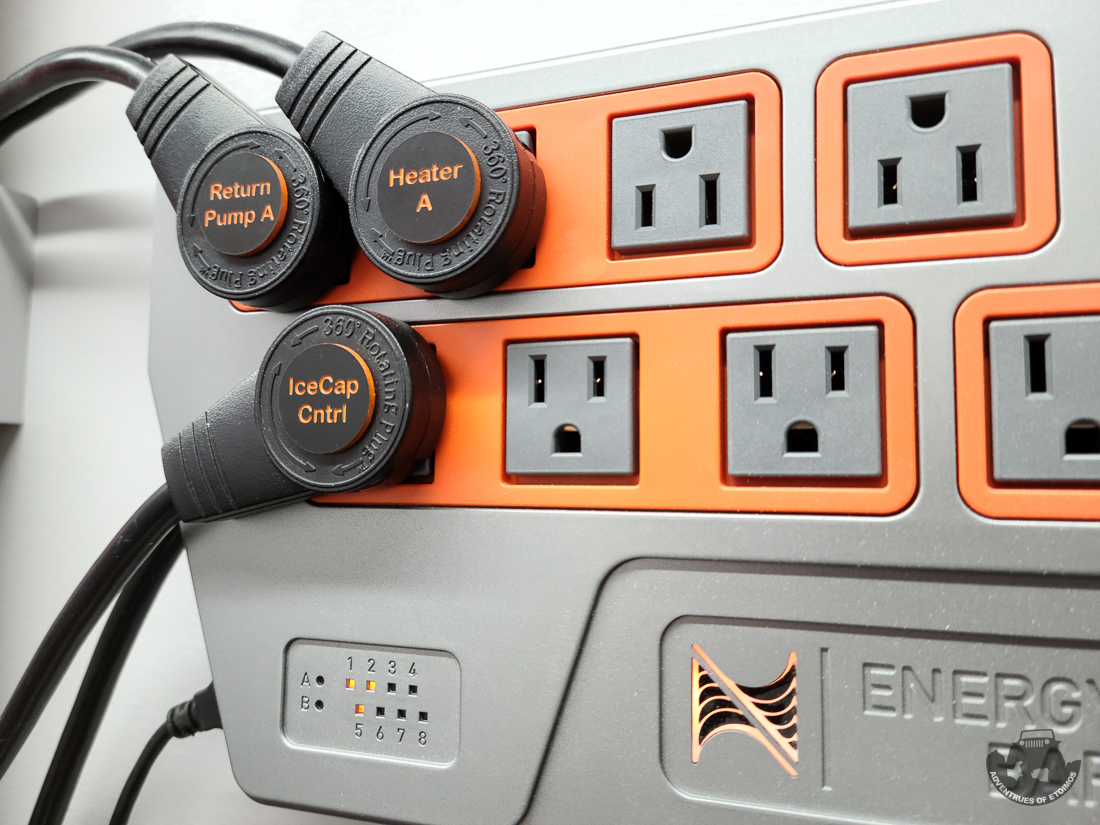
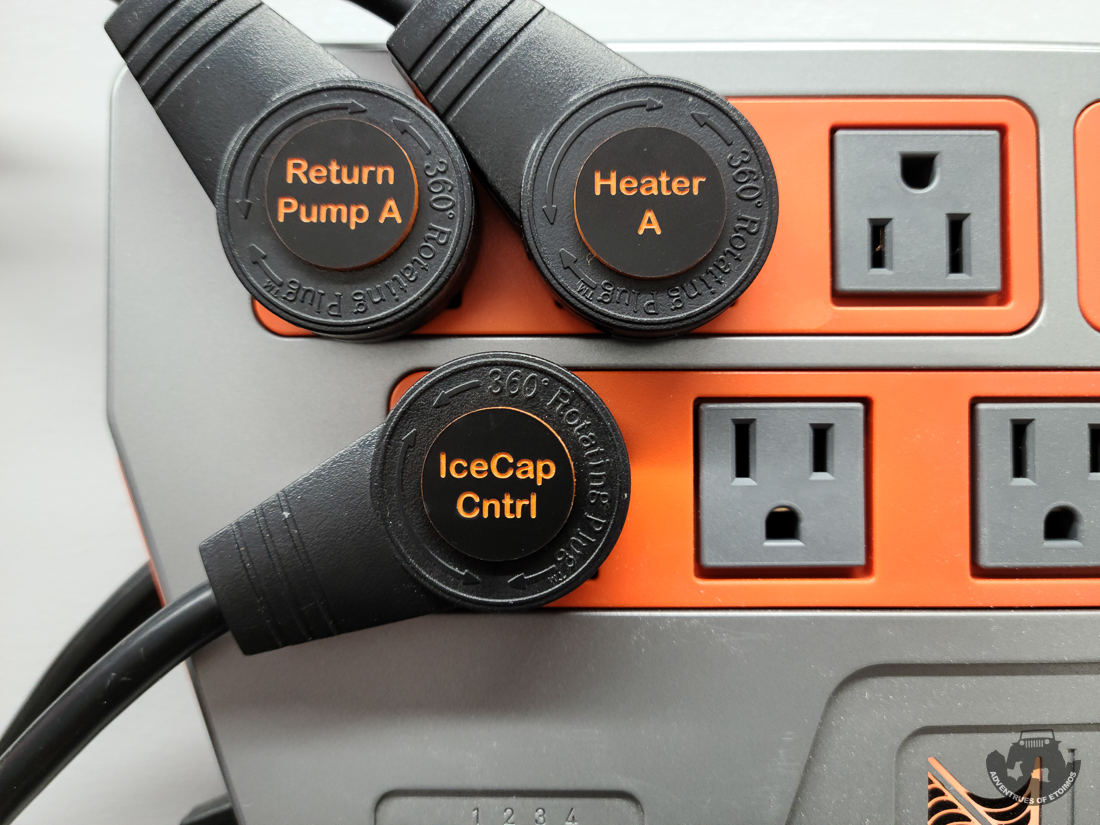
I'm splitting the critical devices across two EB832s, while a third one (to be mounted on the other end of the sump) will control my mixing station, UV and manifold based equipment.
The use of a self centering drill bit keeps the screws from going off at an angle and making your modules unlevel.
Once mounted to the wall, it was time to start connecting some equipment to it. To keep things tidy, I ordered some rotating flat plug extension cords.
And to make it easy to keep track of what cord went to what, I make up some labels on my laser engraver.
I'm splitting the critical devices across two EB832s, while a third one (to be mounted on the other end of the sump) will control my mixing station, UV and manifold based equipment.
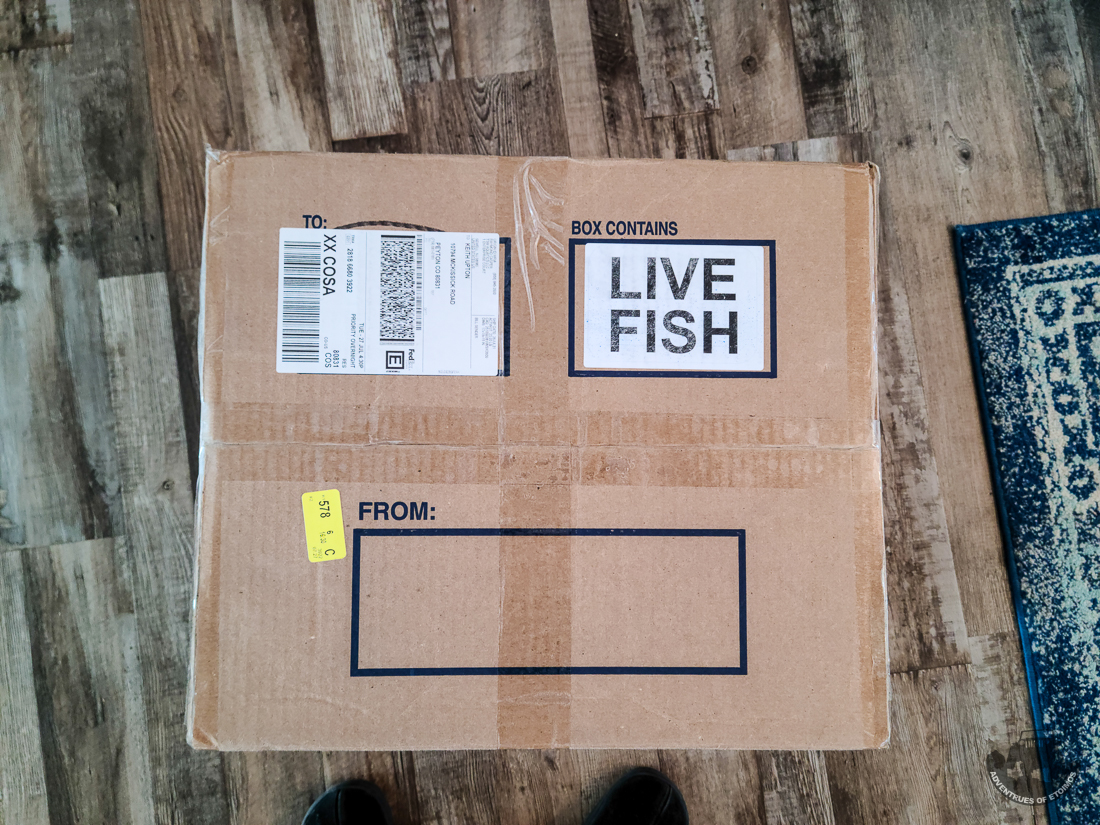
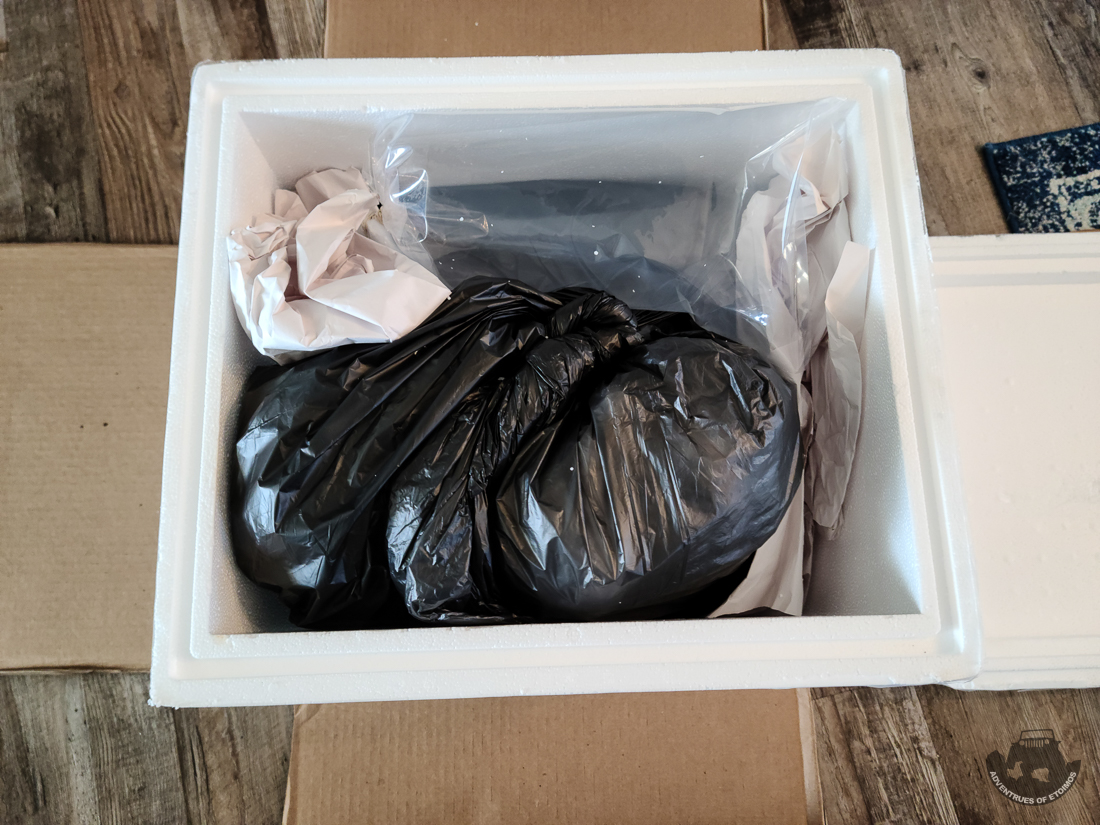
This week some possible tenants arrived from TSM Aquatics for those new fishy houses...
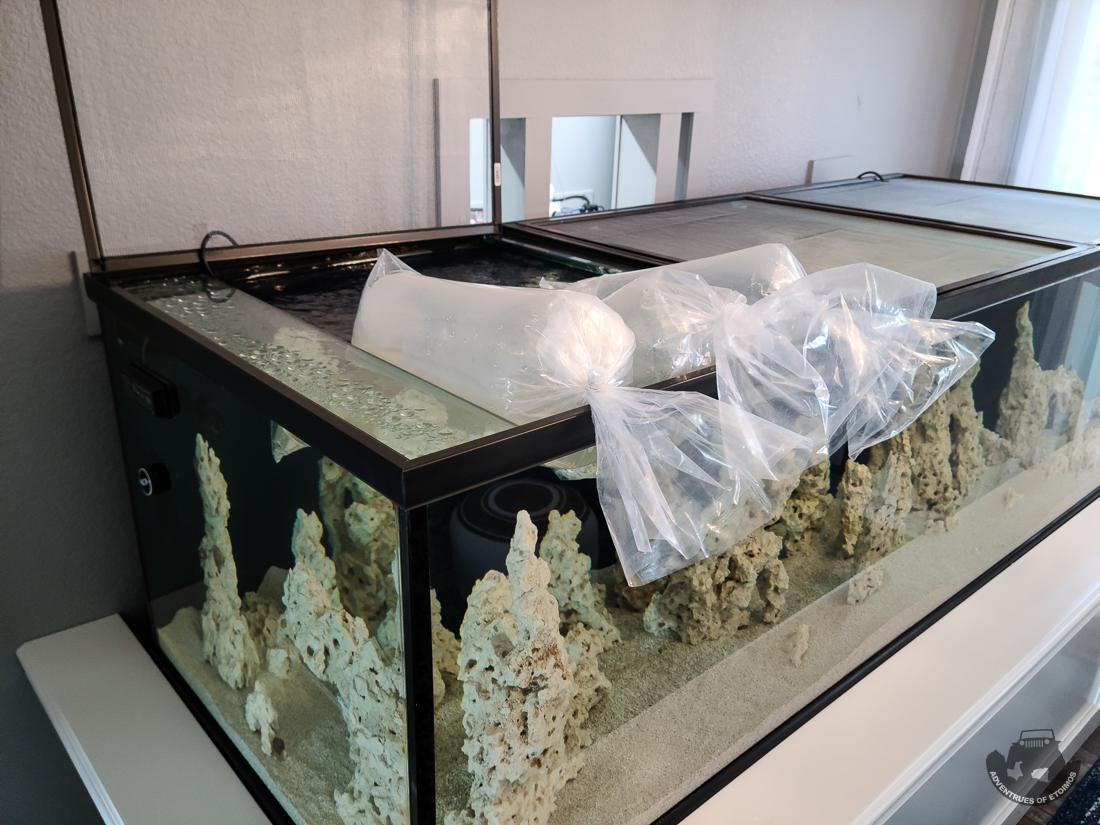
Meet Pinocchio the Longnose Butterfly...
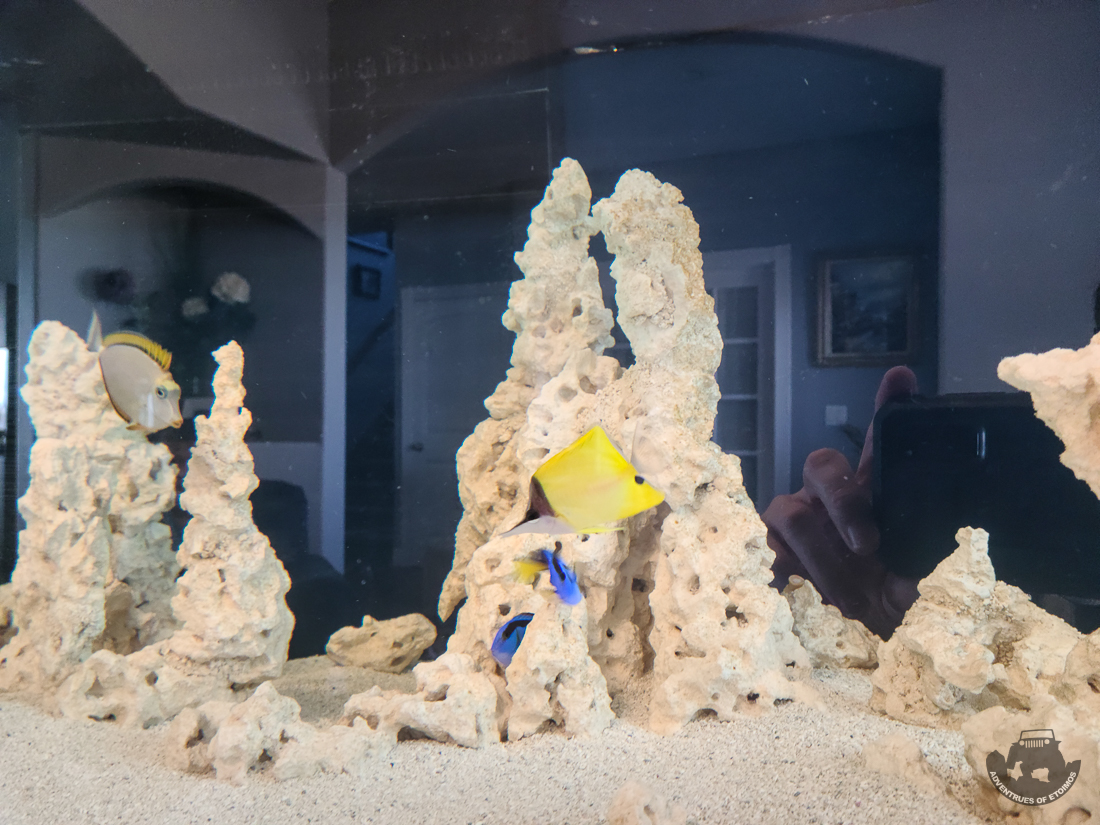
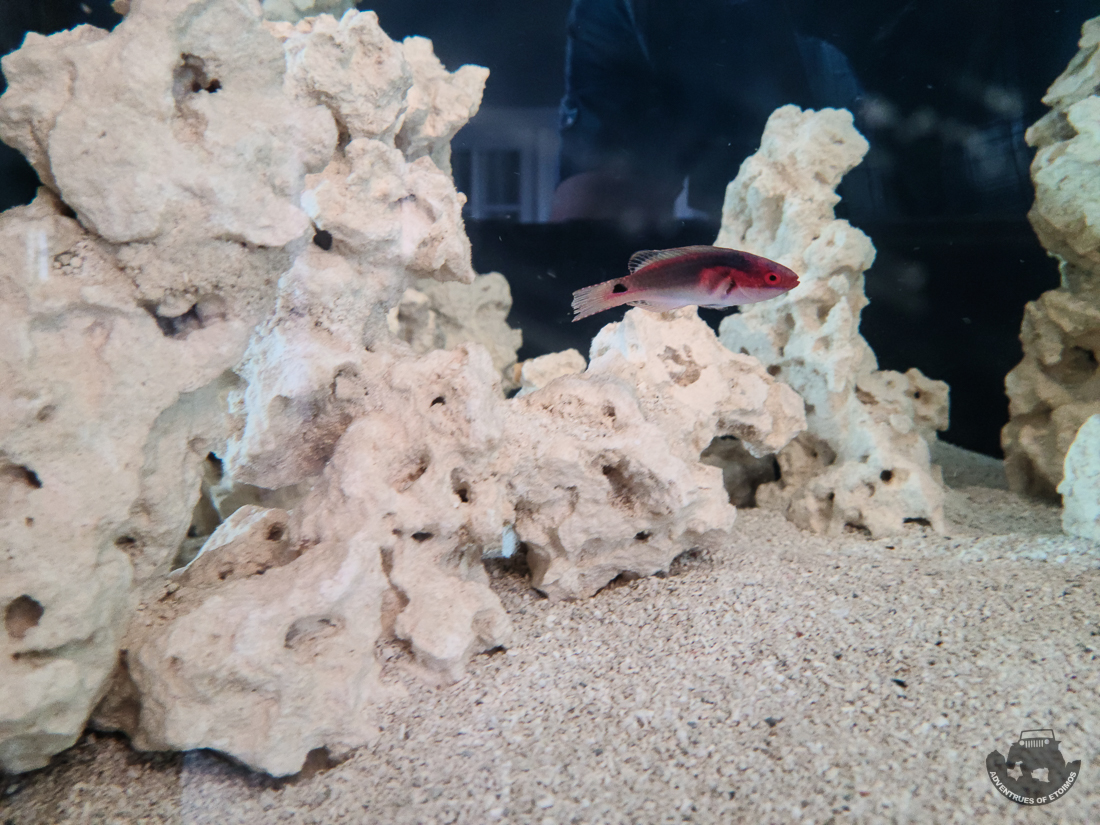
And an as yet unnamed Exquisite Fairy Wrasse...
We also got a Melanurus Wrasse, but after about 3 mins of checking the new tank out, he disappeared under the sand. I'll try and get some big camera shots of the new guys once they settle in a little more.
Meet Pinocchio the Longnose Butterfly...
And an as yet unnamed Exquisite Fairy Wrasse...
We also got a Melanurus Wrasse, but after about 3 mins of checking the new tank out, he disappeared under the sand. I'll try and get some big camera shots of the new guys once they settle in a little more.
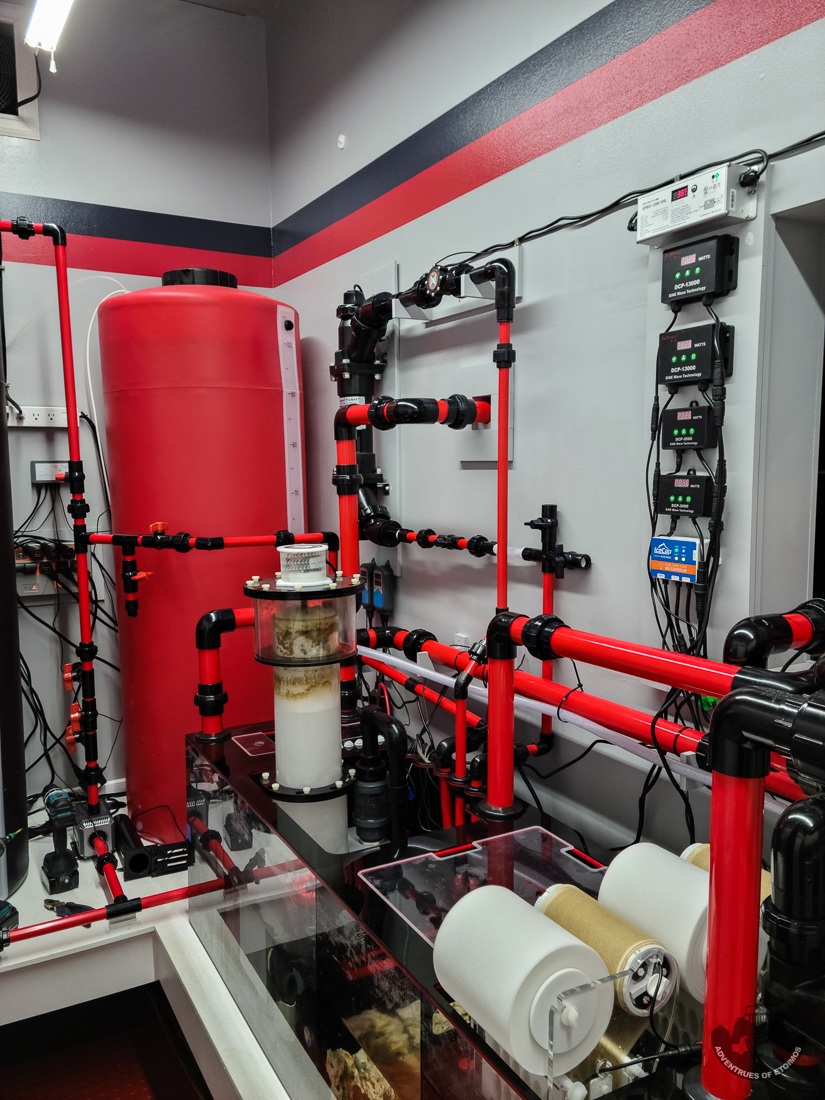
This past week I've been working on getting the manifold plumbed in and the UV installed off of that. My small fish room continues to provide plumbing challenges!
I'm not sure if it is the 1/2" plumbing or all of the head pressure on the relatively small Jebao DCP-3500 pump, but I'm not getting enough flow to the UV to combat algae (my target for the UV). I'm going to first try swapping out the pump with something larger before I order more red 3/4" PVC to re-plumb everything.
I got my pump controllers moved to their final position, but I still have clean up the cabling. I've placed an order via @Bulk Reef Supply for some Neat Aquatics RO Tubing mounts. Besides tidying up some RODI lines, I am also going to try them out for managing some of the cable mess.
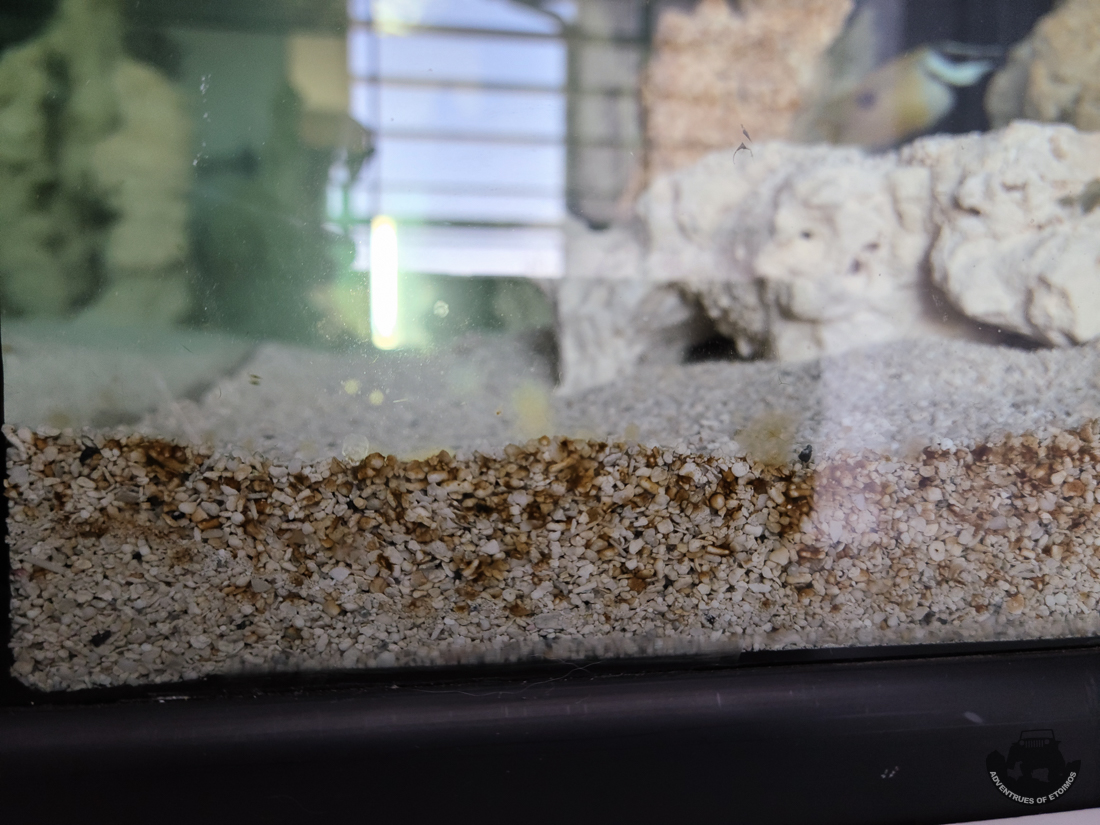
Mean while, the tank is starting to show a little maturing. I have some Diatoms growing on the glass and rocks closest to the window.
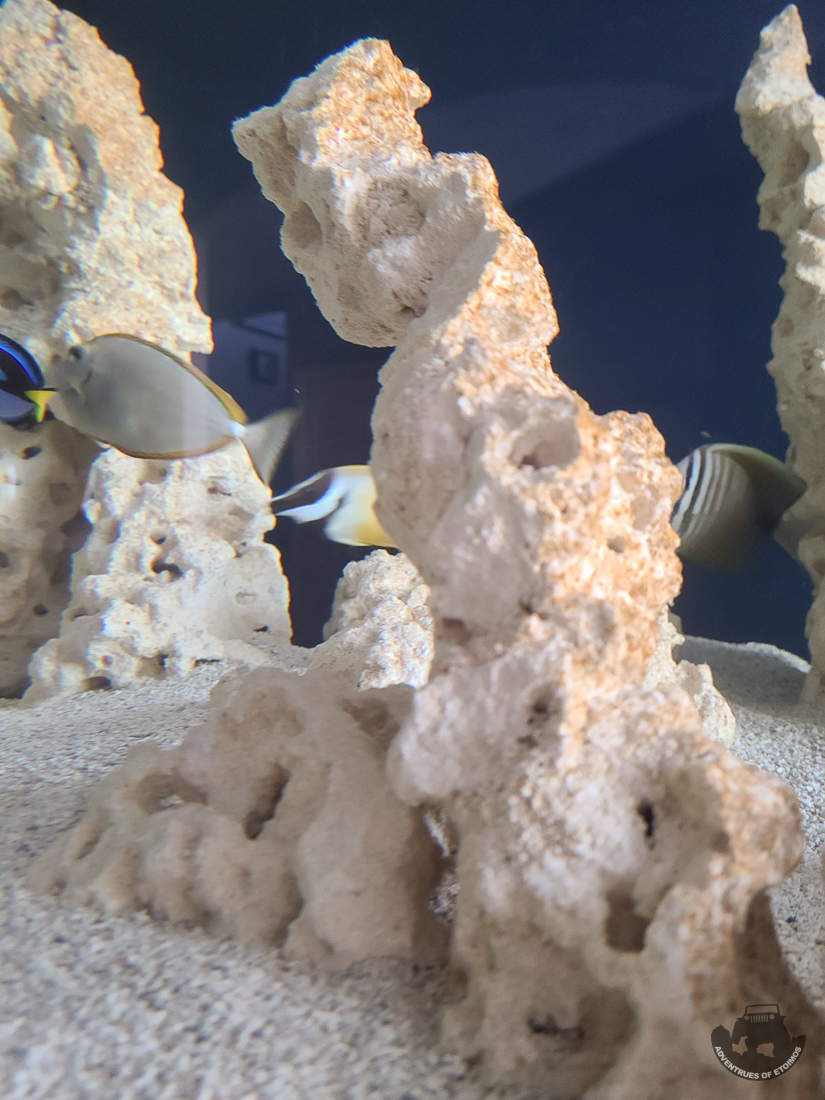
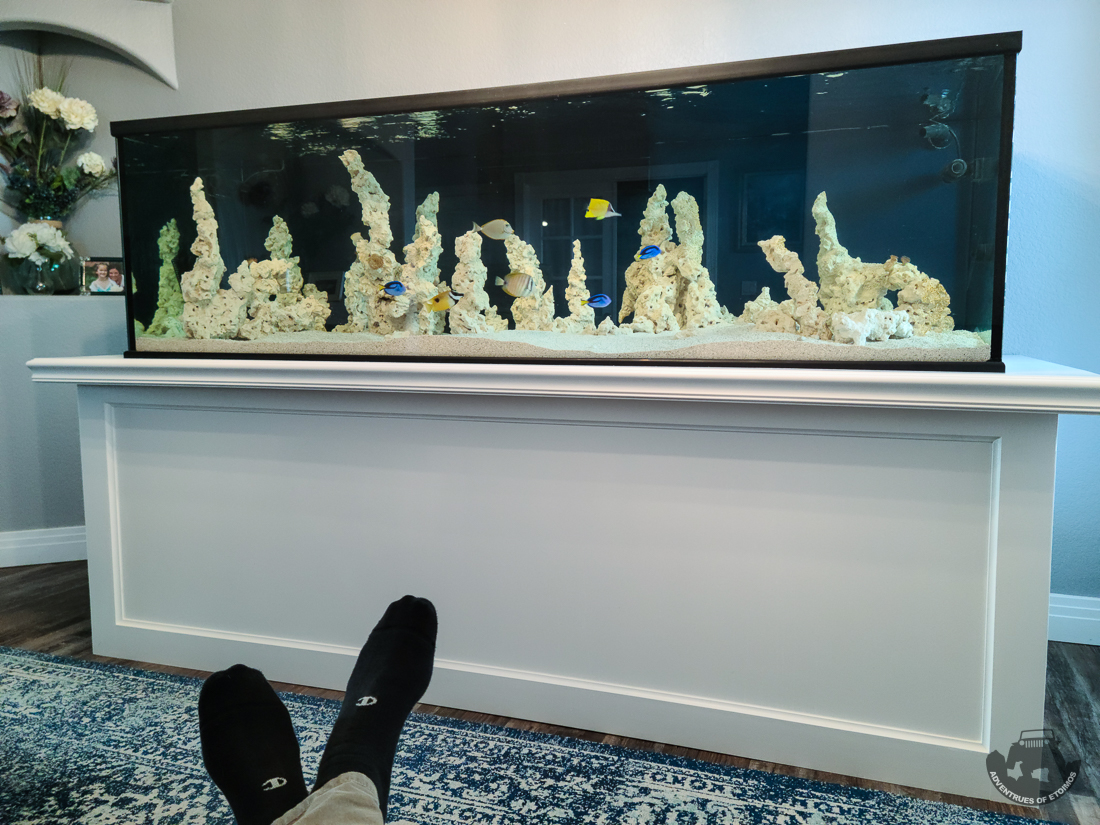
And since the whole point of this thing is to do some fish watching, I managed to do some of that this week as well.
I'm not sure if it is the 1/2" plumbing or all of the head pressure on the relatively small Jebao DCP-3500 pump, but I'm not getting enough flow to the UV to combat algae (my target for the UV). I'm going to first try swapping out the pump with something larger before I order more red 3/4" PVC to re-plumb everything.
I got my pump controllers moved to their final position, but I still have clean up the cabling. I've placed an order via @Bulk Reef Supply for some Neat Aquatics RO Tubing mounts. Besides tidying up some RODI lines, I am also going to try them out for managing some of the cable mess.
Mean while, the tank is starting to show a little maturing. I have some Diatoms growing on the glass and rocks closest to the window.
And since the whole point of this thing is to do some fish watching, I managed to do some of that this week as well.
The latest little project to get finished on the tank has been the AVAST Marine Plank Auto Feeder. Back when I ordered the Plank, I did not know exactly how wide the bracing on my sump was going to be and the bracket for the Plank was not quite long enough to work. Even with so much time between when I ordered it and when I finally got around to setting it up, Justin hooked me up by sending out a longer bracket free of charge. All I had to do was return the short one. Talk about great customer service!
With the correct sized bracket, I was able to test fit the Plank on my sump to see exactly where it would need to be to dispense food so that both of my return pumps would pick it up and broadcast feed from both ends of the tank.
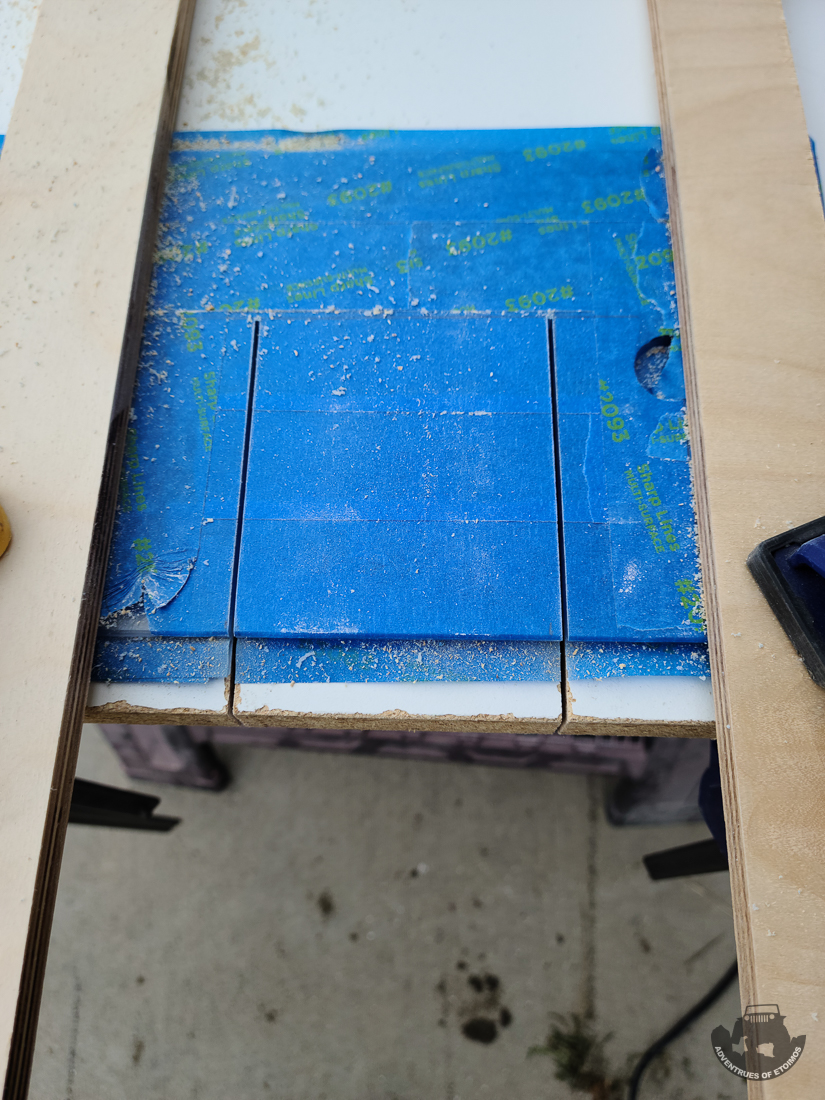
This required me to cut the return section cover on the sump and make a longer tube for the Plank. In hindsight, I should have used my router to cut the opening out of the sump cover. I would have gotten a cleaner cut in the corner vs what I got with the jig saw.
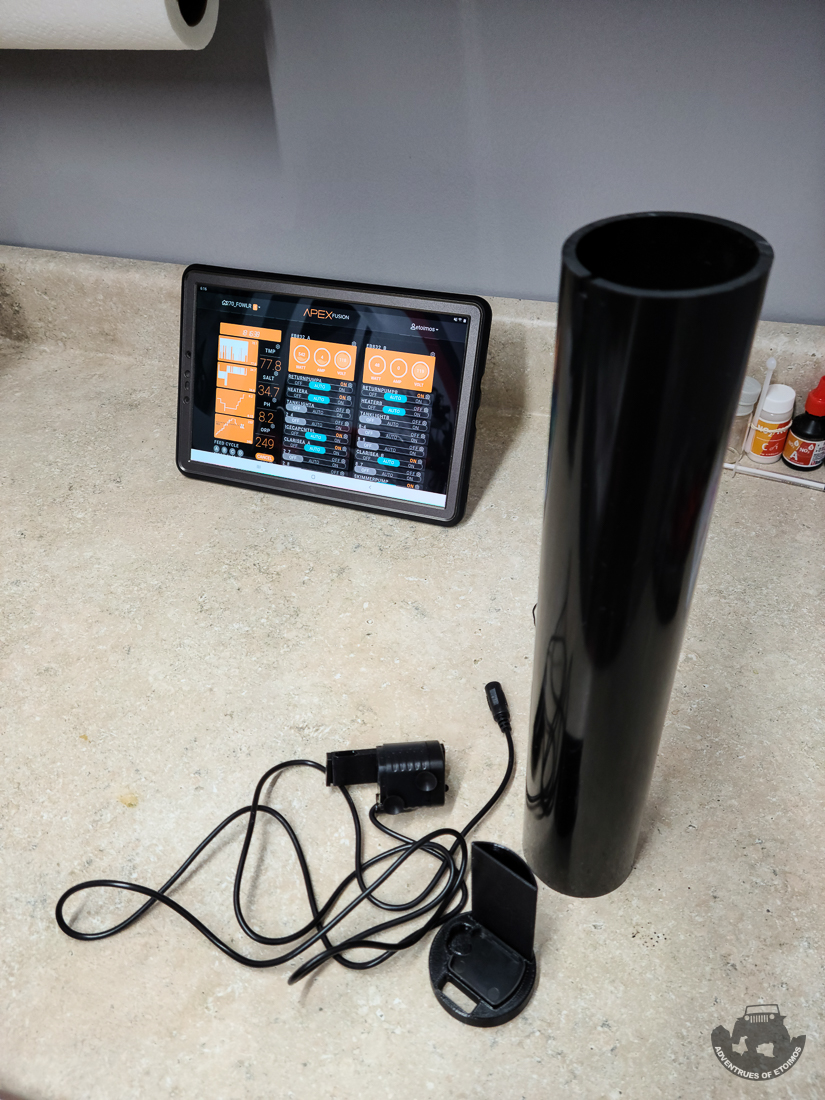
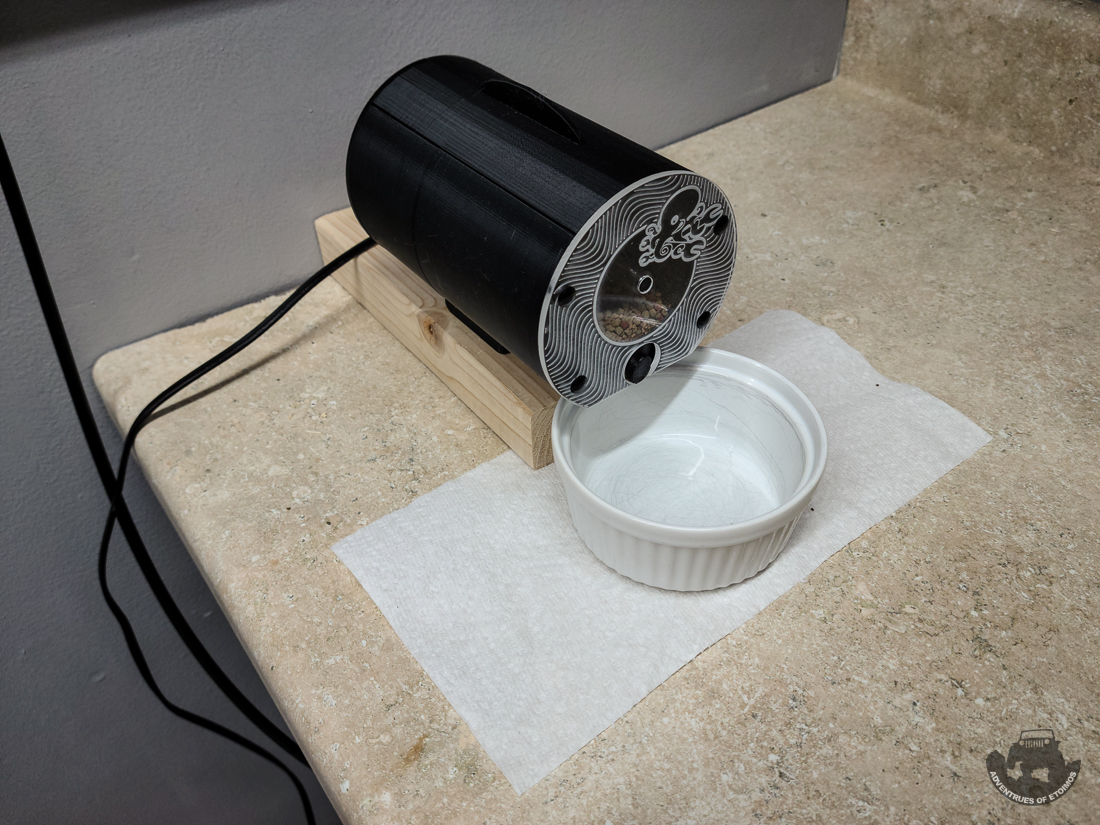
I received programing help from a Reef2Reef member to setup my rather complicated feeding program. I typically feed frozen food twice a day when I'm around, but that is not really possible when I'm gone for the weekend or out on one of my overlanding trips. So now I have a "vacation" slider on my Apex dashboard that will increase the number of times dry food is fed to the tank to make up for them not getting the frozen food. And since you never want to test an auto feeder on your tank, I first set mine up on the counter to test how much food my program would actually feed to the tank over the course of a day.
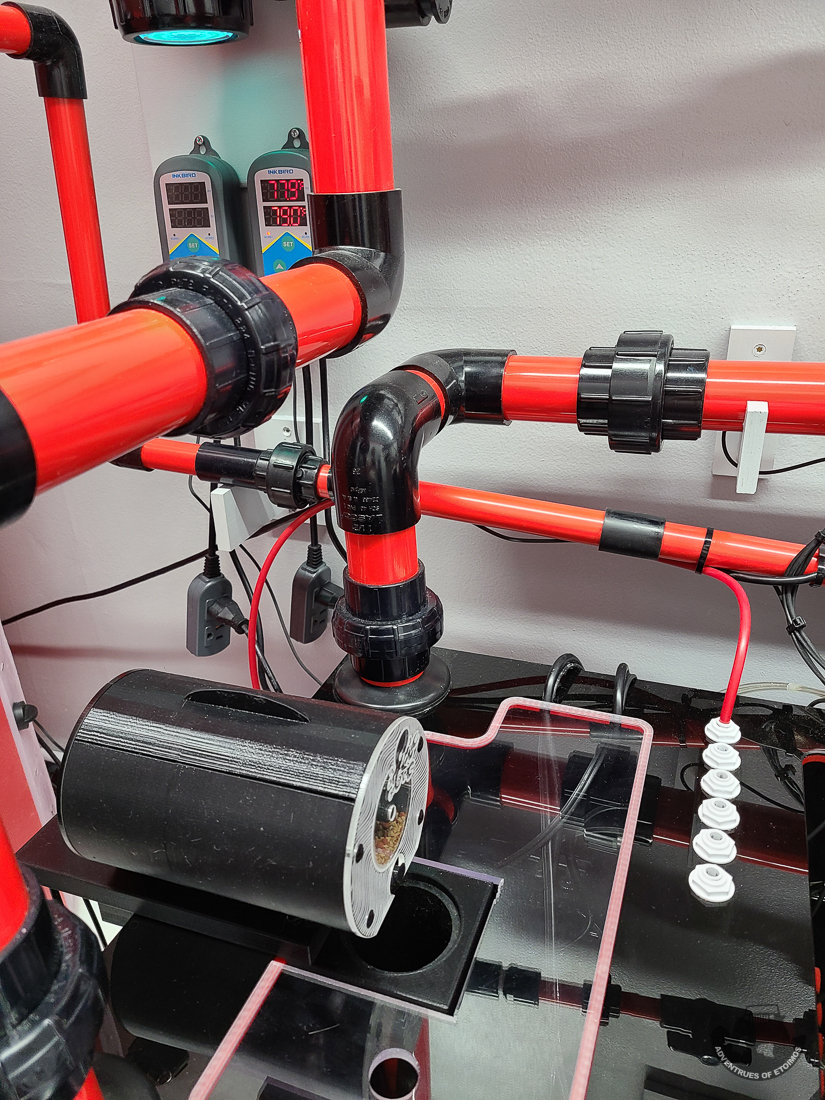
With everything modified and tested, it was time to mount it to the tank and let it do its thing while I'm at work or on trips.
With the correct sized bracket, I was able to test fit the Plank on my sump to see exactly where it would need to be to dispense food so that both of my return pumps would pick it up and broadcast feed from both ends of the tank.
This required me to cut the return section cover on the sump and make a longer tube for the Plank. In hindsight, I should have used my router to cut the opening out of the sump cover. I would have gotten a cleaner cut in the corner vs what I got with the jig saw.
I received programing help from a Reef2Reef member to setup my rather complicated feeding program. I typically feed frozen food twice a day when I'm around, but that is not really possible when I'm gone for the weekend or out on one of my overlanding trips. So now I have a "vacation" slider on my Apex dashboard that will increase the number of times dry food is fed to the tank to make up for them not getting the frozen food. And since you never want to test an auto feeder on your tank, I first set mine up on the counter to test how much food my program would actually feed to the tank over the course of a day.
With everything modified and tested, it was time to mount it to the tank and let it do its thing while I'm at work or on trips.