
A Golden Reef Tank (v2)
- Thread starter halmus
- Start date


NickP;n673905 said:
WTF Dude.....LOL. I can't even comprehend how all that fits together thru the photos! Would love to come check it out sometime though if that is possible! Pretty sick work though. Well done!!!!!
I'm definitely going to have some sort of "open house" or party or club meeting at the house once water is flowing and rock is in the tank. There won't be a lot to see as far as livestock, but people might enjoy seeing things in the early stages. I will be doing a lot of electronics automation over the years outside of the standard Apex type controllers. So, everyone will be able to see the before and after.
(I got your PM. I'll respond soon. Today, I need to dig into the light rack on the display and start making progress again)
TheRealChrisBrown;n673909 said:
Looking through all of the pictures again makes us all appreciate the quality of this build.....again! Thanks for re-building the post, that must have been a pretty consuming project as well. Which site did you choose to host the pictures?
")
I'm using Flickr. I think I'll have to pay a modest monthly fee once the trial runs out but it's better than the annual $400 photobucket wants with a gun to my head. I'm all for companies making money. They're providing a service. I'm less inclined to pay someone money under the circumstances PB created. (I'm using a lot of restraint to keep that statement professional and family friendly.)
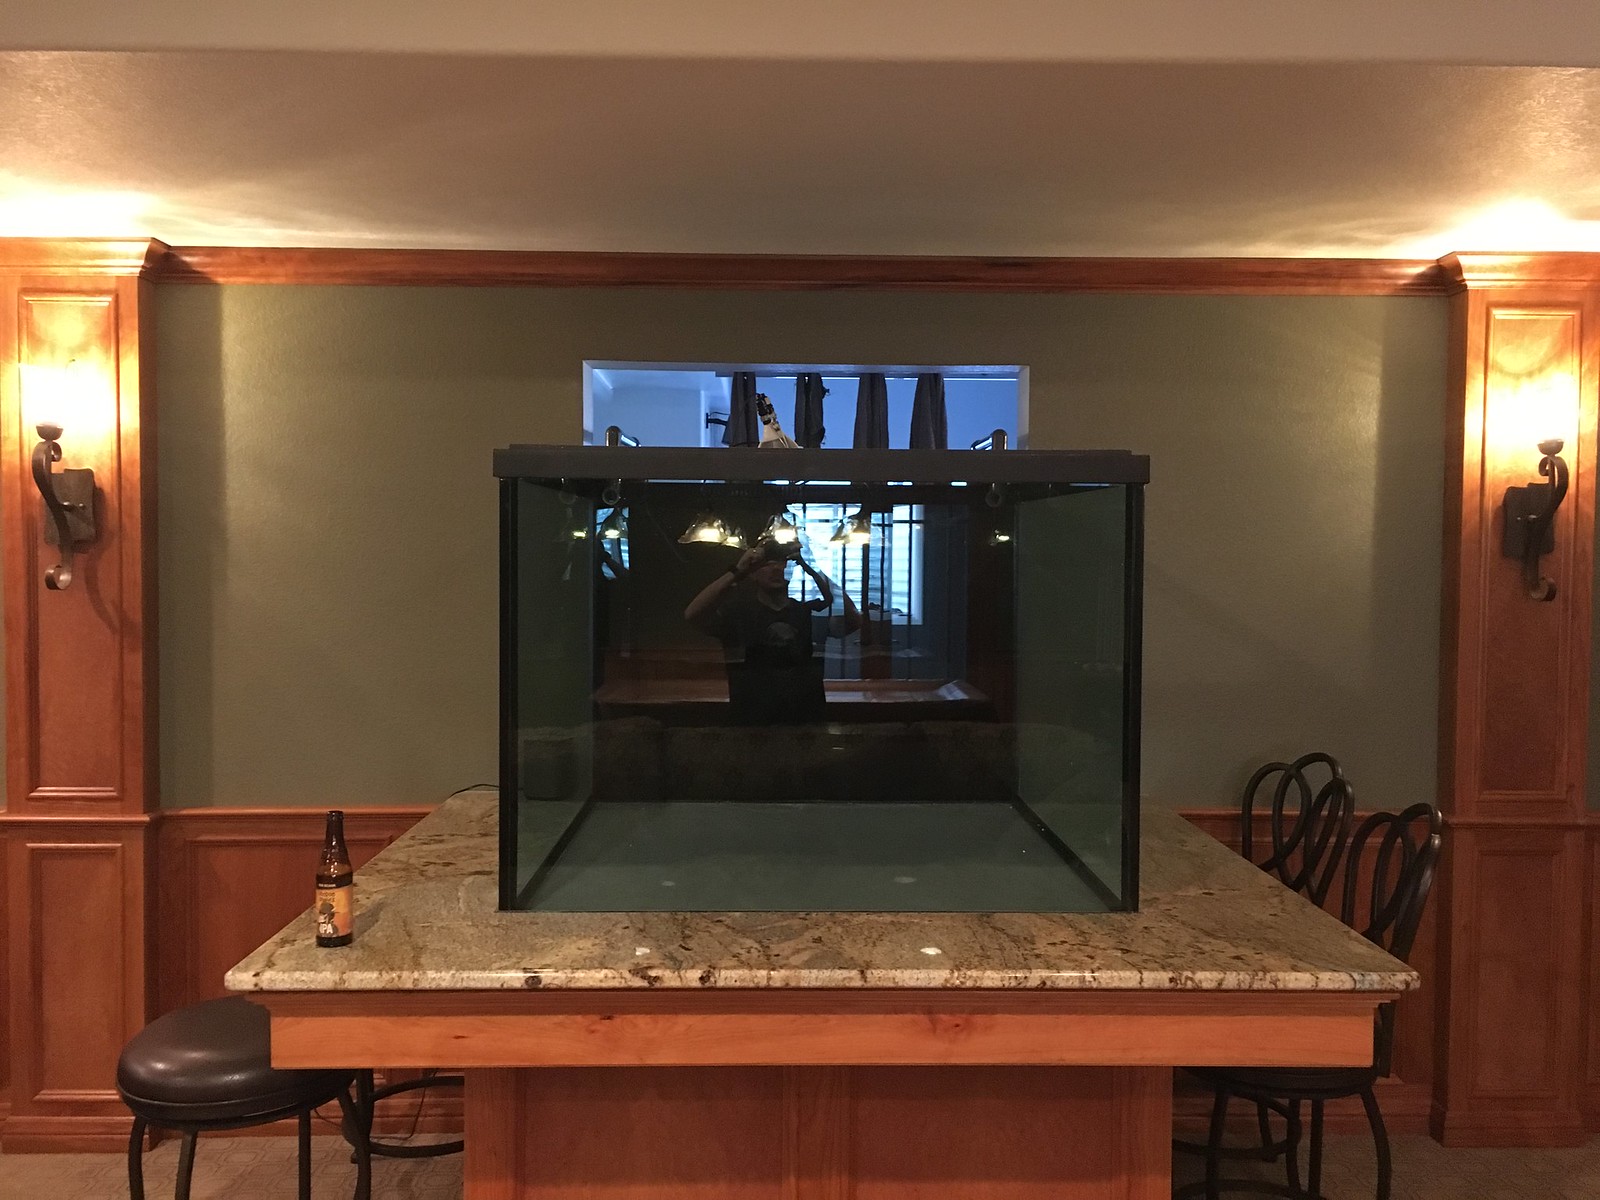
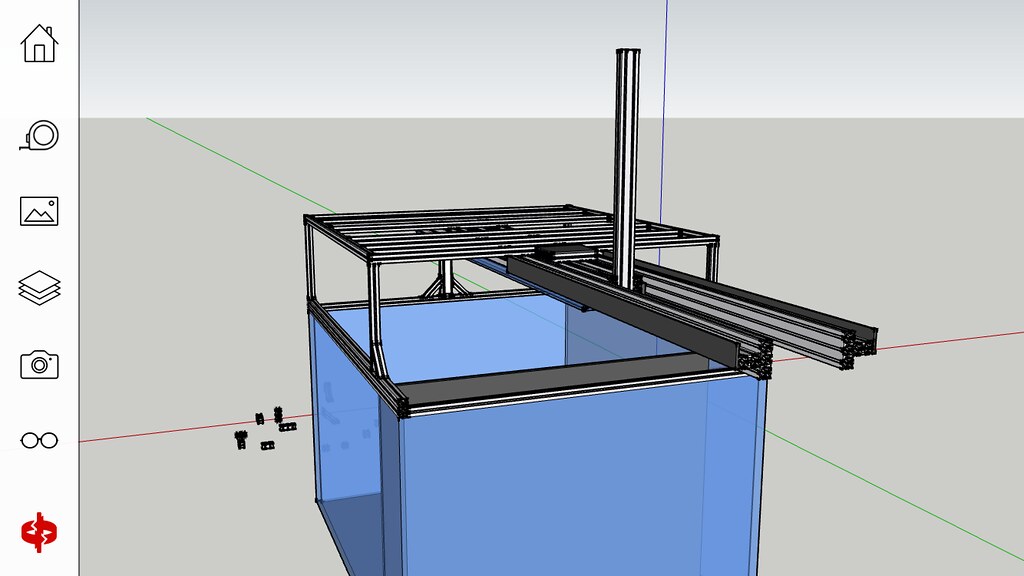
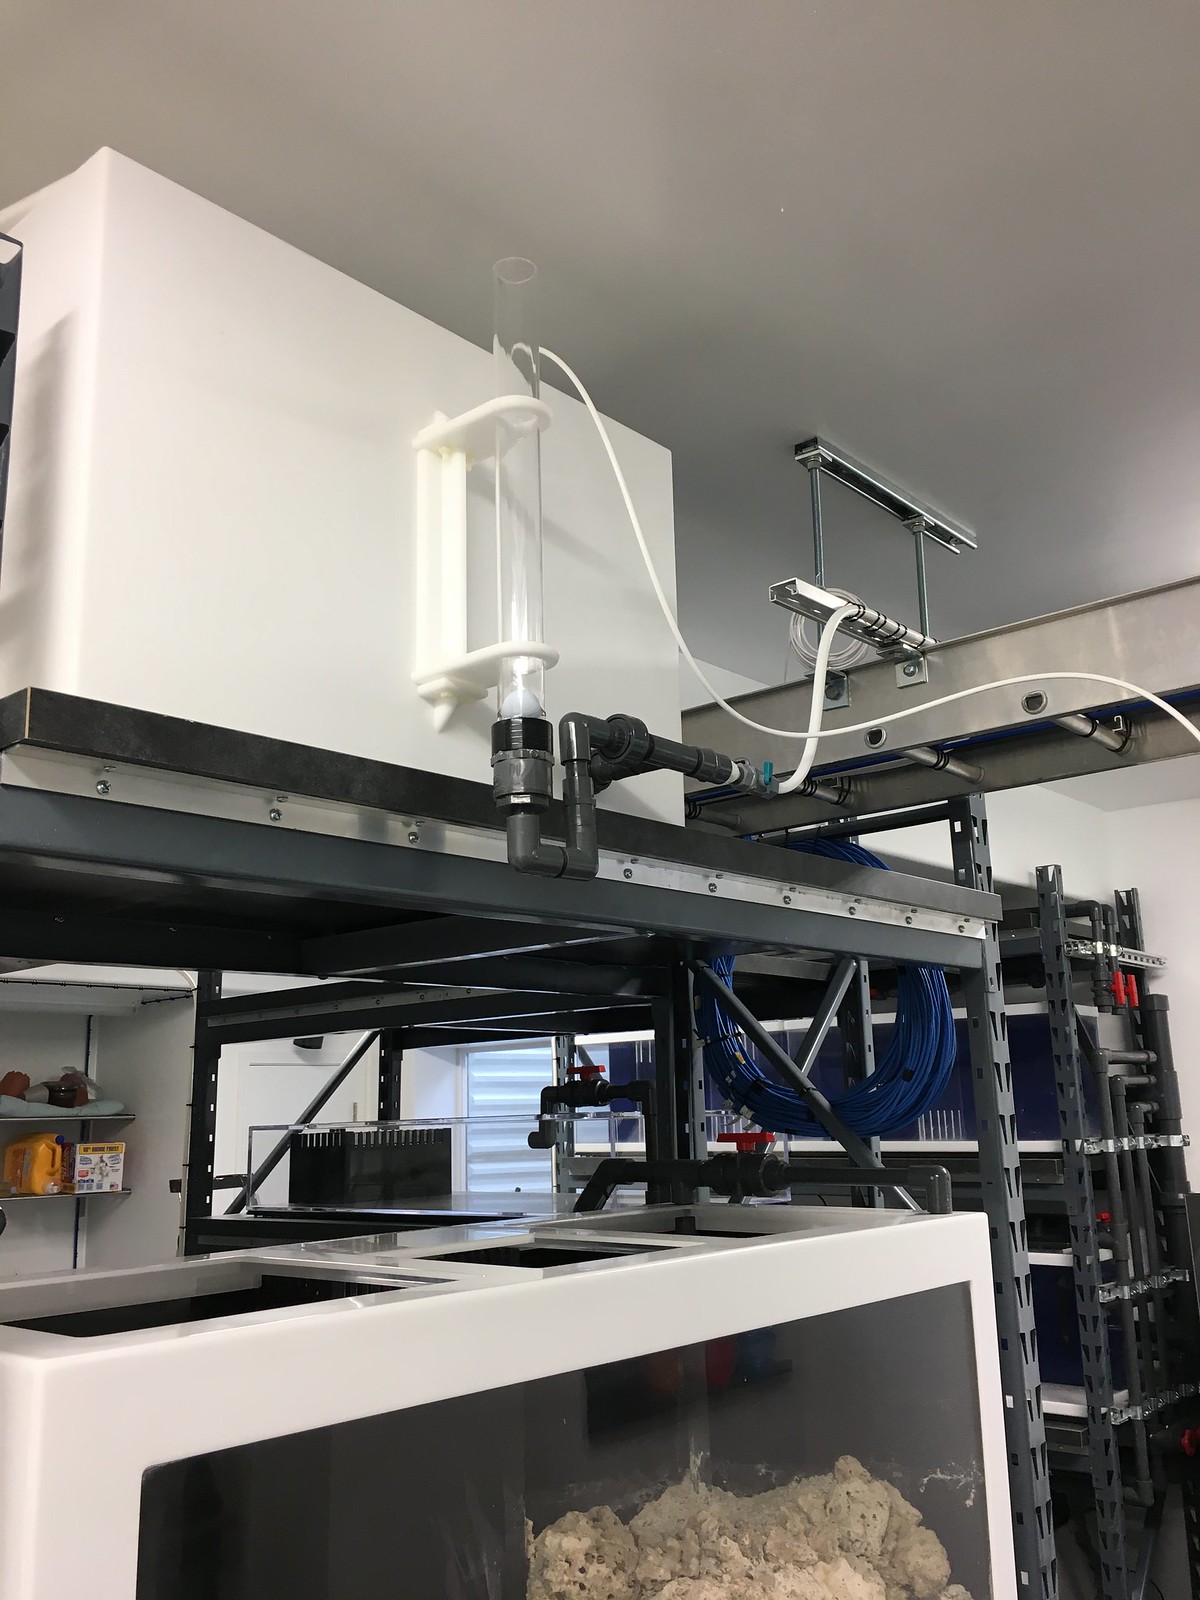
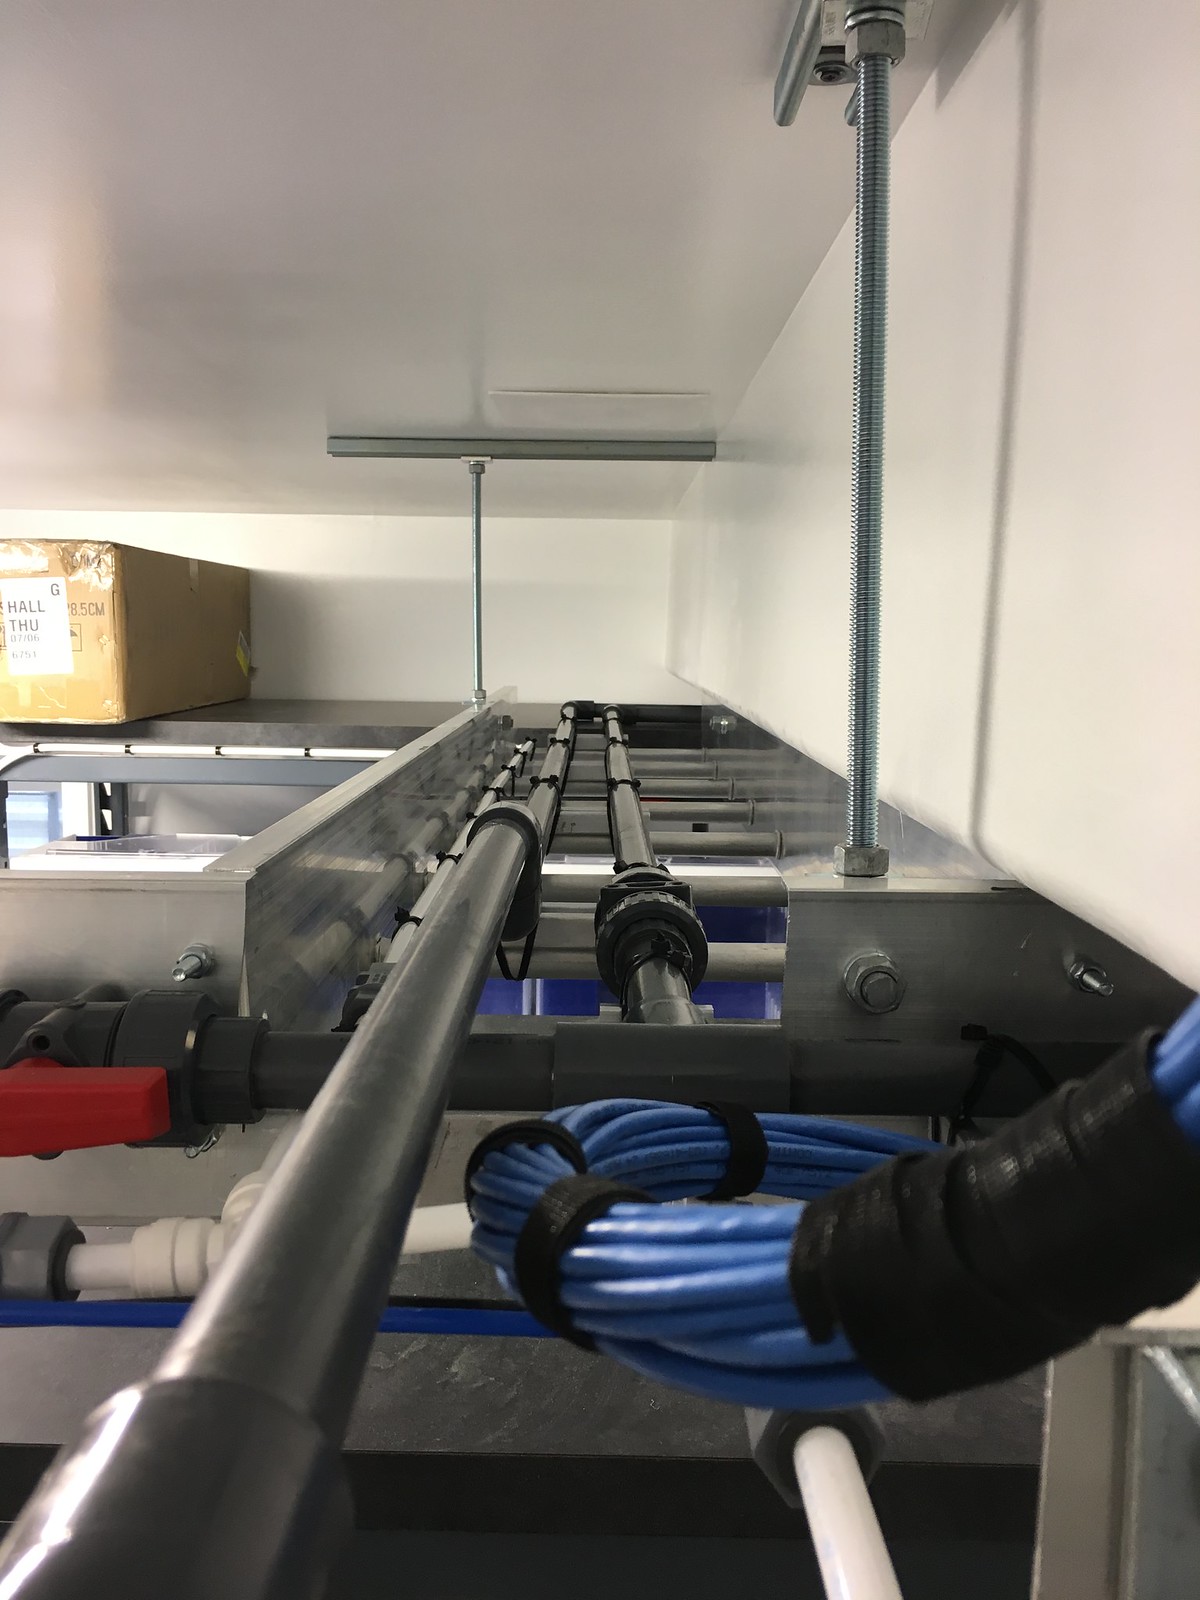
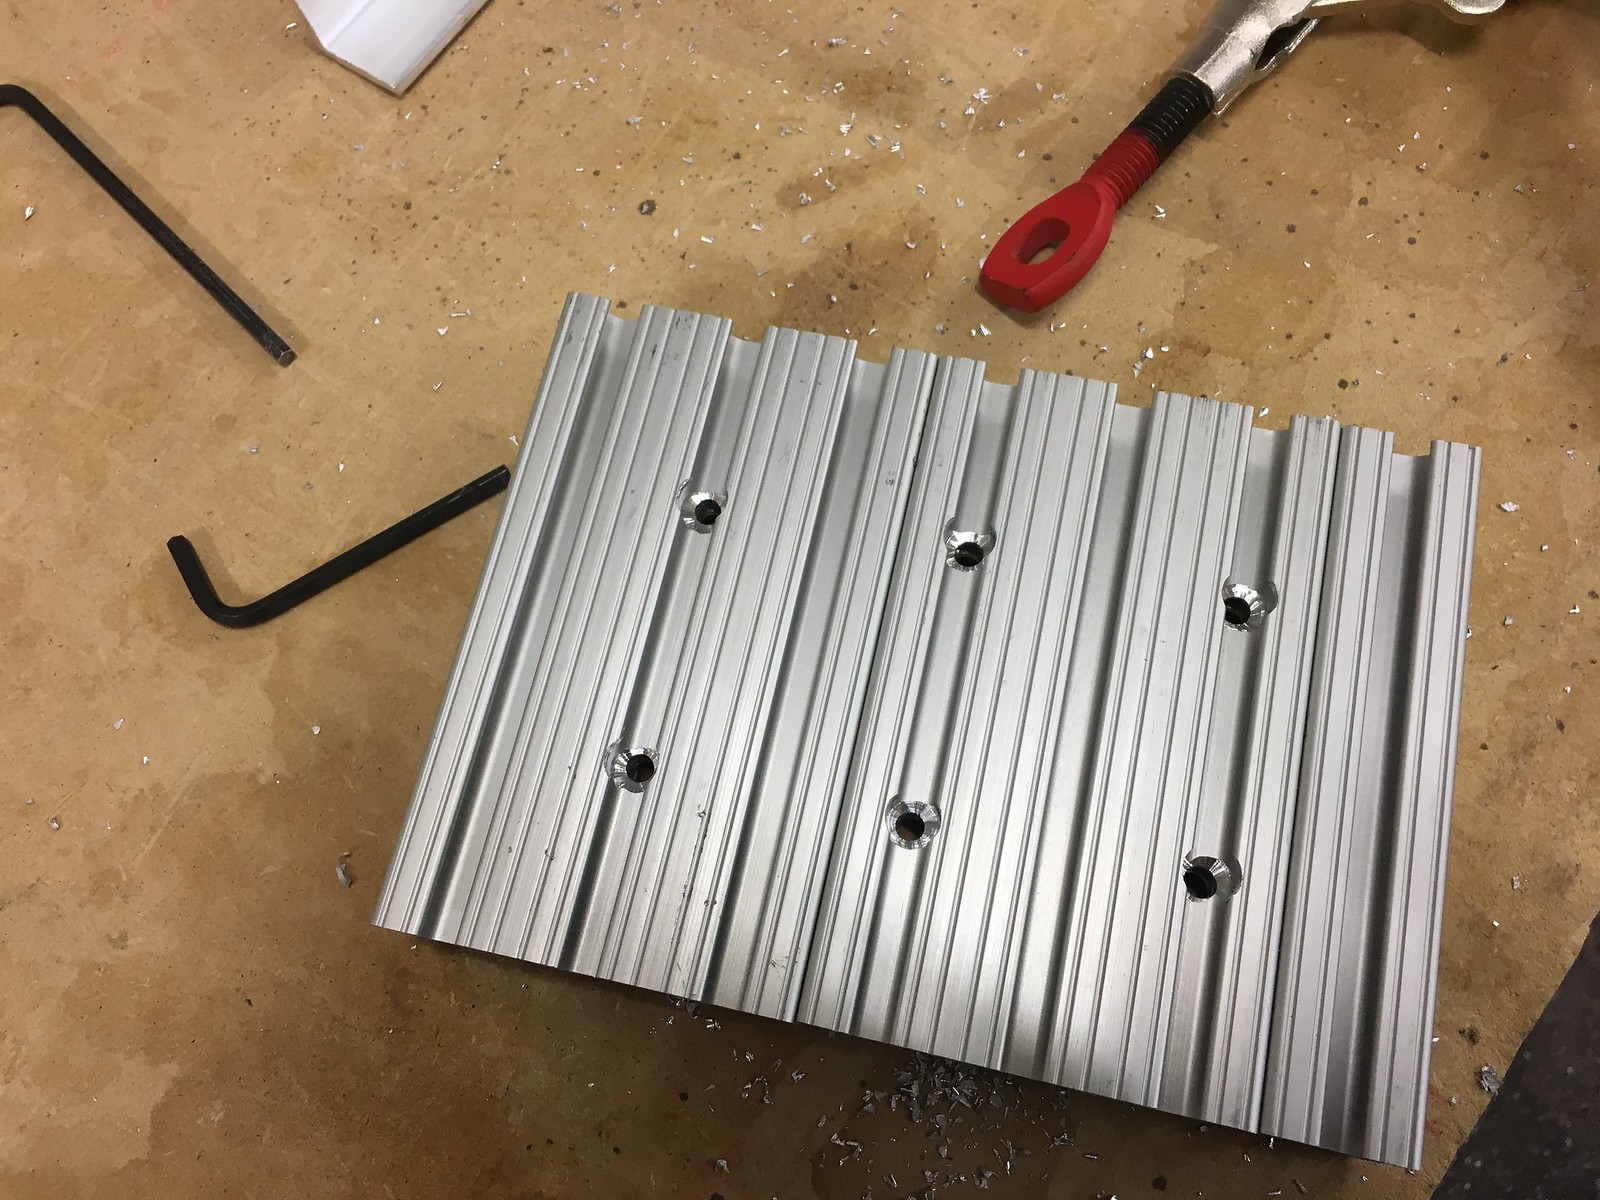
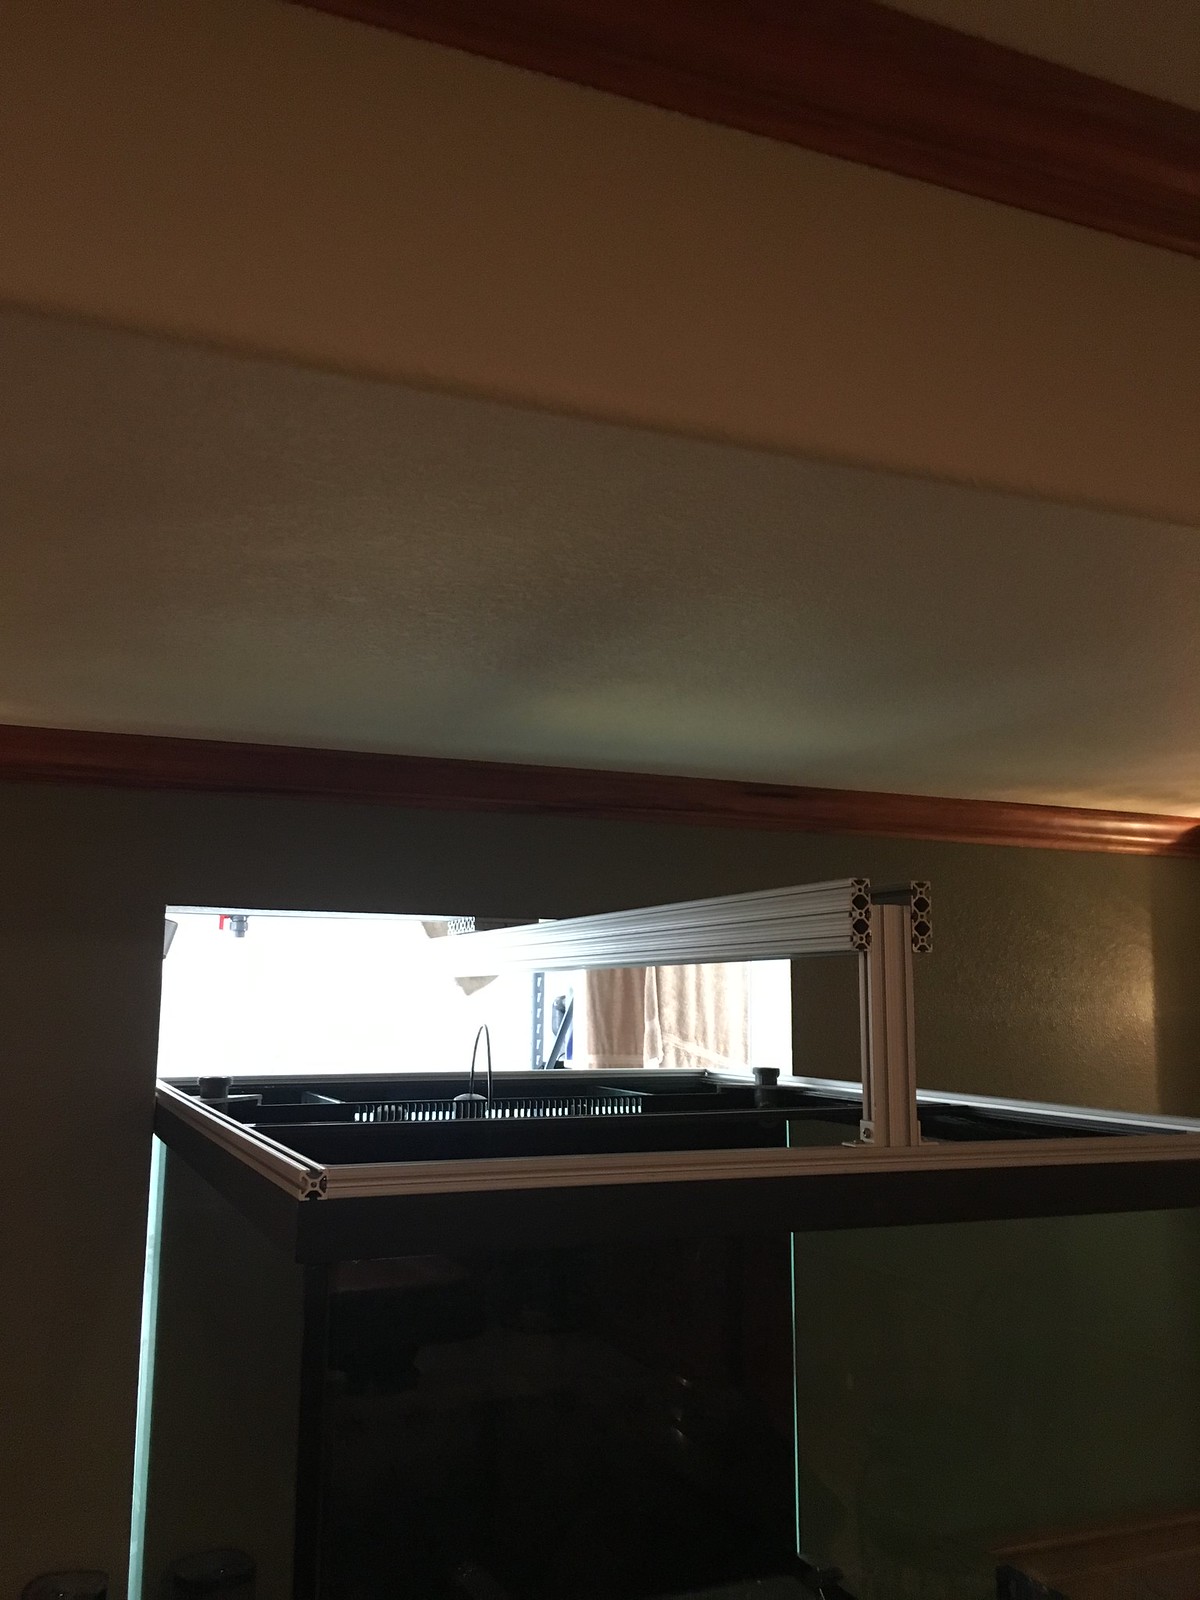
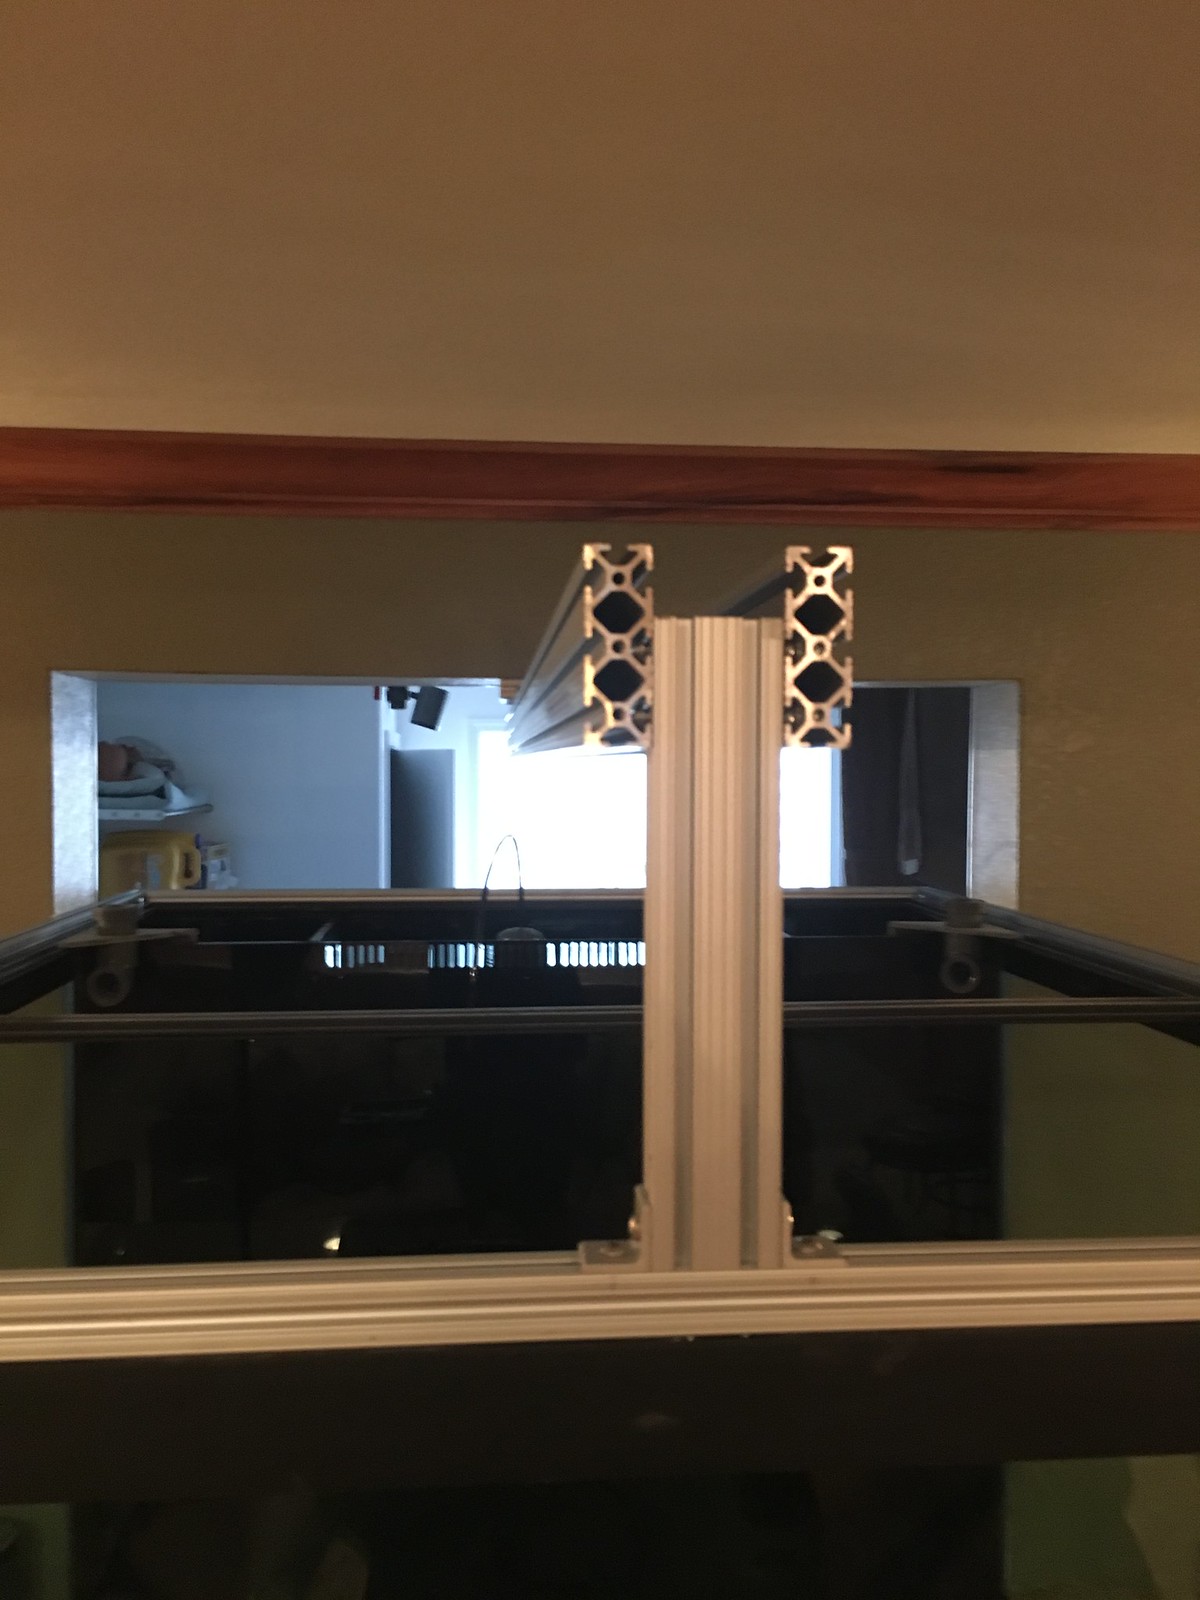
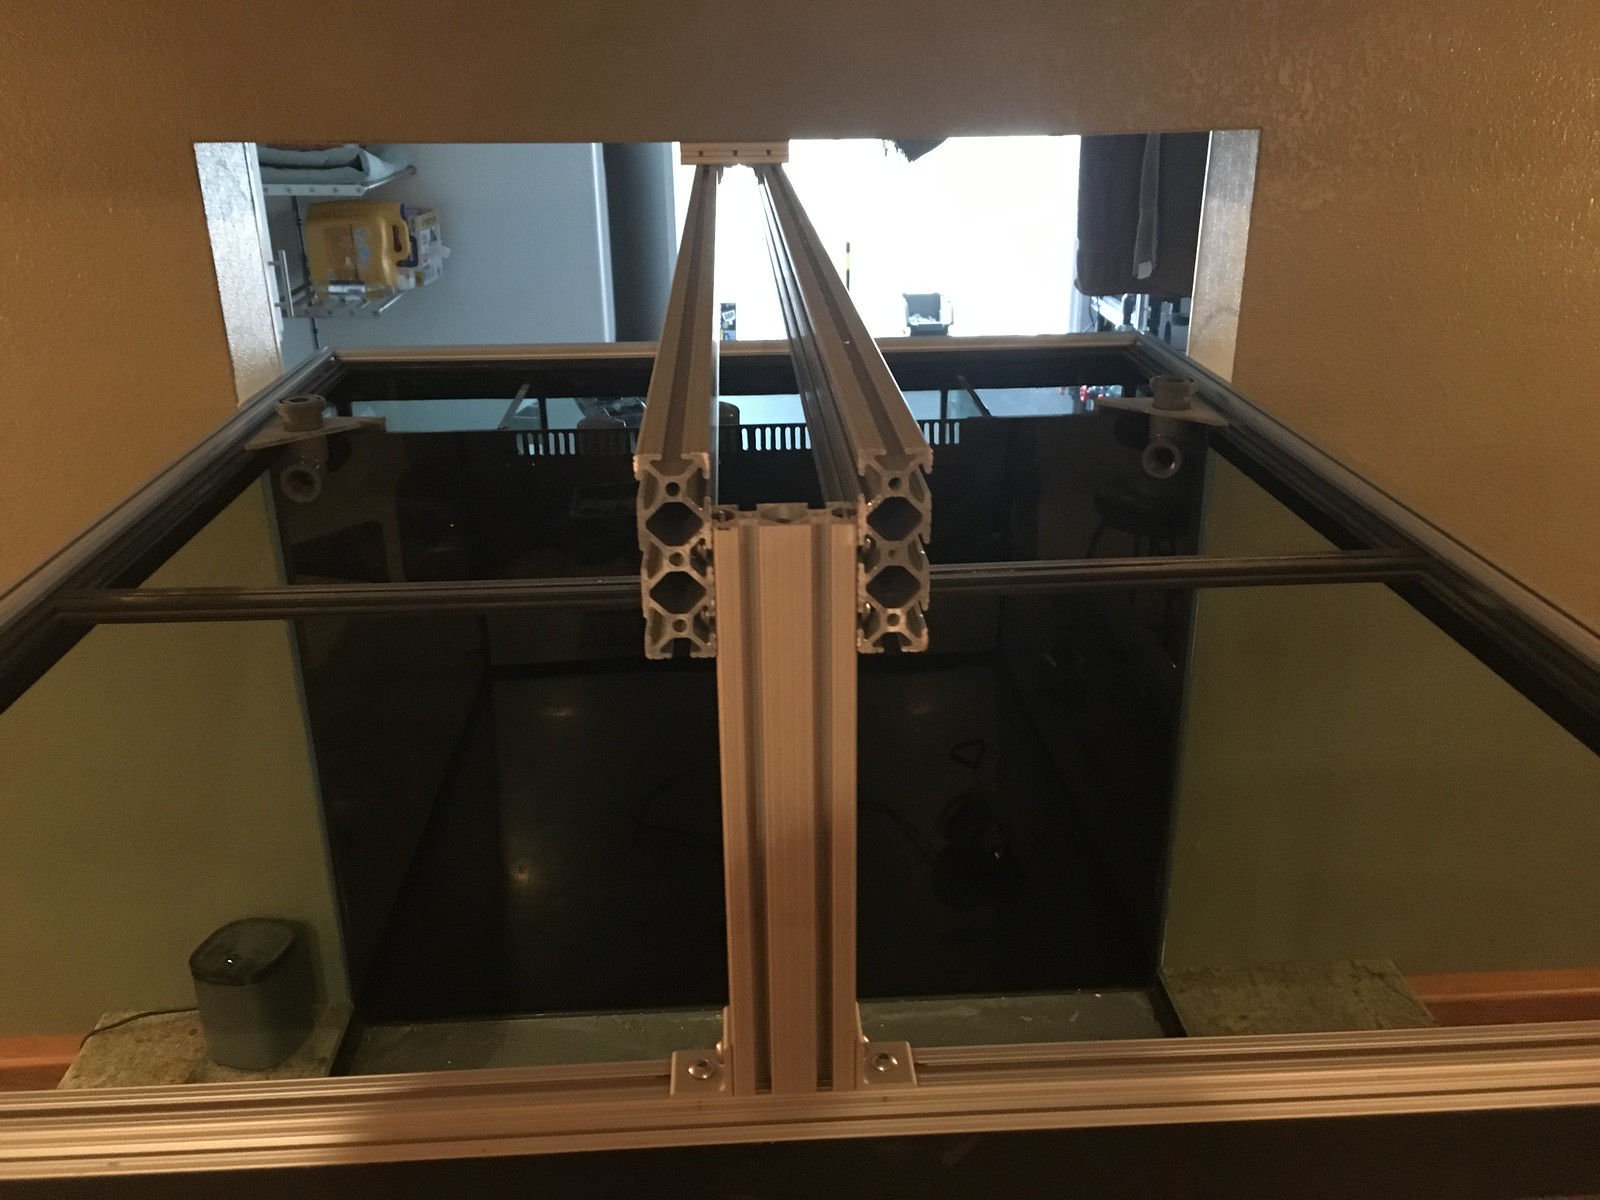
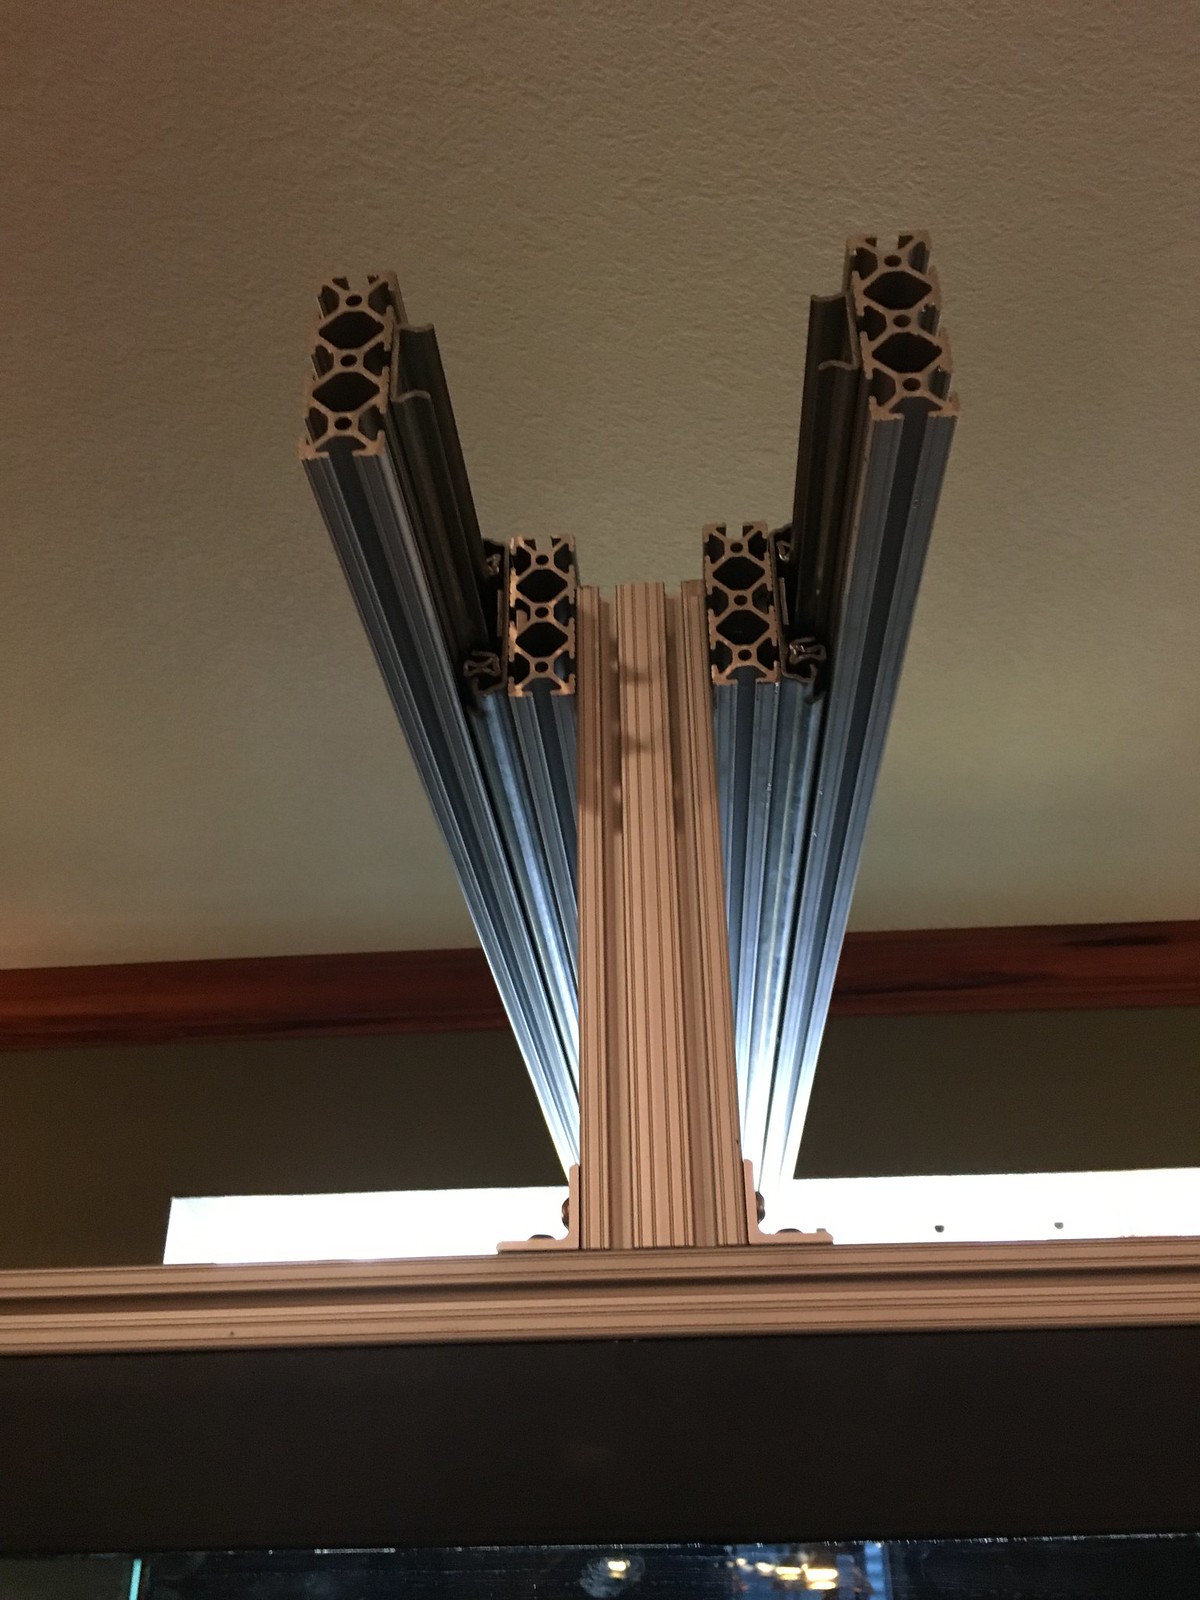
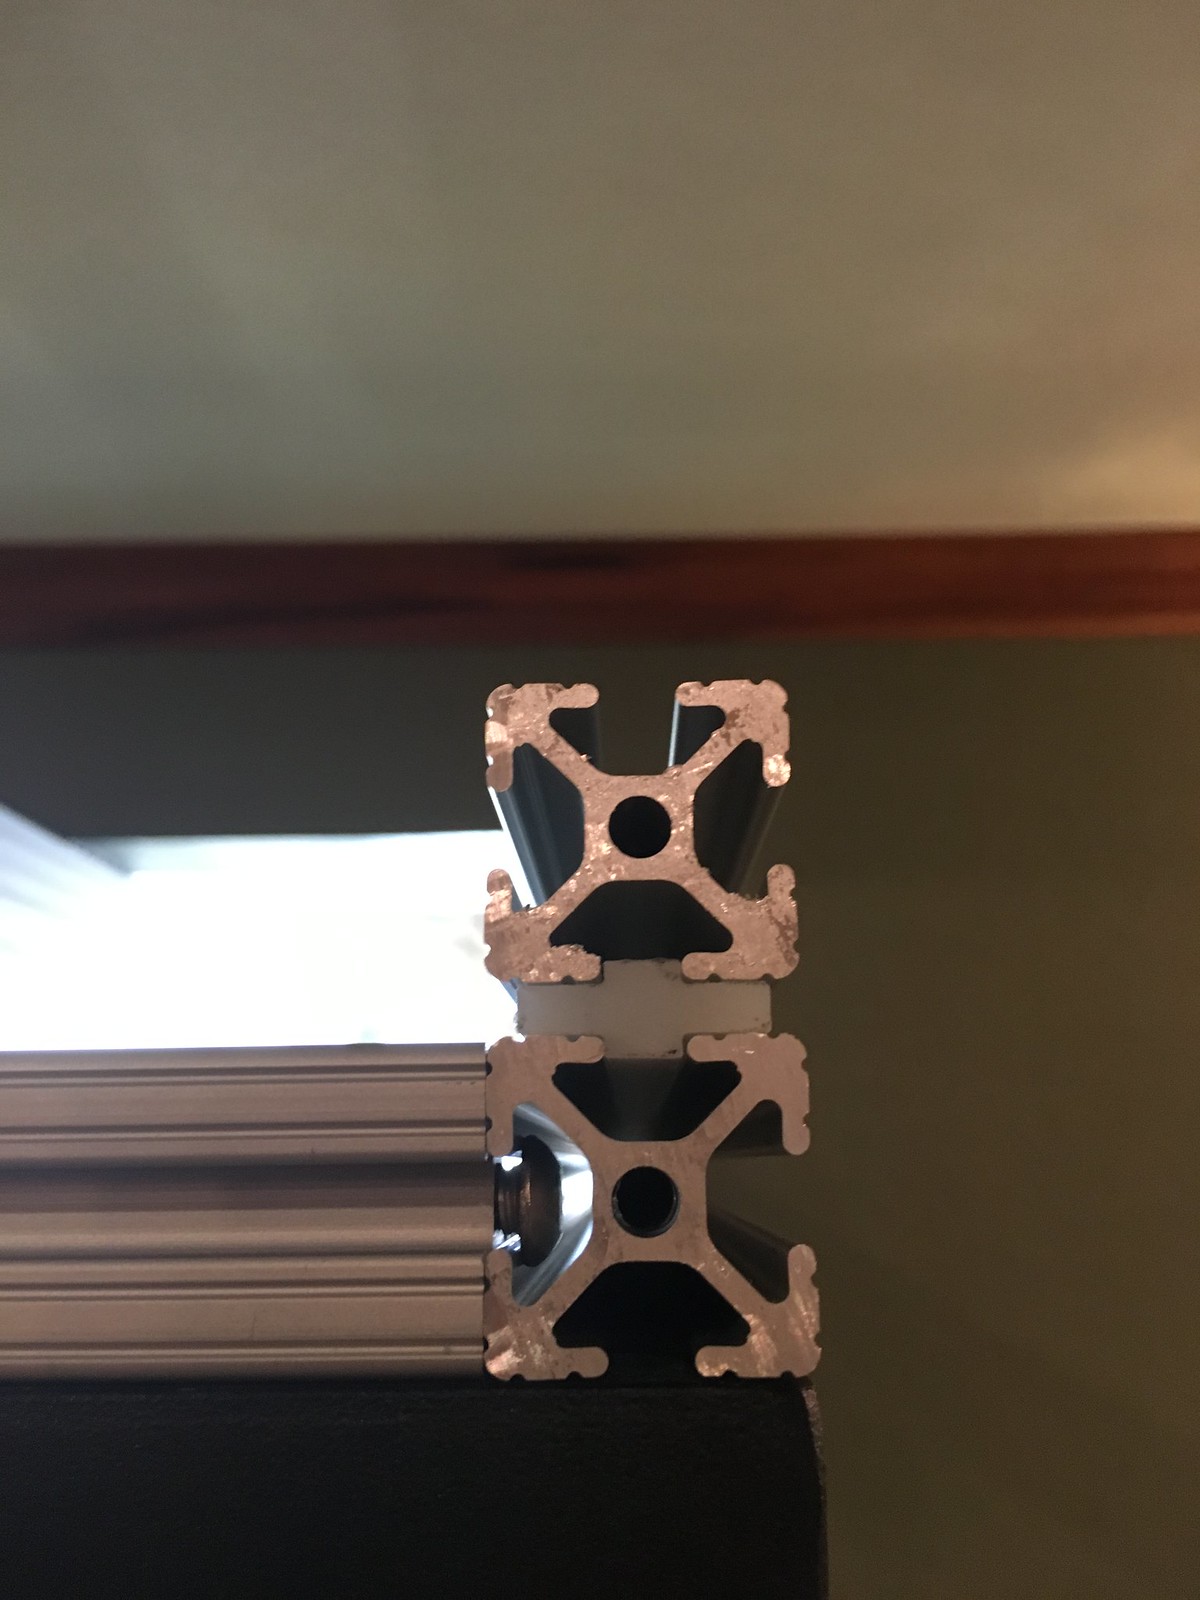
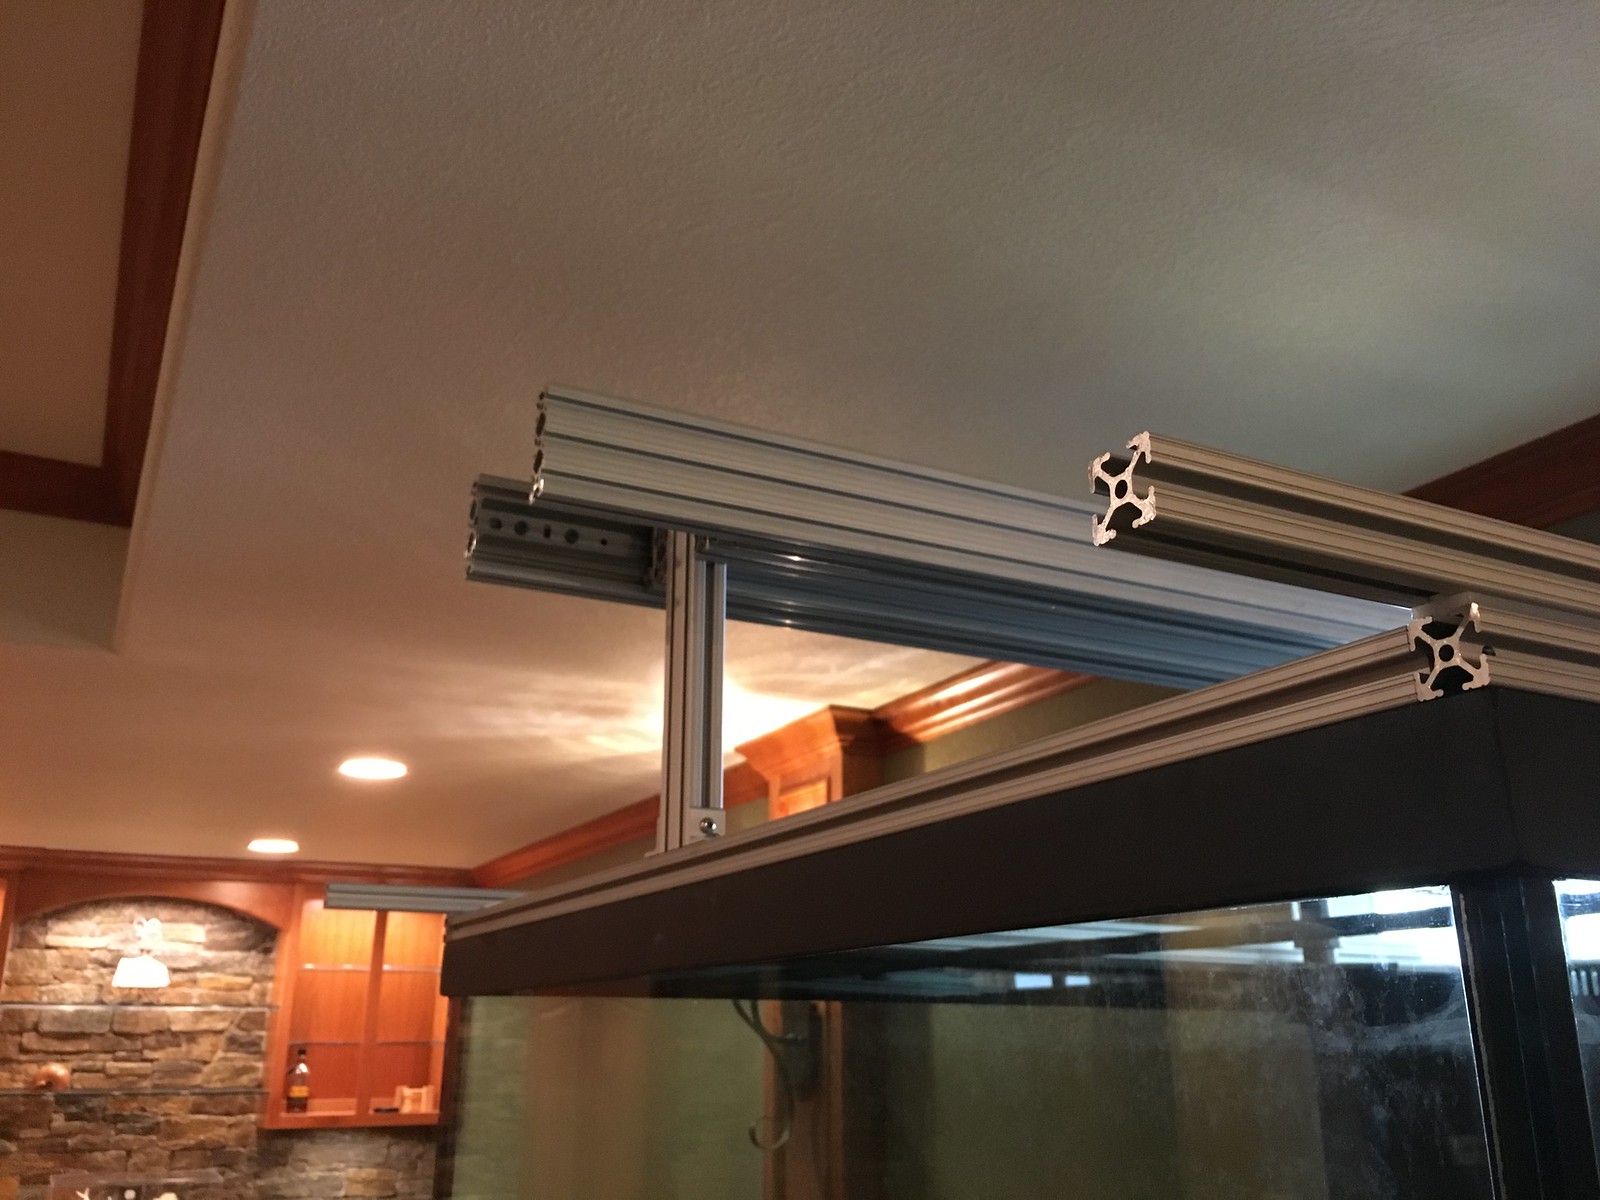
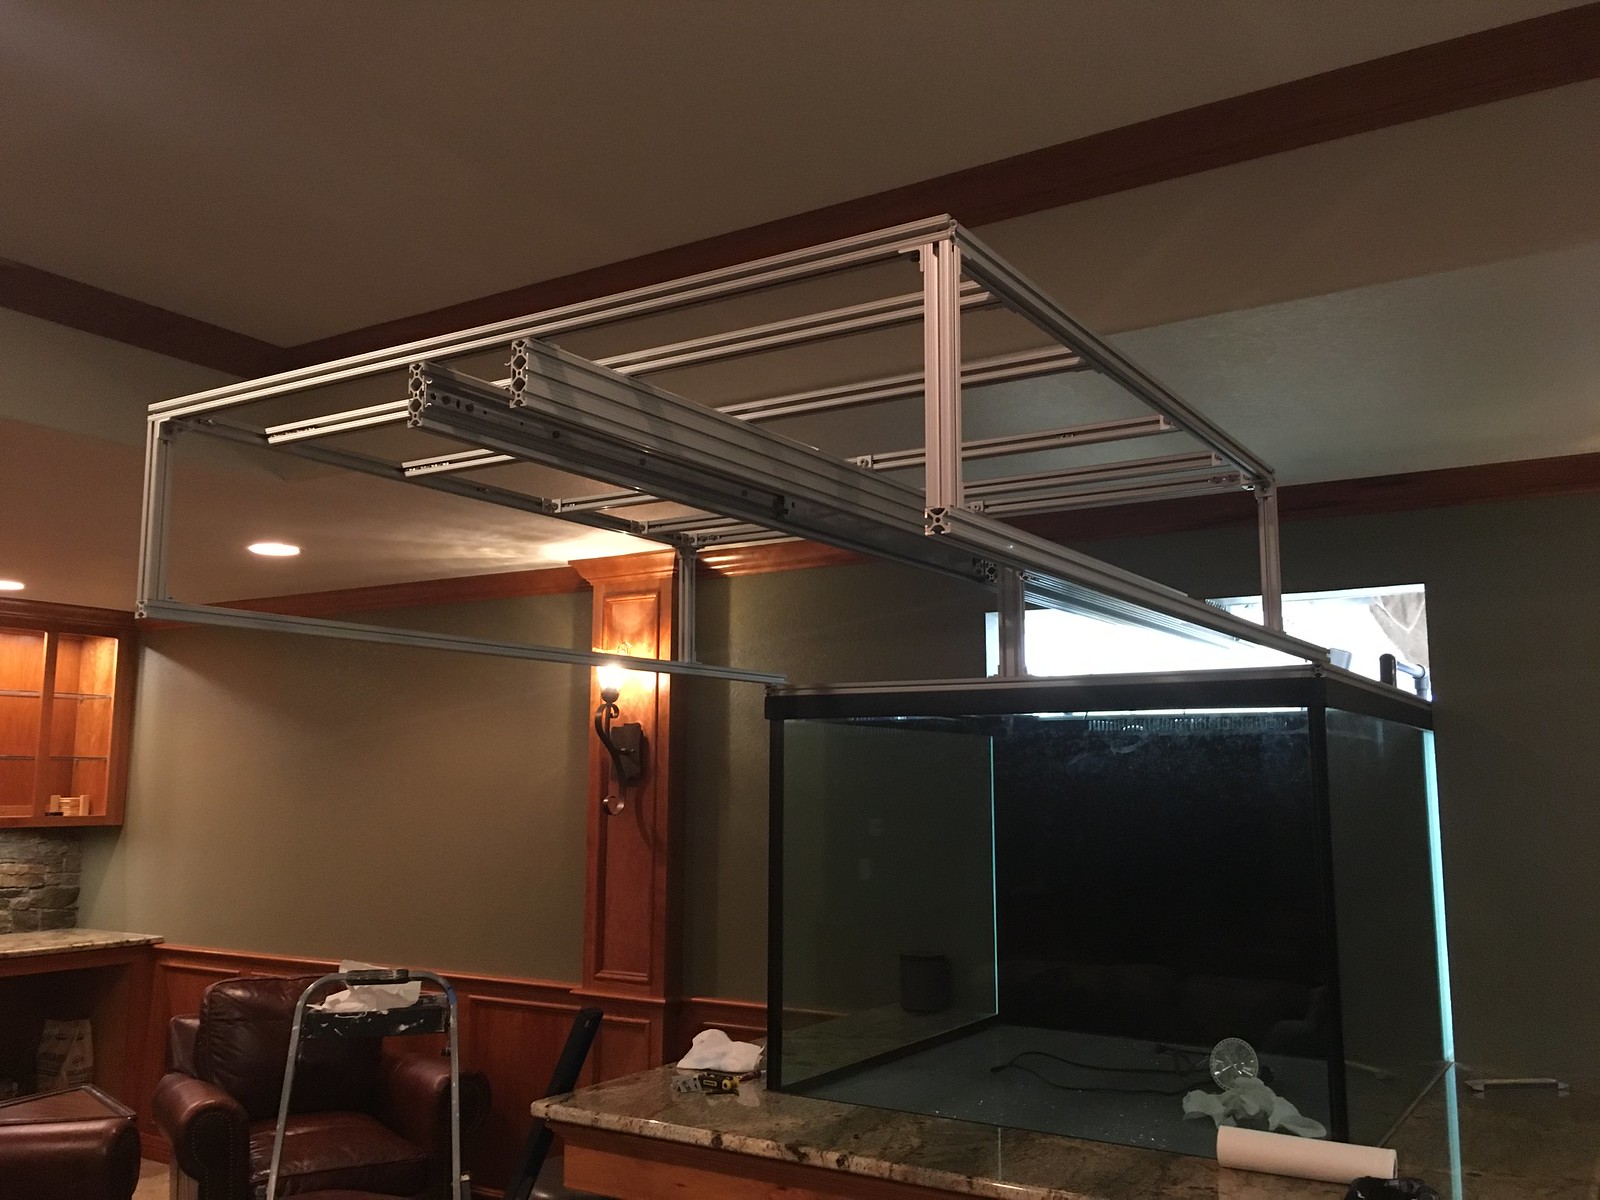
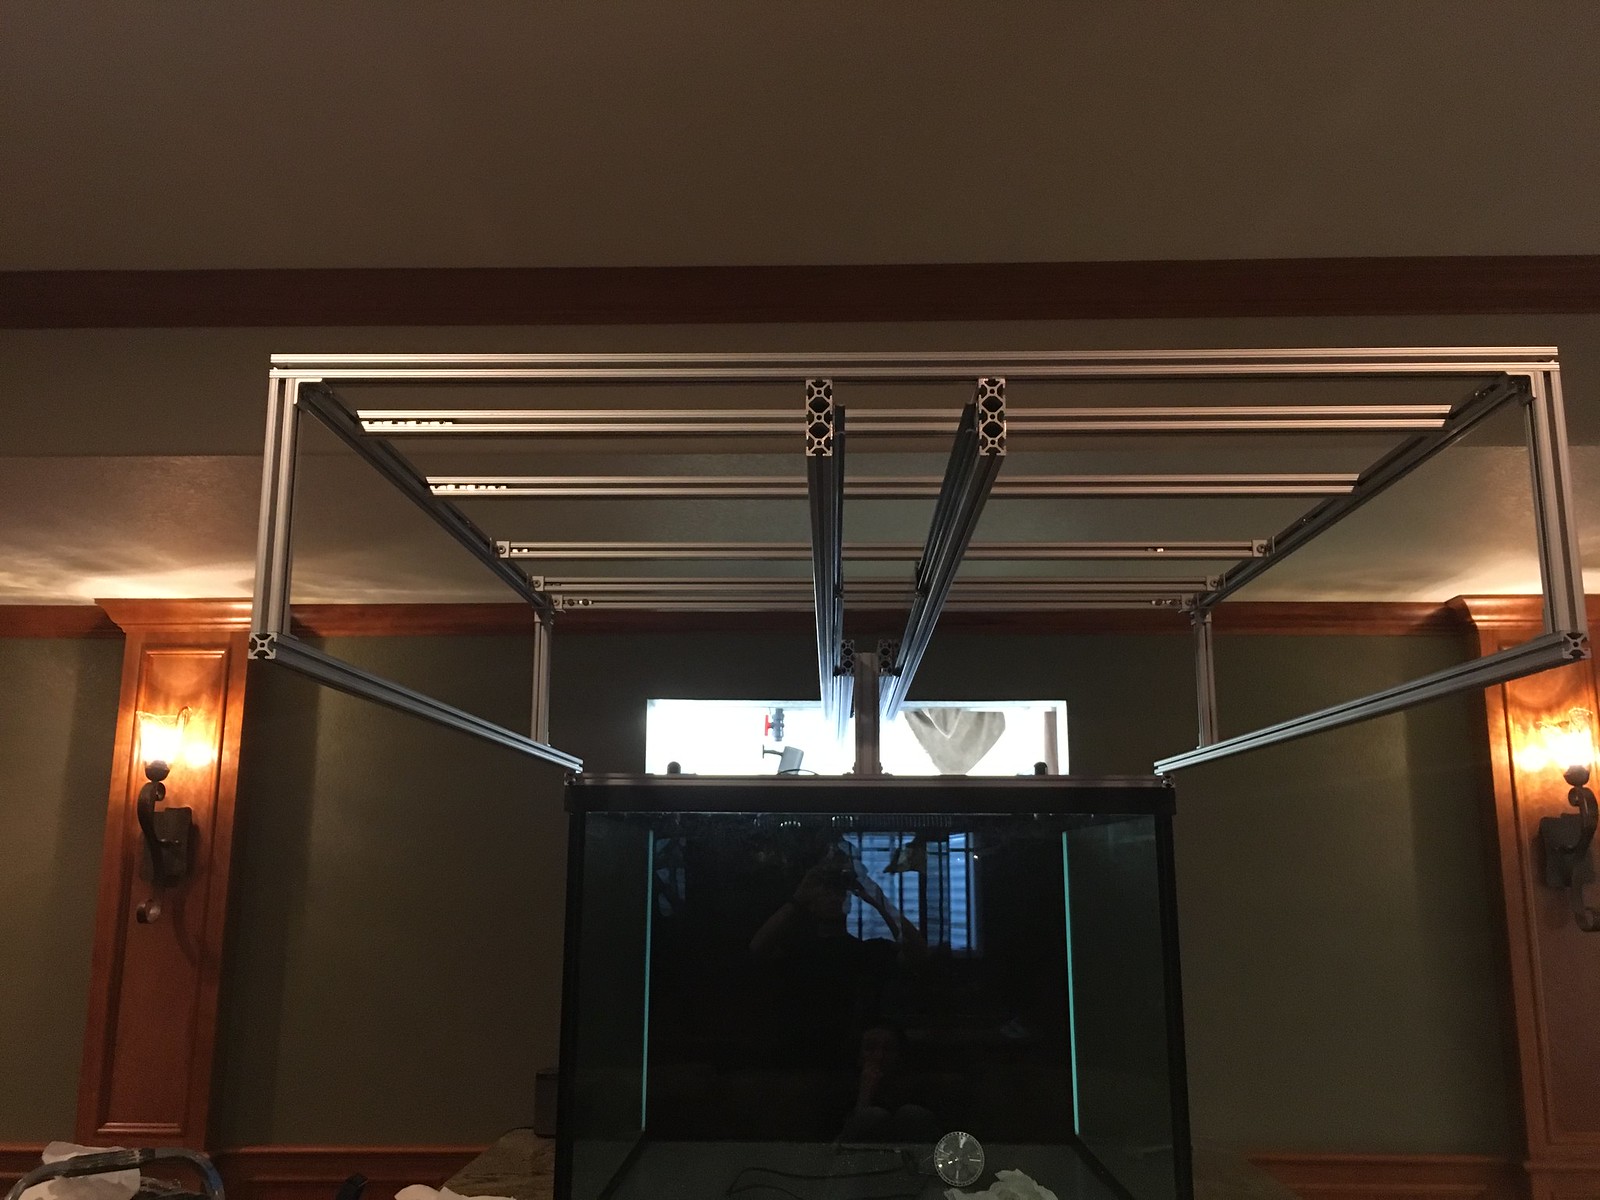
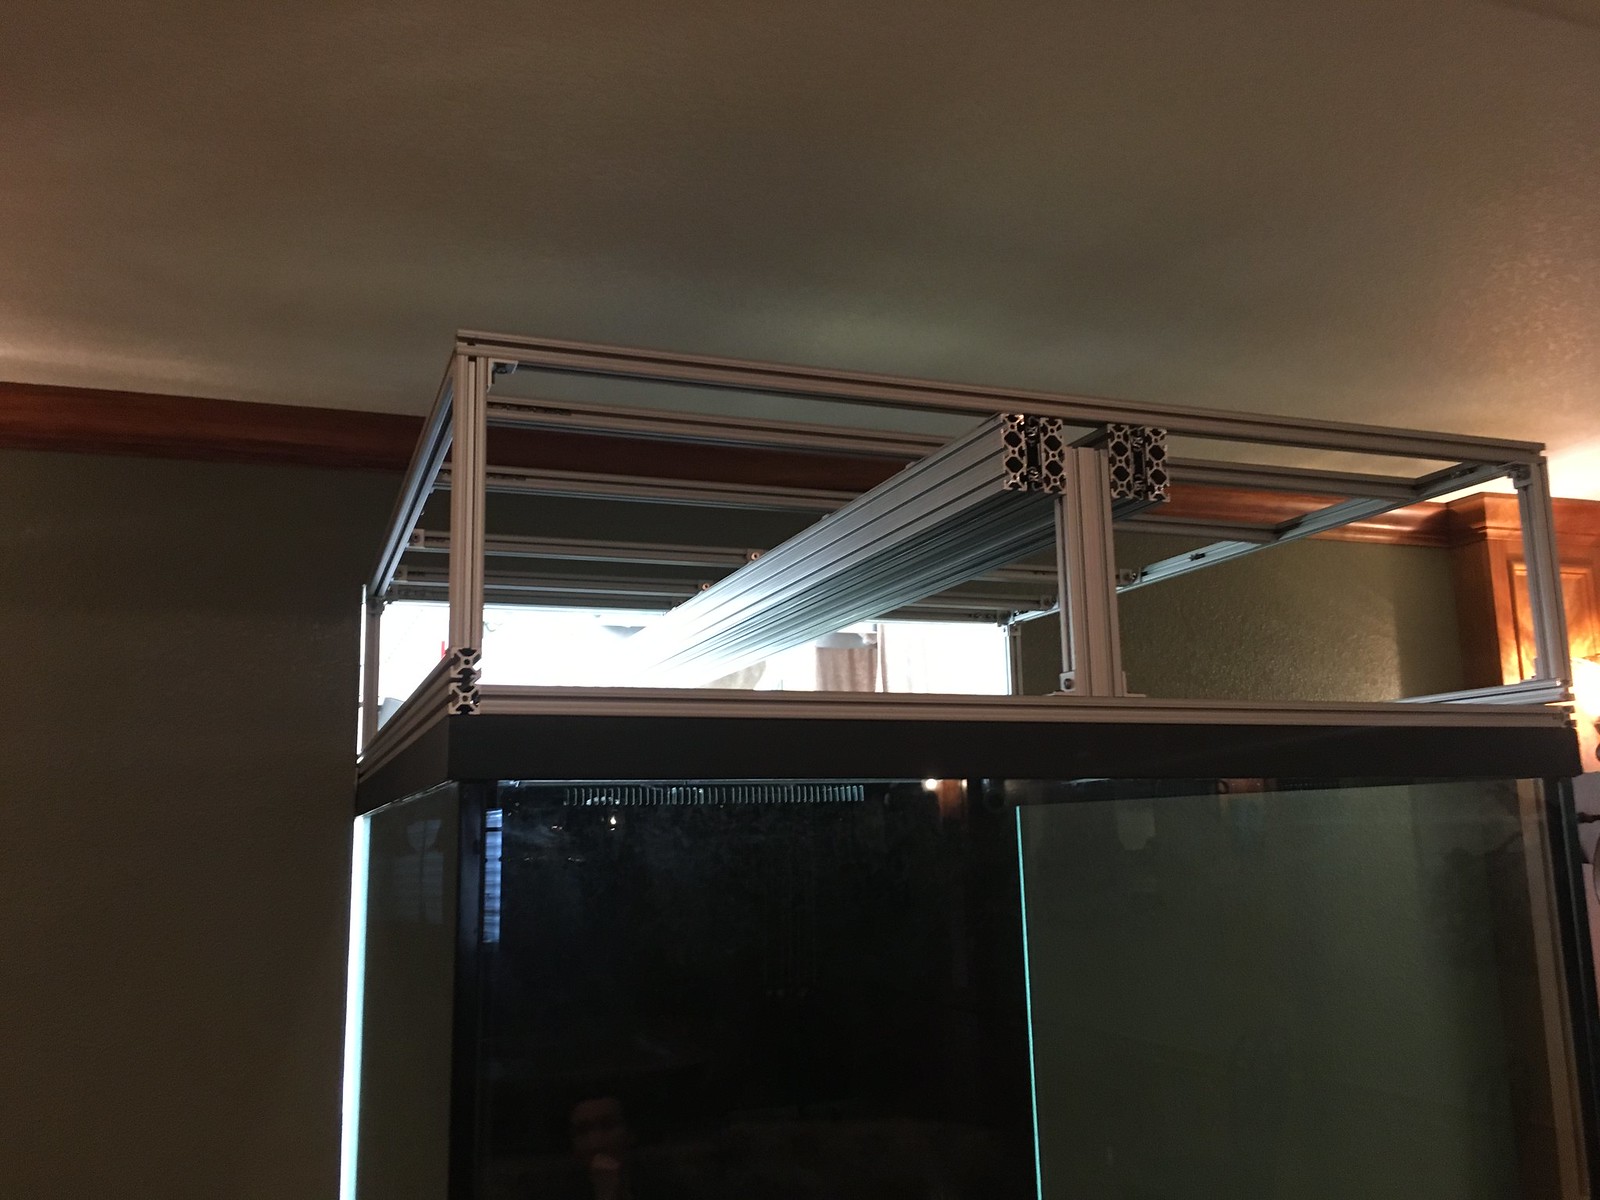
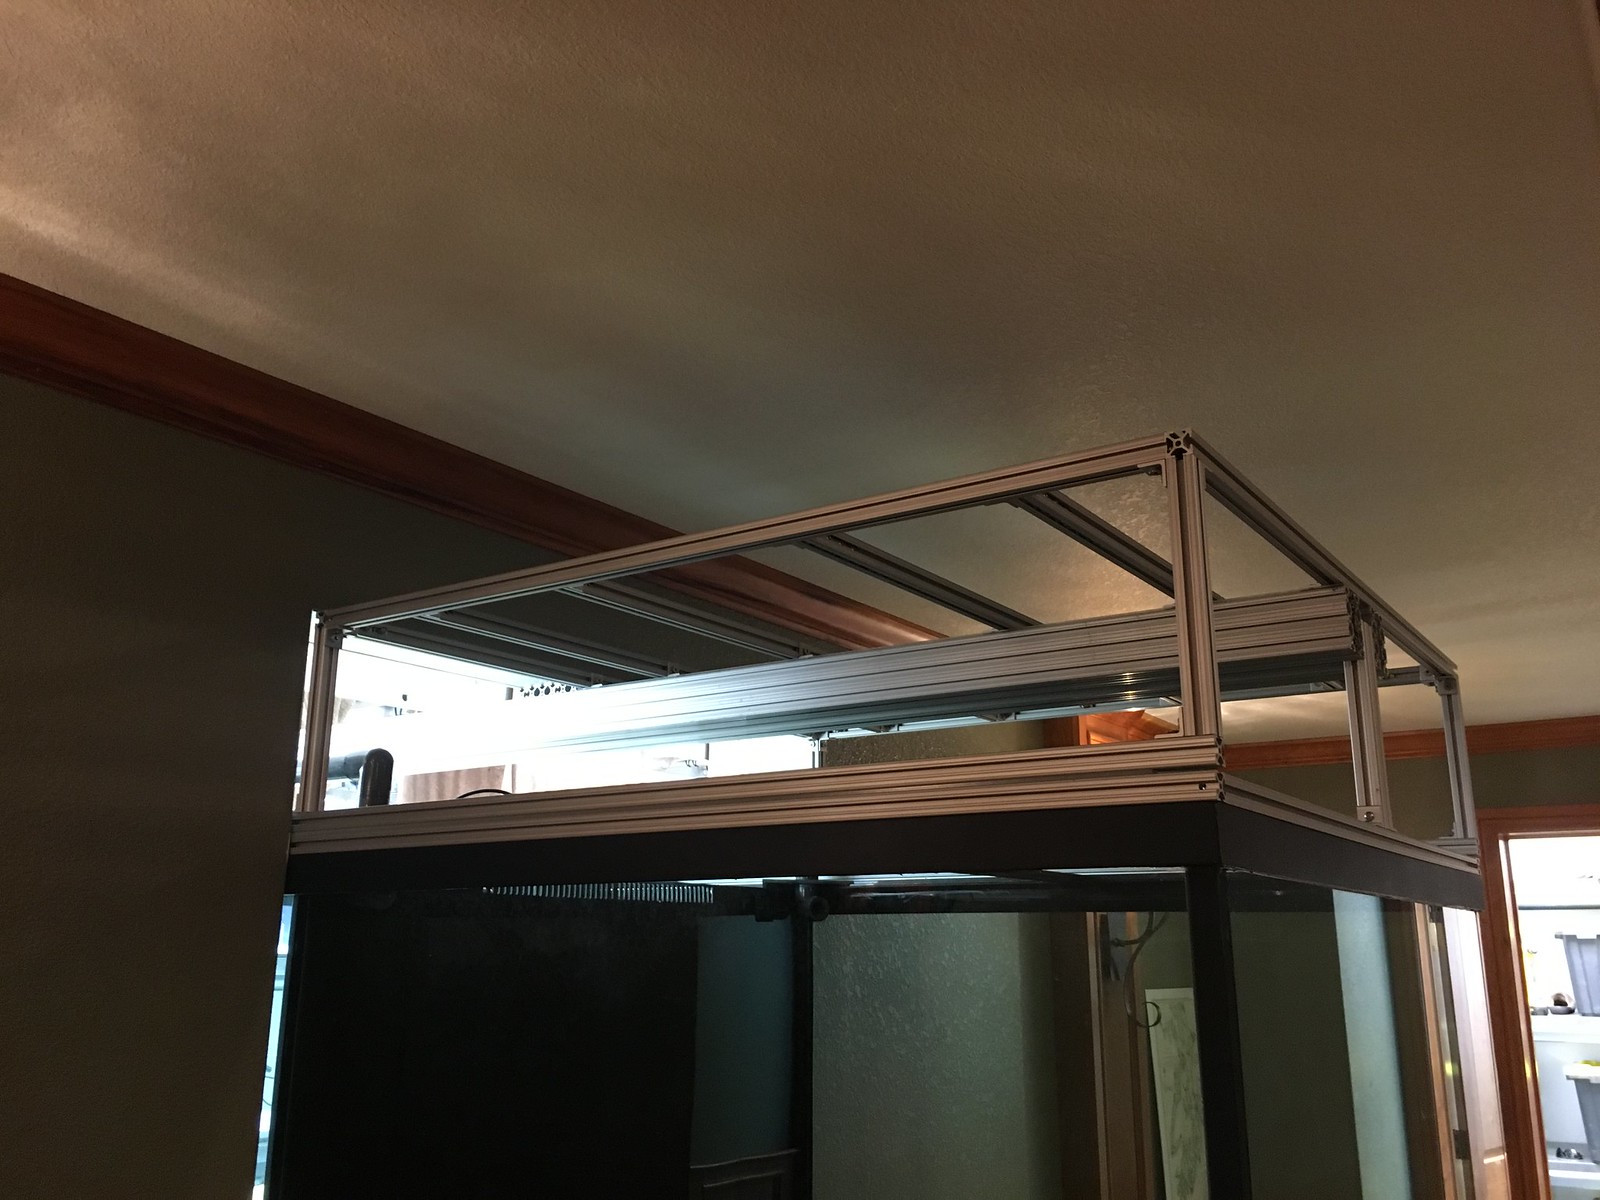
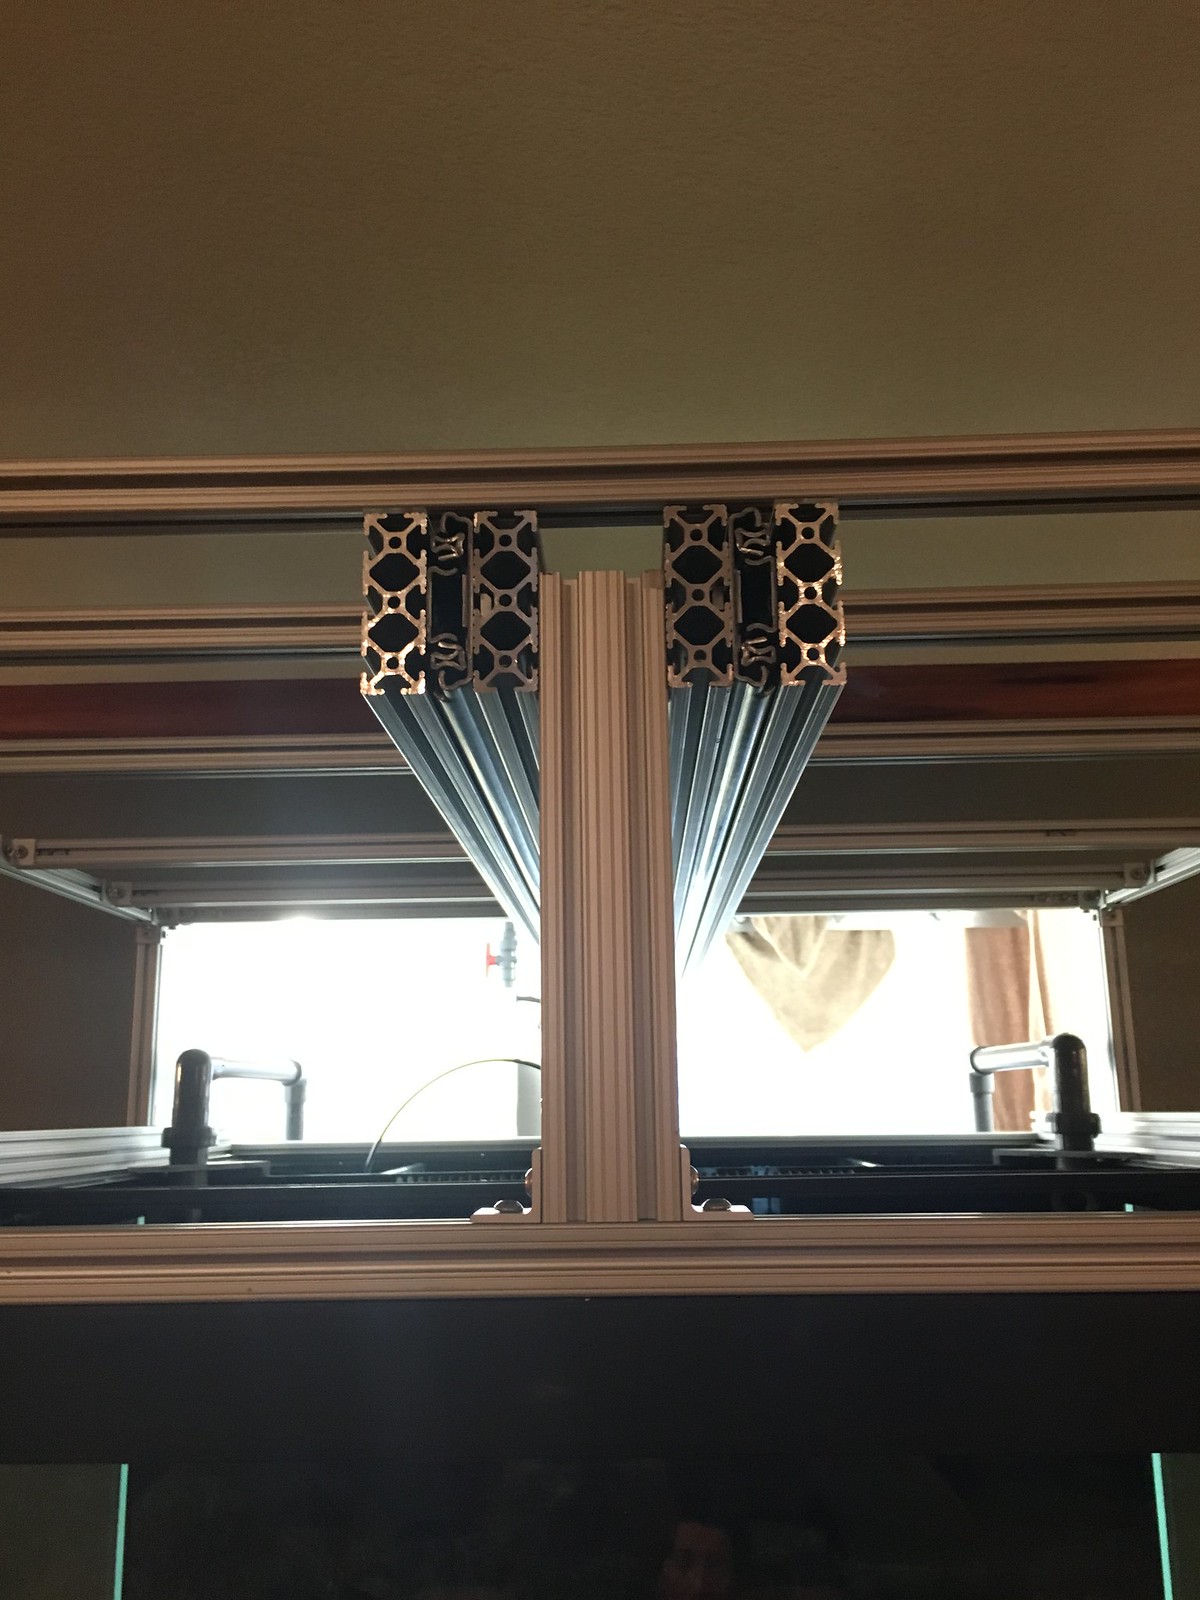
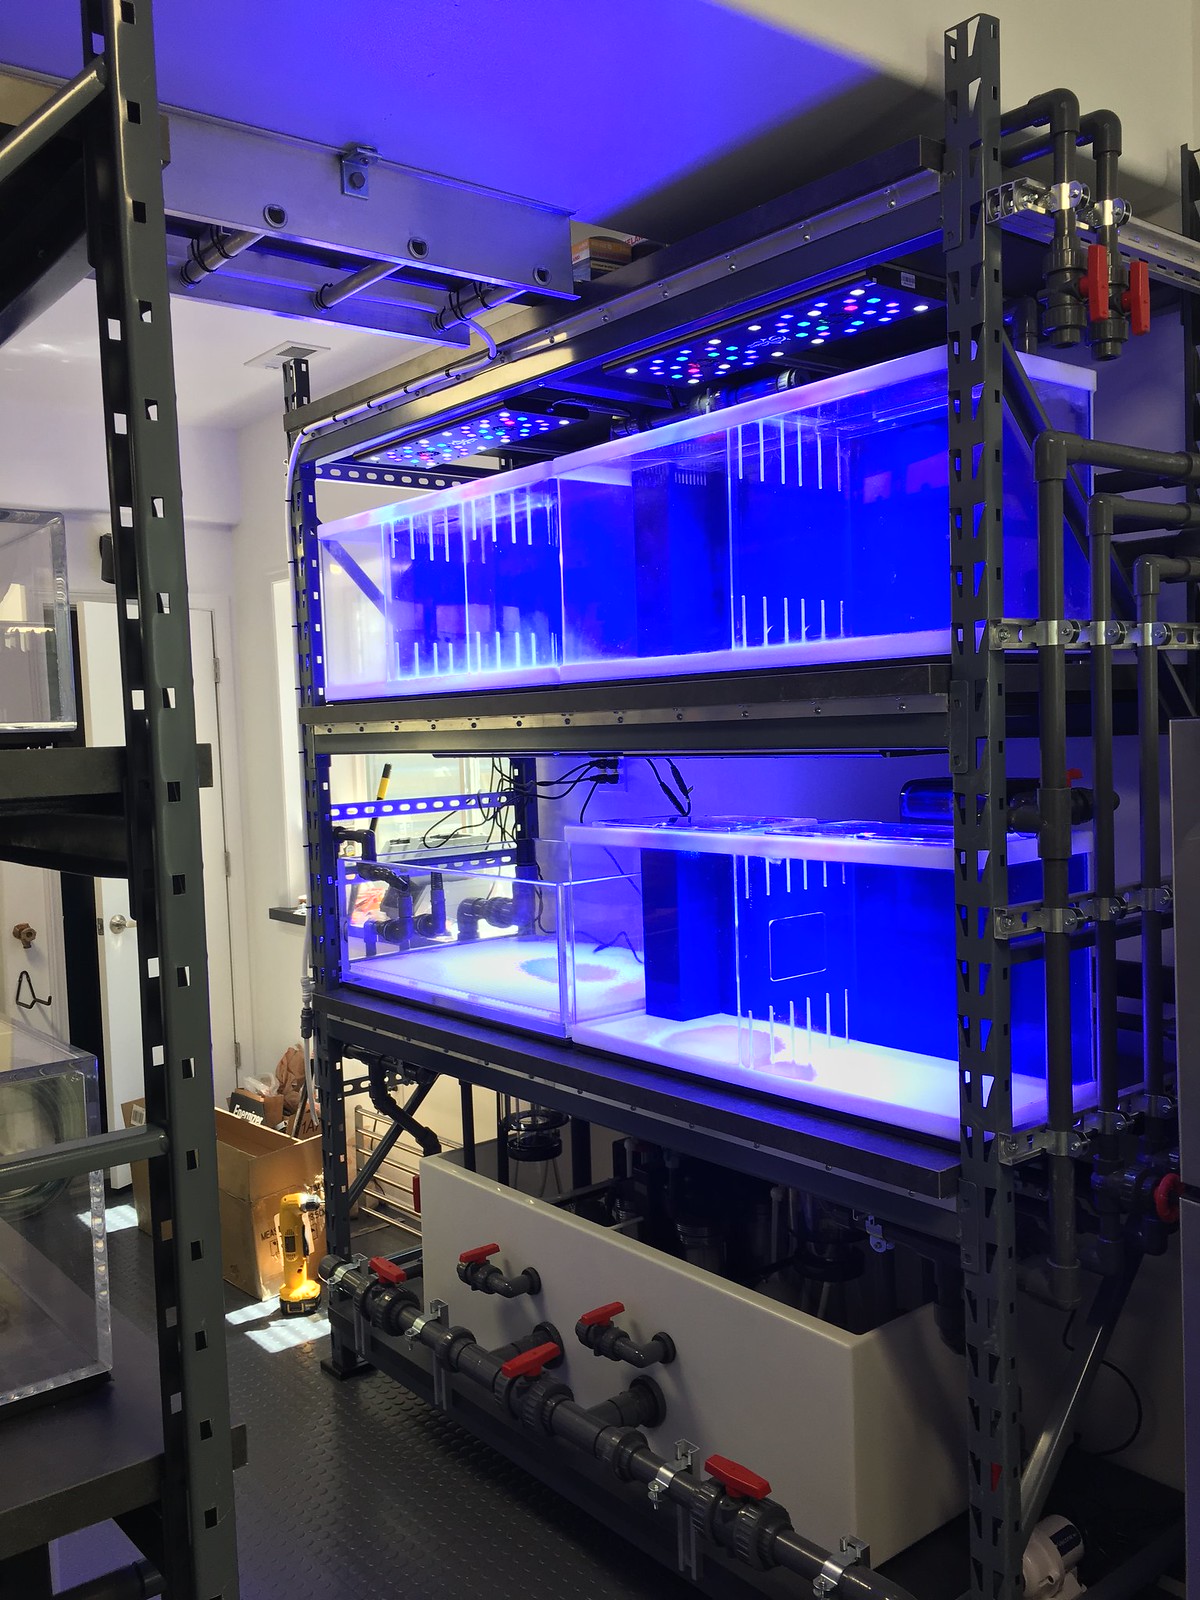
I worked on the framework that will support the hood and lights on the display this weekend. The entire hood will roll out and suspend off of the front end of the tank with 60" heavy duty glides.
I will build an acrylic shield that will protect the glides from splashing. Hopefully I will be able to keep that area dry enough to prevent corrosion.

I will build an acrylic shield that will protect the glides from splashing. Hopefully I will be able to keep that area dry enough to prevent corrosion.


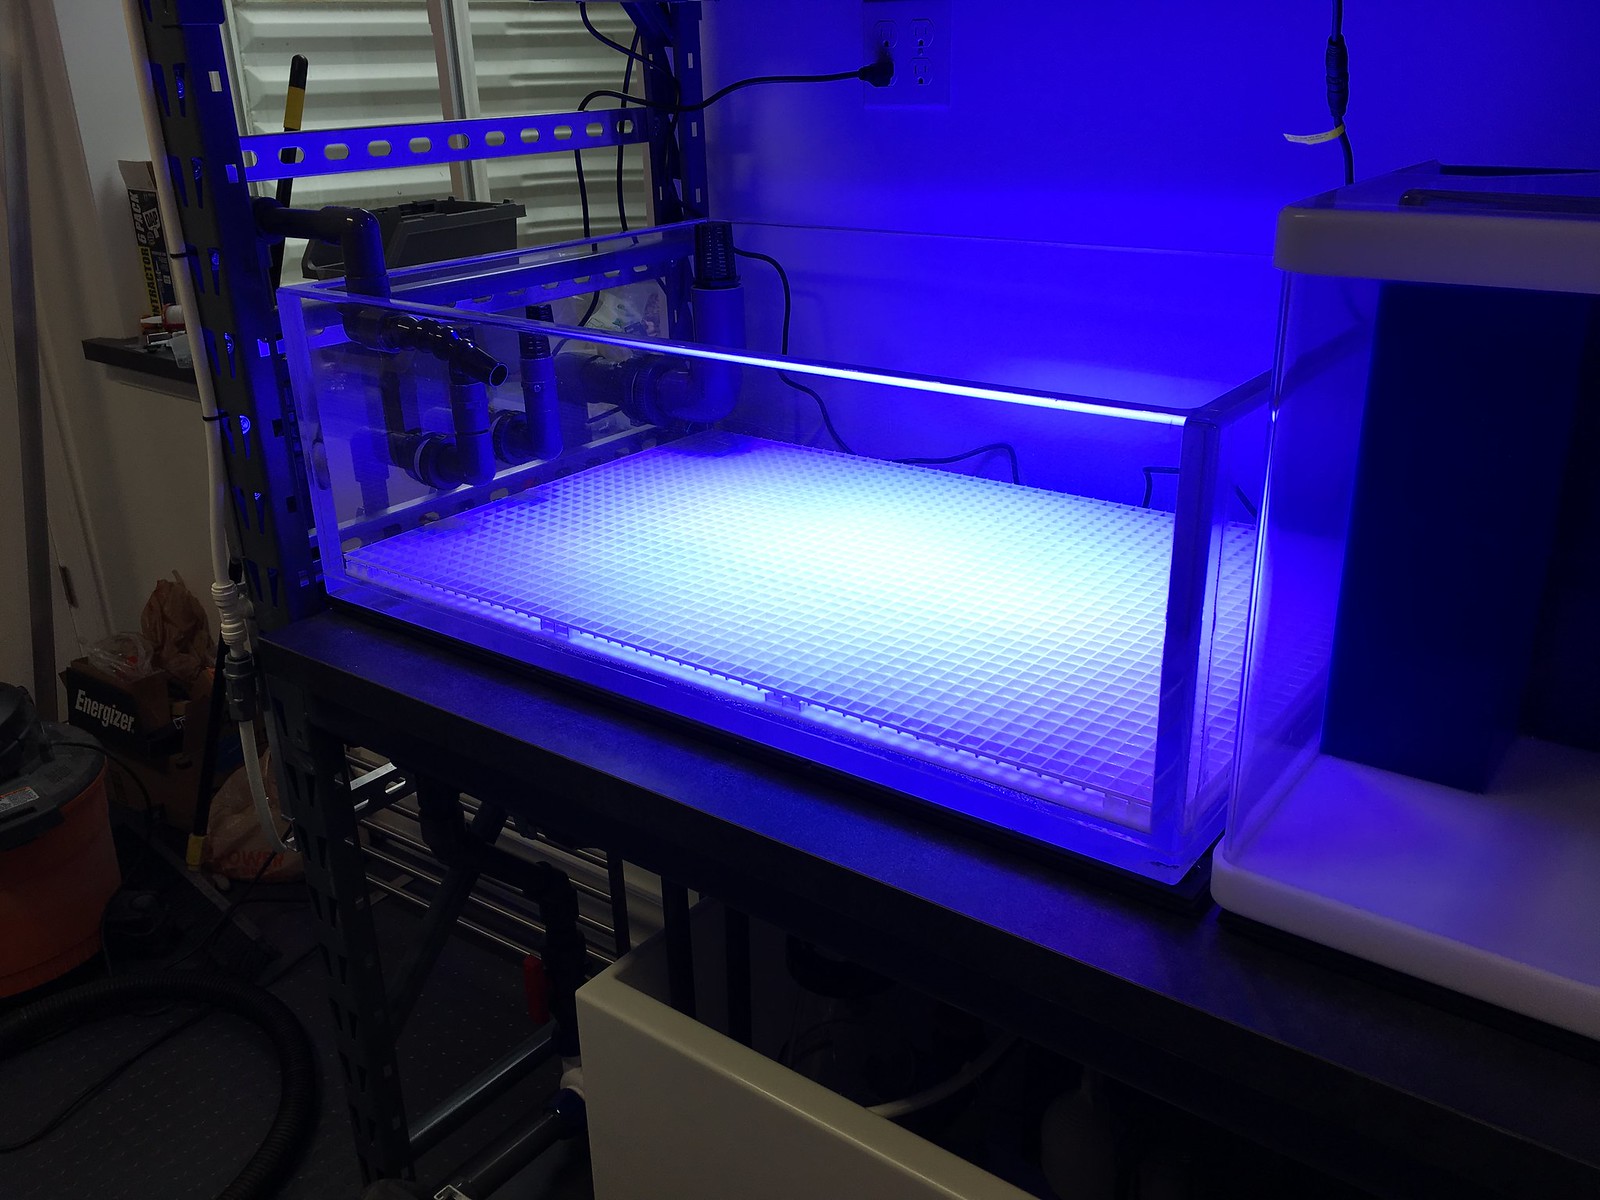
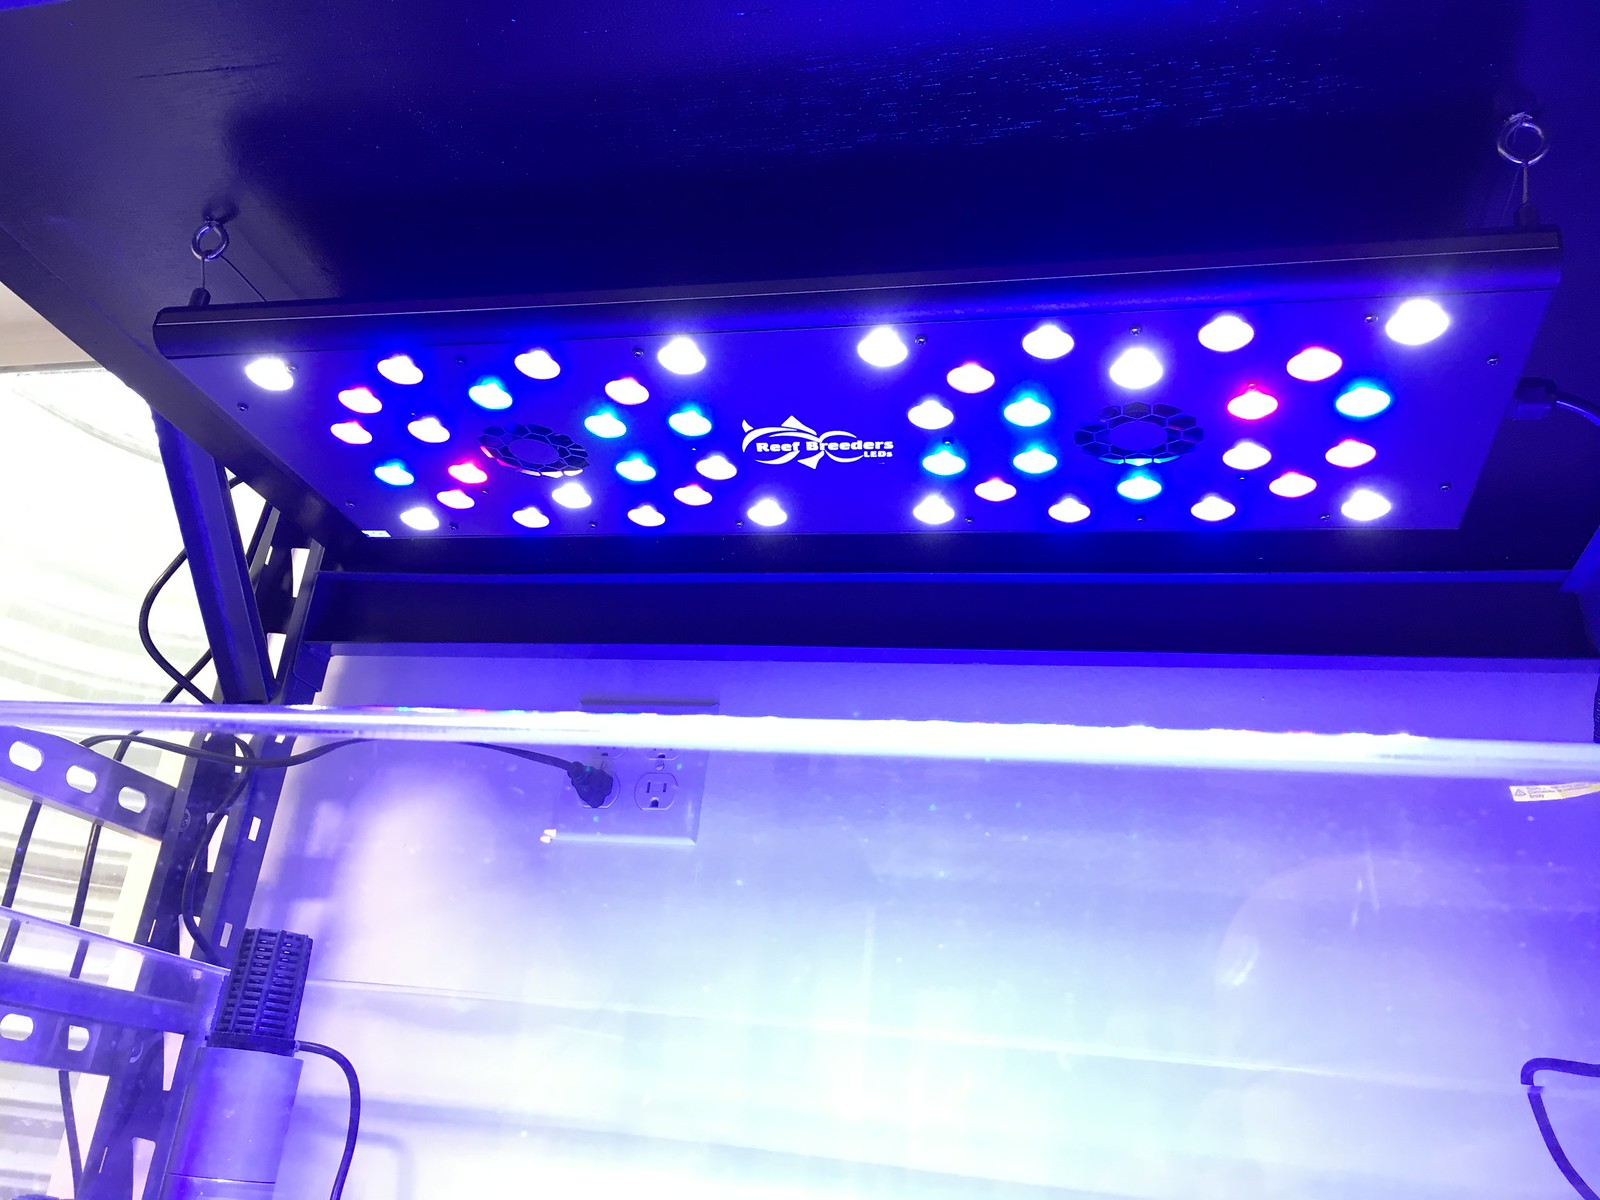
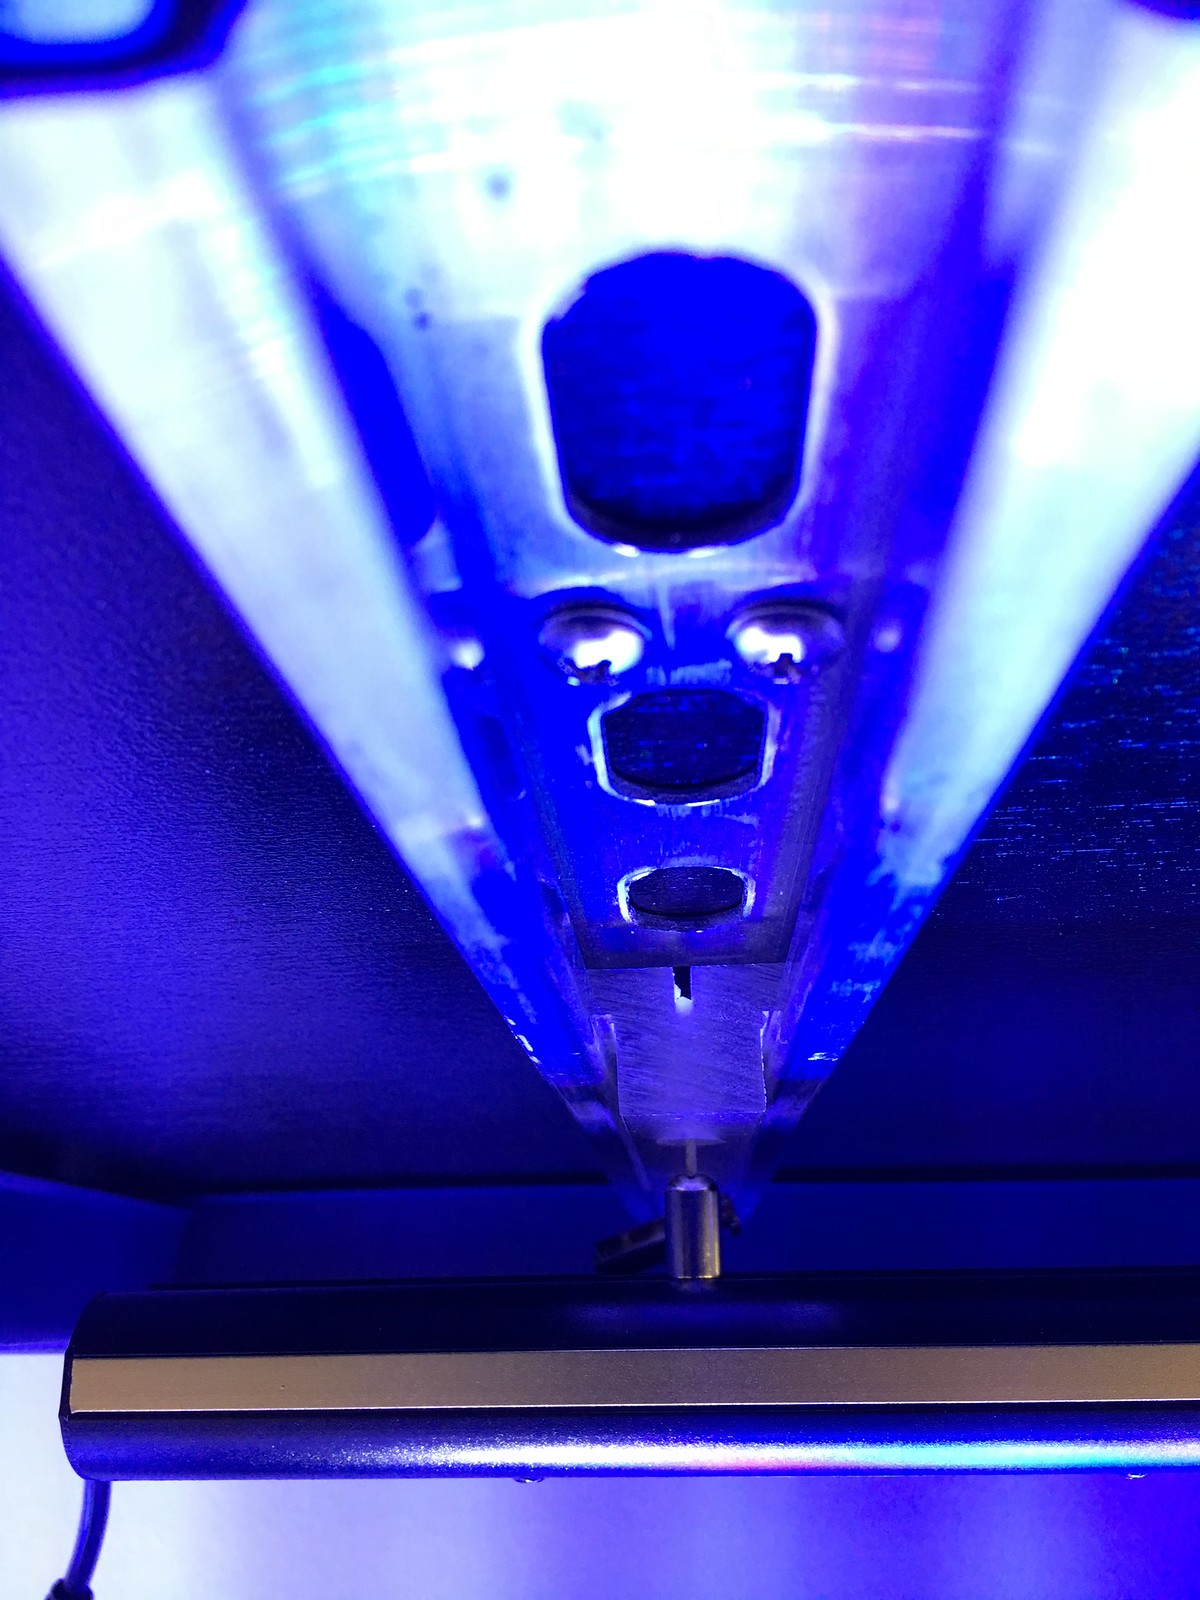
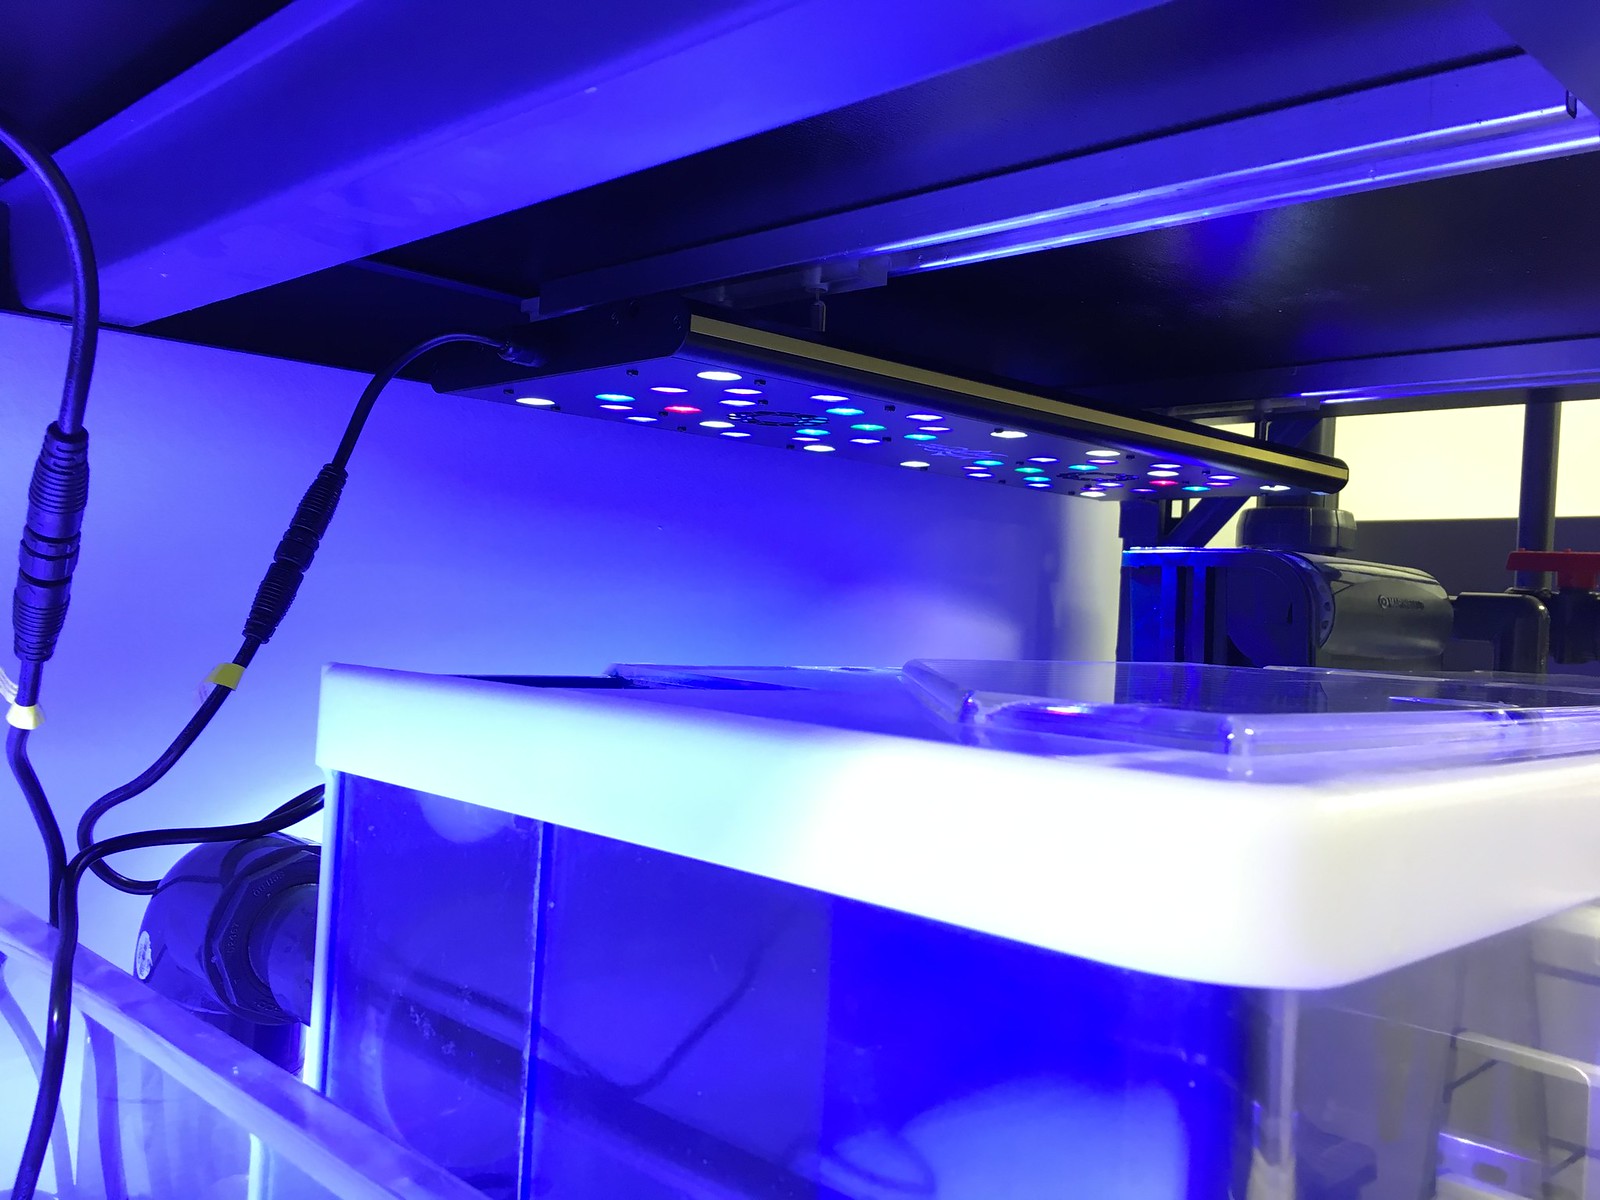
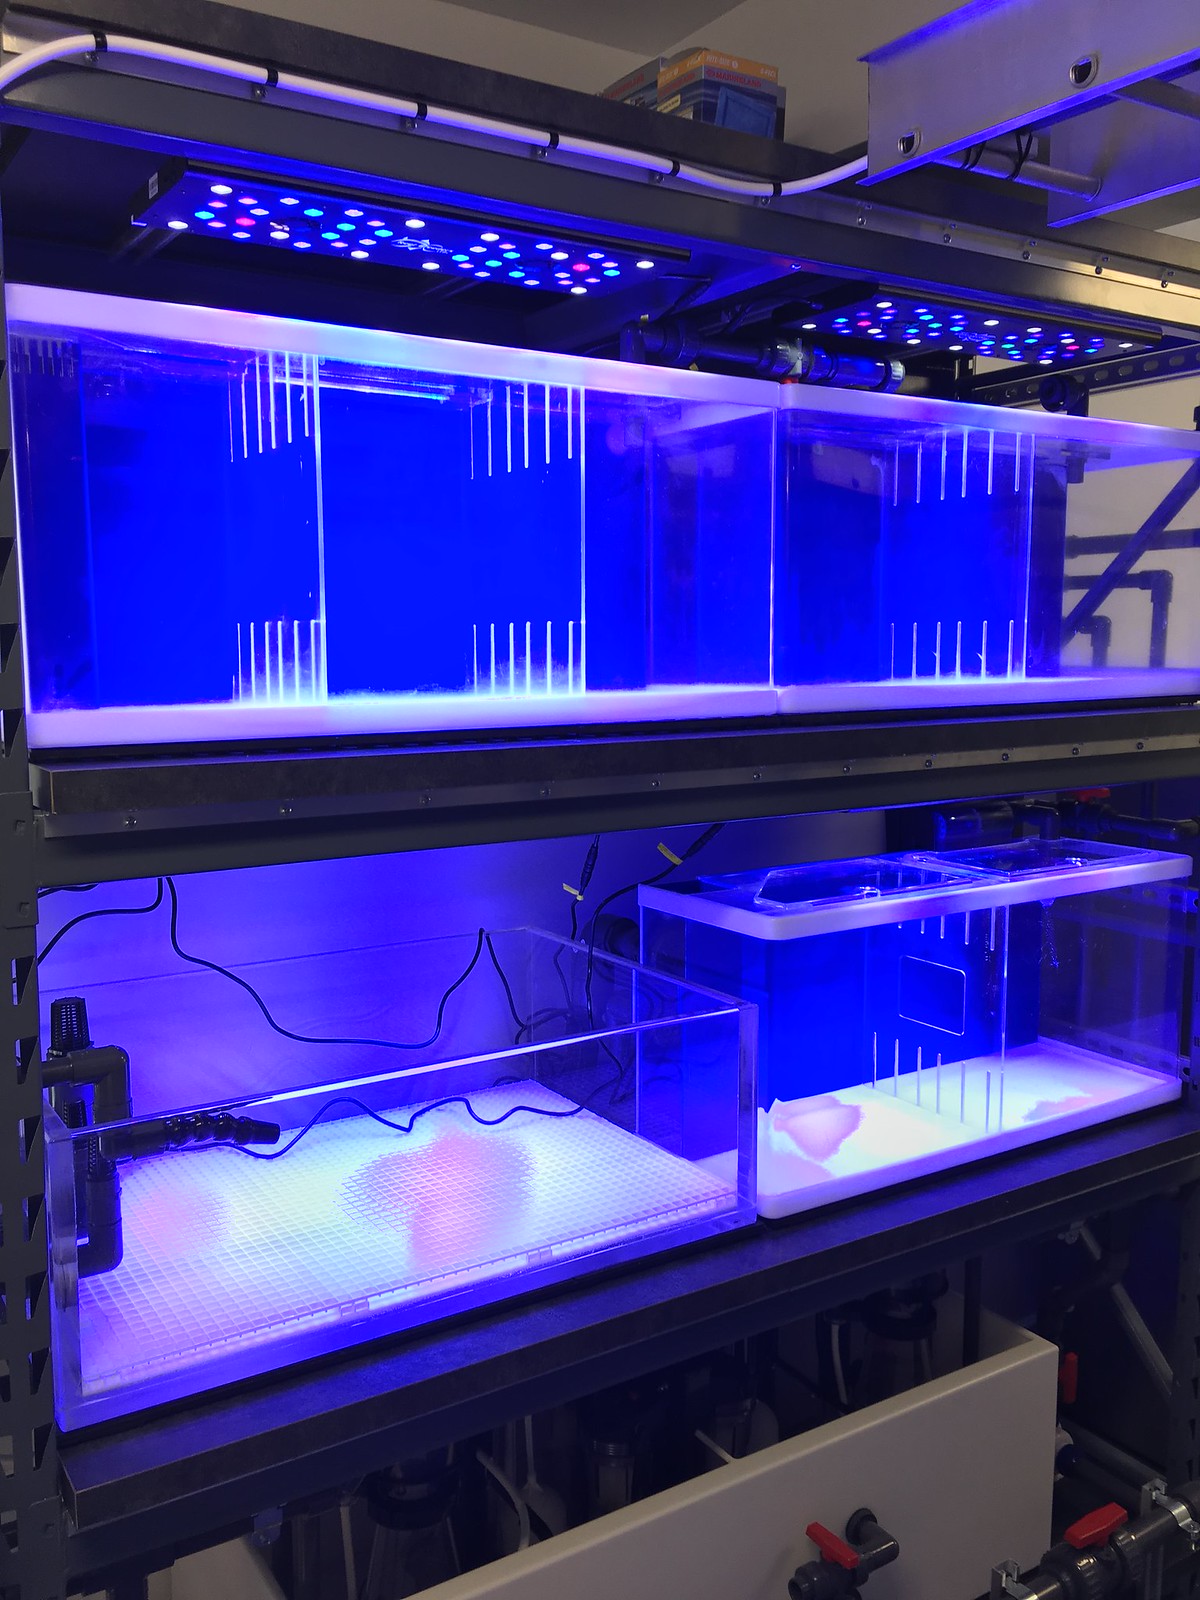
I also picked up a few more pieces of the aluminum strut so I was able to complete the mounting of the Reefbreeder LED's over the QT tanks. The tanks are pretty dirty right now. They're also scratched because they were originally salvaged from a store years ago. I modified them and buffed them as well as I could (or was willing to). They're QT, so I'm not extreemly concerned that they aren't show quality. They do the job.
Quackenbush - I'll make a note to check out imgur if Flickr doest work out. So far, it seems to be pretty user friendly. Only, it doesn't have good mobile support. You can't pull the BCC codes from their mobile app or through a mobile device (at least apple devices).
So, you have to do it the old fashioned way at home. Now what am I supposed to do while driving 85 mph on 470 weaving in and out of traffic? I guess I'll have to start a Twitter feed or Facebutt account.
So, you have to do it the old fashioned way at home. Now what am I supposed to do while driving 85 mph on 470 weaving in and out of traffic? I guess I'll have to start a Twitter feed or Facebutt account.
I've finally committed to lighting on the display. I'm going with 3 x ATI T5-HO fixtures with 4 x 54w bulbs each. In between each of those T5 fixtures, I'm going to be mounting a total of 4 Radion G4 fixtures. I'll adjust intensity as needed. So, a total of 12 x 54 T5-HO bulbs and 4 Radions. It's packed wall to wall with lights. Lights have been ordered and they're on the way! (Thanks Cris!)
Thanks for setting up the new thread. I saw the one over on RC, but did not look here. For the Radions, you using the 15s or 30s? Four 30s and the T5s seems like a ton of light on this tank... but coverage should be about 127%. 
And from the old thread:
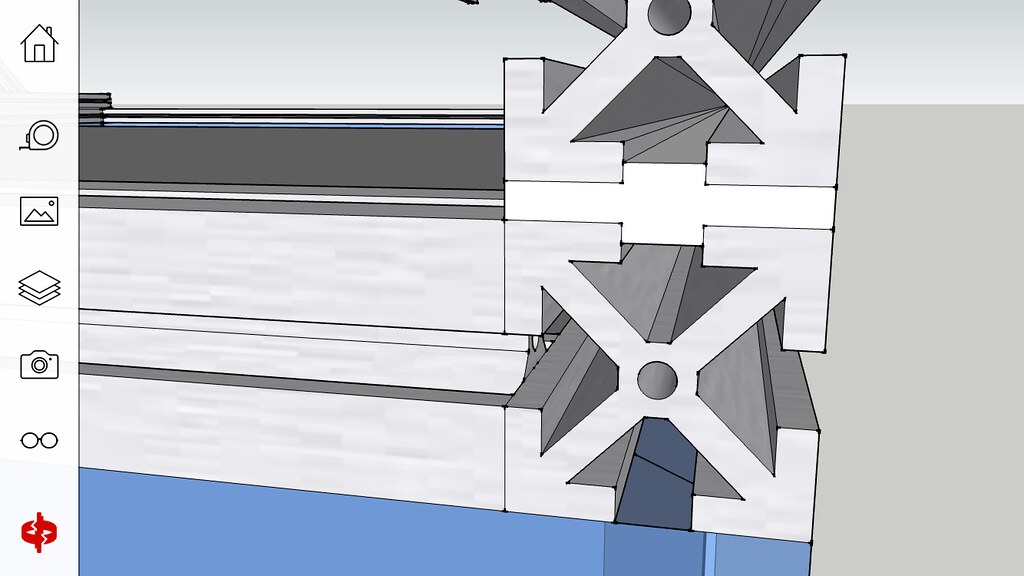
I completely agree about the aesthetic of skinning them in white. The extra joint strength and thickness are a big bonus as well. I've got a laser cutter/engraver and work with acrylic (not much fab work though) and seeing pics of your skinned tanks has made me was to build a new "race sump" for my little 60g Cube. I've been thinking of doing some LED edge lit engravings, but was not sure on how to protect the LED. Skinning the whole thing gave me an idea.
And from the old thread:
halmus;n674240 said:
That's a good question. Yes, a big part of it was aesthetics. I like the look externally, and it covers up the fact that I had runs with the solvent while building or modifying all of the internal acrylic. Also, I overlapped as many of the joints as possible while doing this, which means I have that much extra support on the joints. And, the extra 1/4" thickness adds that much more support. It was a lot of extra work, but I want to be completely confident I won't be blowing seams down the road.