I figured it's time to update my progress, which has been sped up by the cruel mistress necessity. My PC lights lost a bulb and therefore it was time to get my new lights over my tank in a hurry. So I went to Lowe's and picked up some drywall anchors, I brought the mounts for the Y-hanging kit to make sure that the screws included with the drywall anchors would fit through the provided hole. I also picked up a few cable tie-downs, ring screws, picture hanging wire, and rubber stoppers.
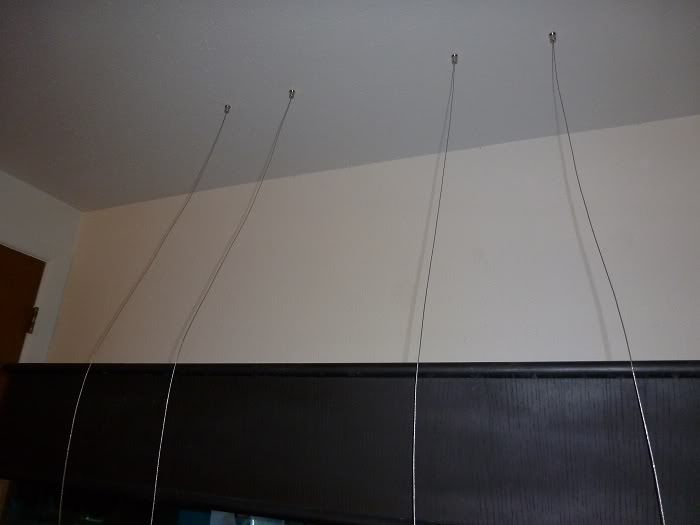
I laid down a blanket over the top of my tank and used my yard stick and a square to mark 4 spots where I would be hanging the light mounts. I made the mounts 7 1/2" apart for the 9" heatsinks which seemed like a safe distance to prevent the mounts from trying to slide out of the channels on the top of the heatsink. Then it was time to tap in the drywall anchors.
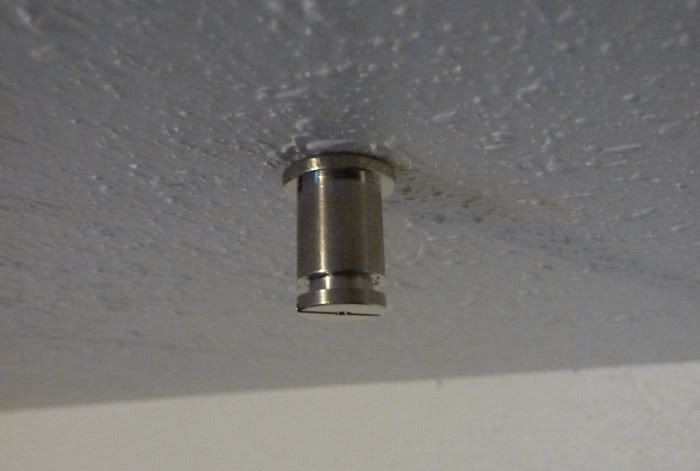
Then attach the mounts for the Y shaped hanging kit
Then run the wires through the mounts and screw the caps on tight!
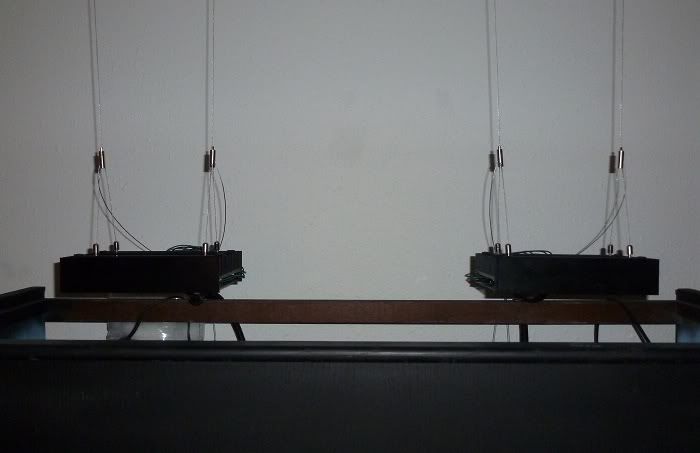
Hanging the lights was a bit too difficult to take pictures of the process but the hanging kit attaches with a simple tension-lock system in which you push down on the top and run the wire through. While this sounds suspect it holds quite strong. I gave each wire about 40lbs of test pressure to make sure I wouldn't have any problems, because I can't imagine a scenario more upsetting than a light falling into the water.
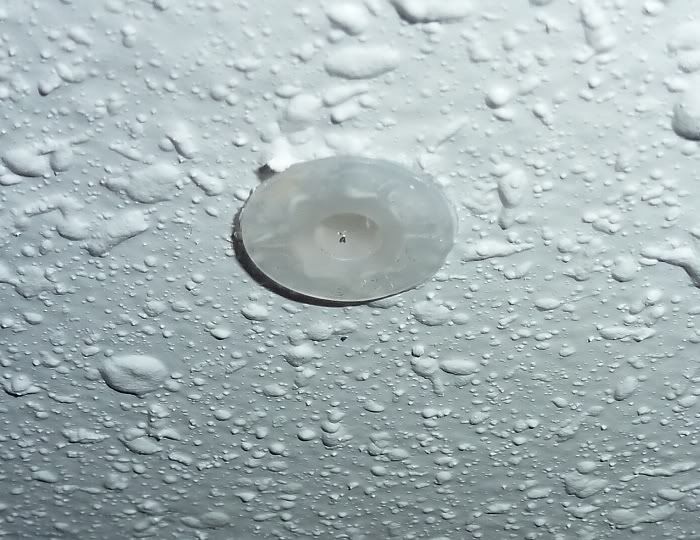
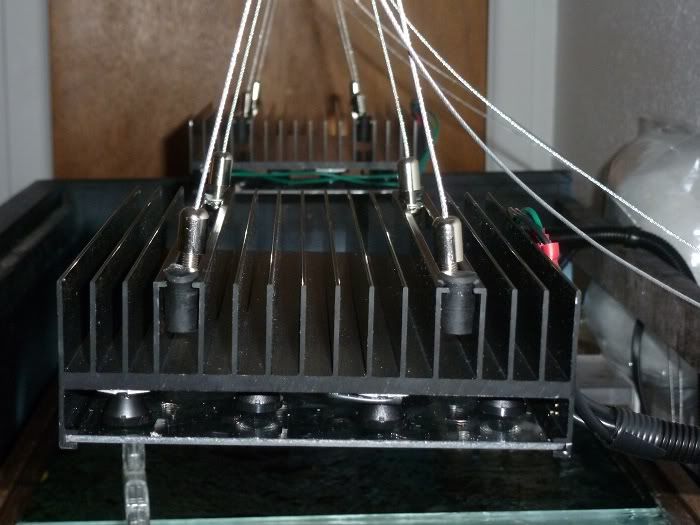
As a tip if you use the same heatsink and hanging kit I did, you should know that the screws on the end of the hanging kit (the ones which actually hold onto the heatsink) do not tighten far enough to secure the heatsink in place. You will need to use something from multiple tiny washers to some type of block on the end of the extrusion channel. I used 5/16" rubber stoppers which are firmly wedged in and will prevent my lights from sliding off the hanging kit.
My lights are hung higher than I had initially designed because until my Reef Angel is set up, I can only run them on 100% or off while using the standard power source for a PWM signal. What a bummer... except my Reef Angel arrived tonight!
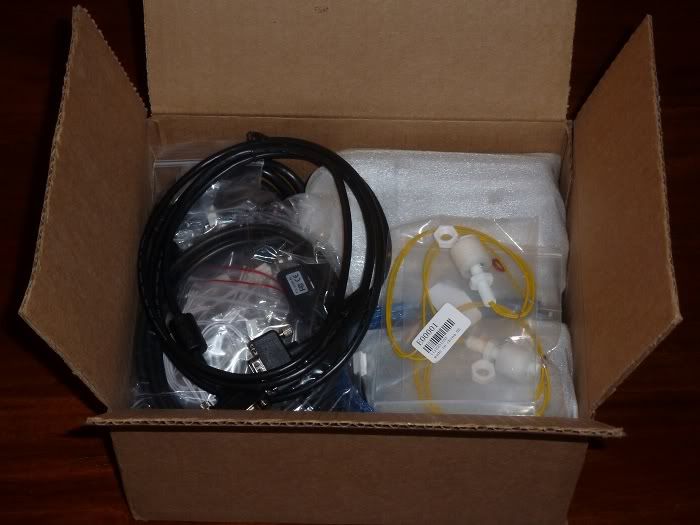
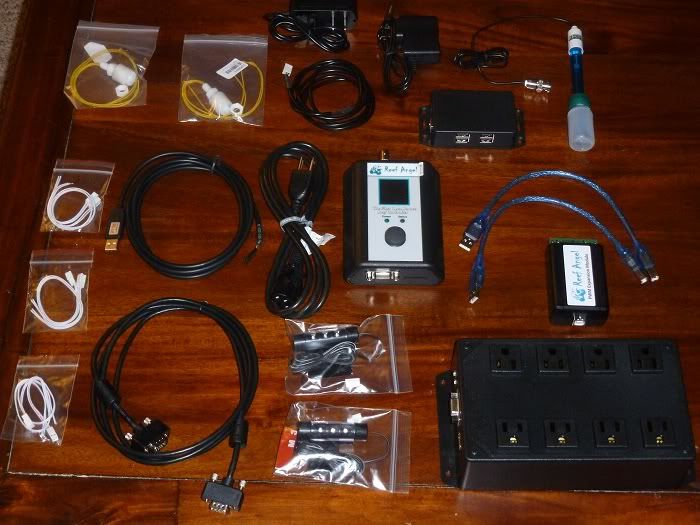
I have to say that RA shipping was incredibly quick as I was not sure I'd get it before this weekend. I was also pleasantly surprised at the packing job, it was box within a box which I always like seeing.
I have been planning for this controller for a while and was completely aware assembly would be required and tinkering will be necessary to get everything just how I want it, still, spreading out all the parts still made me pause to wonder if I've gotten in over my head...
But only for a second, I cant wait to play with this bad boy!
My next updates should include results from temp testing at 100%, and when I get the RA hooked up, dimmed to proper light and color, pics of the entire system finished and fully installed, and if I can figure it out in a timely fashion hopefully video demonstration of the dimming capabilities and thunderstorm effect!
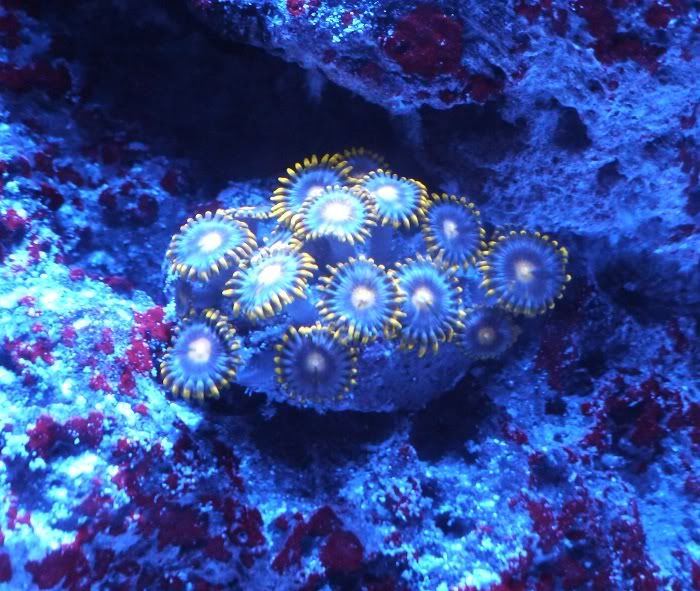
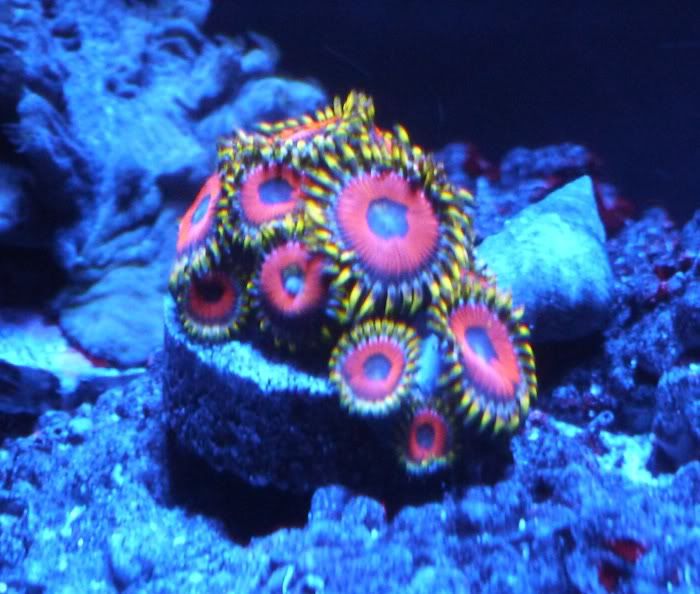
I will probably also throw in more pictures of corals under the blues only as I just keep being surprised by how much they pop!