A Golden Reef Tank

halmus

Registered Users
M.A.S.C Club Member
ex-officio
My wife asked me why I skinned it with white acrylic. Besides the obvious benefit of adding some strength to the joints and covering up some of the old scratched acrylic.....

It just looks cool. I did steal the idea from some MRC sumps I've seen. If I can come up with my own logo and can get some time on a laser engraver, I'll add my personal touch to the sump.
 

halmus

Registered Users
M.A.S.C Club Member
ex-officio
Thanks. I am out of state right now but I did get some more work done before leaving.

-second sump that services the frag tanks
-cleaned, polished, and modified the old store display tanks that will serve as the fish QT tanks
-hung the "ladder tray" or "cable tray" sections from the ceiling.

I'll post pictures if anyone's interested. They are light-weight aluminum channeling that I'll be using to run plumbing and the electrical overhead. That will make more sense as the project comes together.

Plus, the cable tray will provide a good platform to build a robotic camera system off of. If any of you followed my old project, I'd like to make a robotic camera that can move around the fish room and stream video to the web. That's a long term project but it will be more feasible if I have the infrastructure built ahead of time.
 

TheRealChrisBrown

Reef Shark
M.A.S.C Club Member
ex-officio
I hate to be the bearer of bad news, but I can't wait on this project anymore! Can you just half-ass slap some stuff together and get this up and running already? Lol, just kidding. Everything you have done has been A+ top notch, and I'd expect nothing less going forward. I am anxious to see water though!
 

Mermaid Gardens

Anthias
M.A.S.C Club Member
Loving this build. Such a clean setup. Great work!

Sent from my SM-G900V using Tapatalk
 

halmus

Registered Users
M.A.S.C Club Member
ex-officio
Mermaid Gardens;664108 said:
Loving this build. Such a clean setup. Great work!

Sent from my SM-G900V using Tapatalk
Thank you. Hopefully it will still be a clean setup by the time I'm done. I have a few things planned that might turn out awesome or stupid. Time will tell.

TheRealChrisBrown;664104 said:
I hate to be the bearer of bad news, but I can't wait on this project anymore! Can you just half-ass slap some stuff together and get this up and running already? Lol, just kidding. Everything you have done has been A+ top notch, and I'd expect nothing less going forward. I am anxious to see water though!
It seems like everyone's quoting my wife back to me! :) "Hurry up....I want to see water....why's this taking so long???"

I'm anxious for water but I've been thinking about this whole project for so long, it's almost hard to imagine shopping for coral again. I've forgotten all of the names or the trade names have all changed over time.

Baby steps.
 

SynDen

Administrator
Staff member
M.A.S.C Club Member
M.A.S.C. B.O.D.
M.A.S.C President
M.A.S.C Webmaster
halmus;n664157 said:
It seems like everyone's quoting my wife back to me! :) "Hurry up....I want to see water....why's this taking so long???"

I'm anxious for water but I've been thinking about this whole project for so long, it's almost hard to imagine shopping for coral again. I've forgotten all of the names or the trade names have all changed over time.

Baby steps.
Well its a good thing you have a well educated coral support group to get you through those rough times of coral buying ;)
 

halmus

Registered Users
M.A.S.C Club Member
ex-officio
SynDen;n664218 said:
Well its a good thing you have a well educated coral support group to get you through those rough times of coral buying ;)
What we call an educated coral support group, my wife calls "enablers". Either way, glad you've got my back.
 

halmus

Registered Users
M.A.S.C Club Member
ex-officio
So, another big photo dump. I still don't feel like I've accomplished that much after endless hours of work, but it's progress.


Doorway entering the fish room. The far wall is my wall of plumbing parts for now.


A little further into the room.


A view panning the room from the far corner.


Panning the room again from a different corner.


A look down the cable tray. This is where I will run all of the data lines for the aquarium controller. I'm probably going to use a combination of Apex and DIY control systems for the tanks. I'll interface all of the custom built sensor arrays I'll put together with the Apex. I'll also be able to run plumbing lines through the tray like water from the mixing station or fresh water top off lines. I'll be running the lines to and from the RO/DI here to the far end of the room. I'll also be running some 120 AC lines over head where necessary. It will make more sense as everything comes together.


The frag tanks and all acrylic tanks are sitting on this rubber mat that I found and cut to size. It is an anti-fatigue mat intended for floors. It has little rubber legs underneath. It's relatively firm but also gives a little bit. I'm hoping that will work well to even out any inconsistency in the shelving surface to support all of the acrylic tanks. It will also prevent water spills from sitting under the tanks forever. There should be just enough air flow to allow things to dry out over time. We'll see. My main concern was getting something under the tanks to help minimize stress on the acrylic seams.


halmus

Registered Users
M.A.S.C Club Member
ex-officio
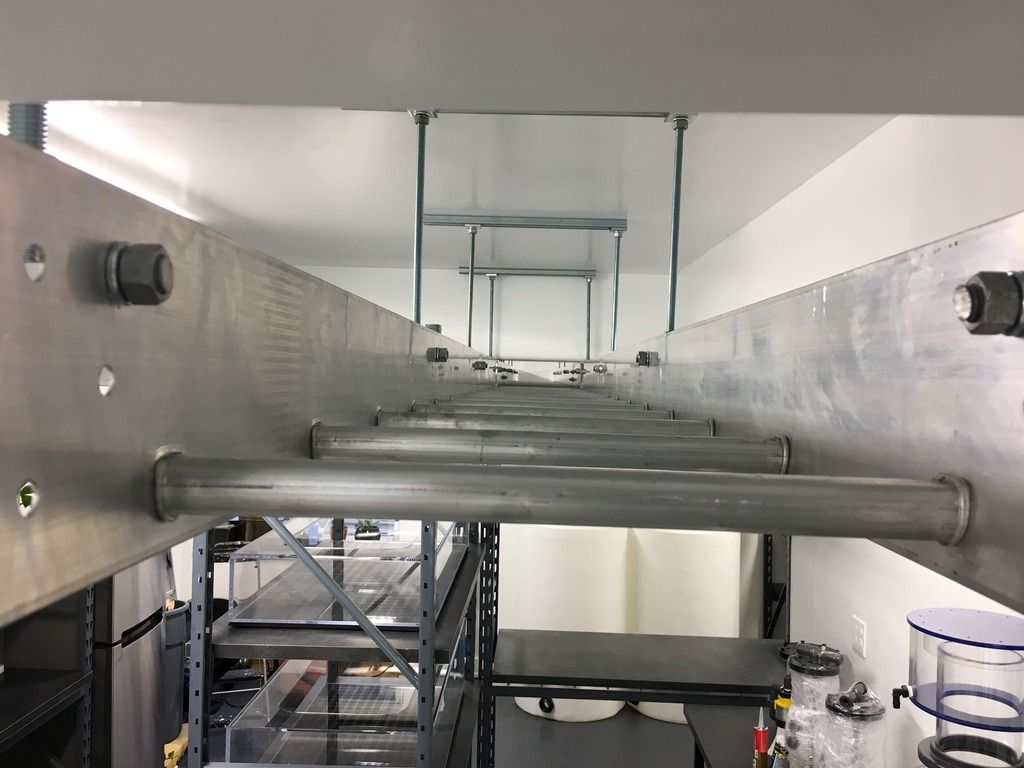
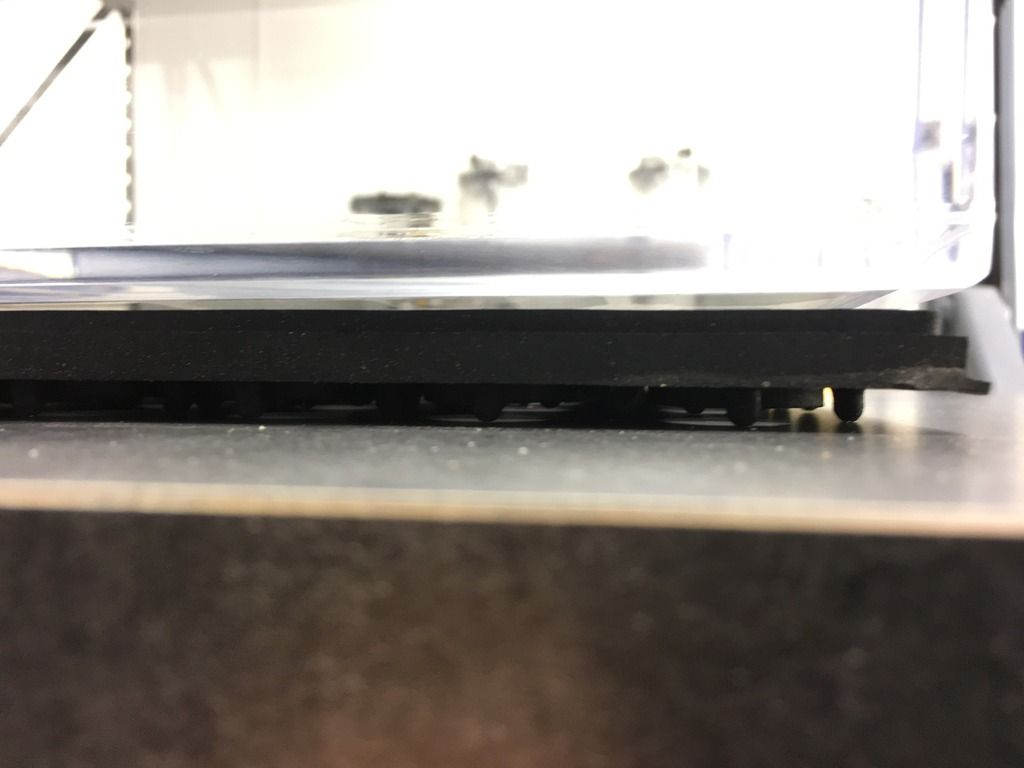
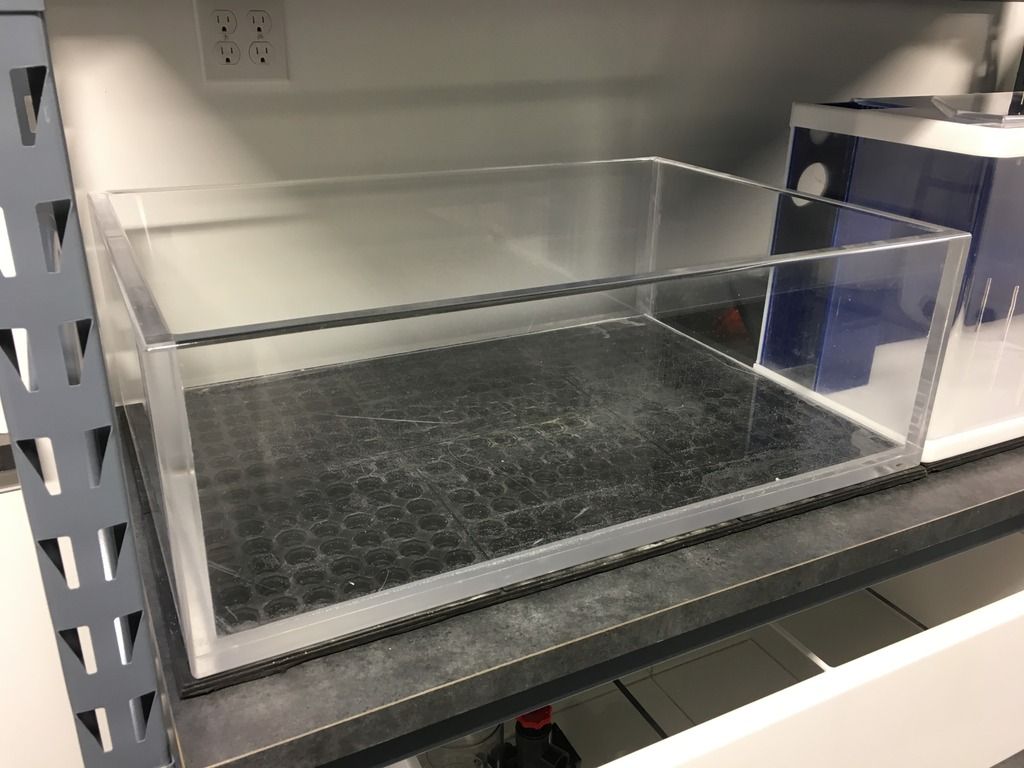
I'm still working on acrylic....and starting to hate acrylic. I finished making lids for the fish QT. I want to keep in the jumpers and splashing from the HOB filters.

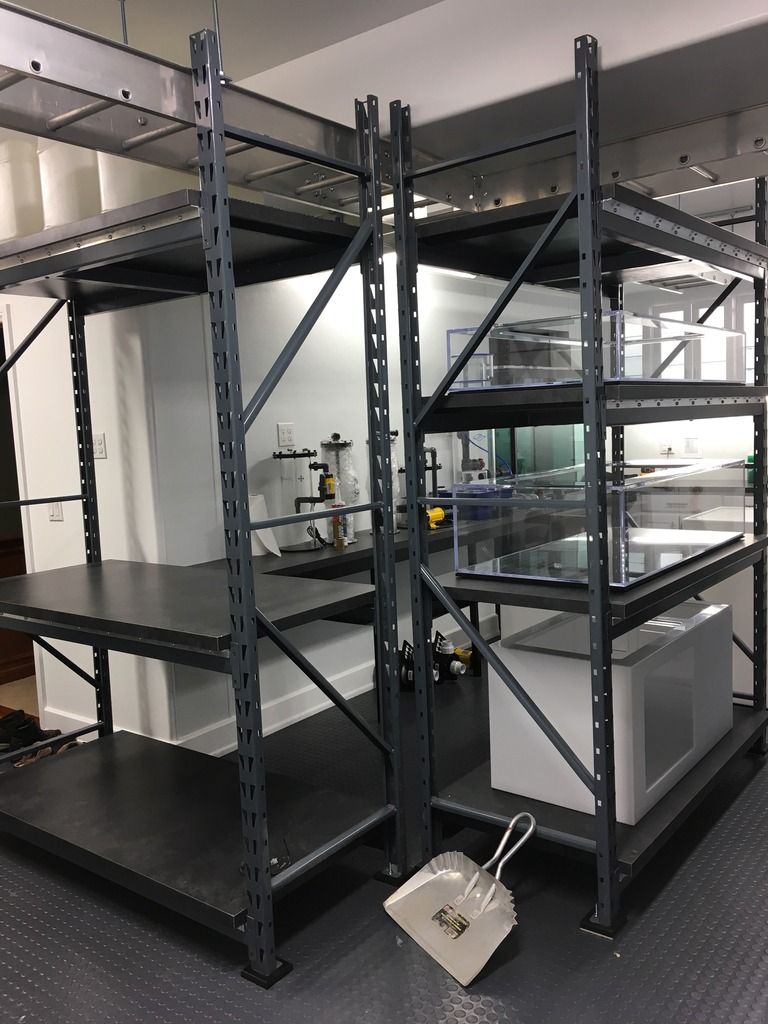
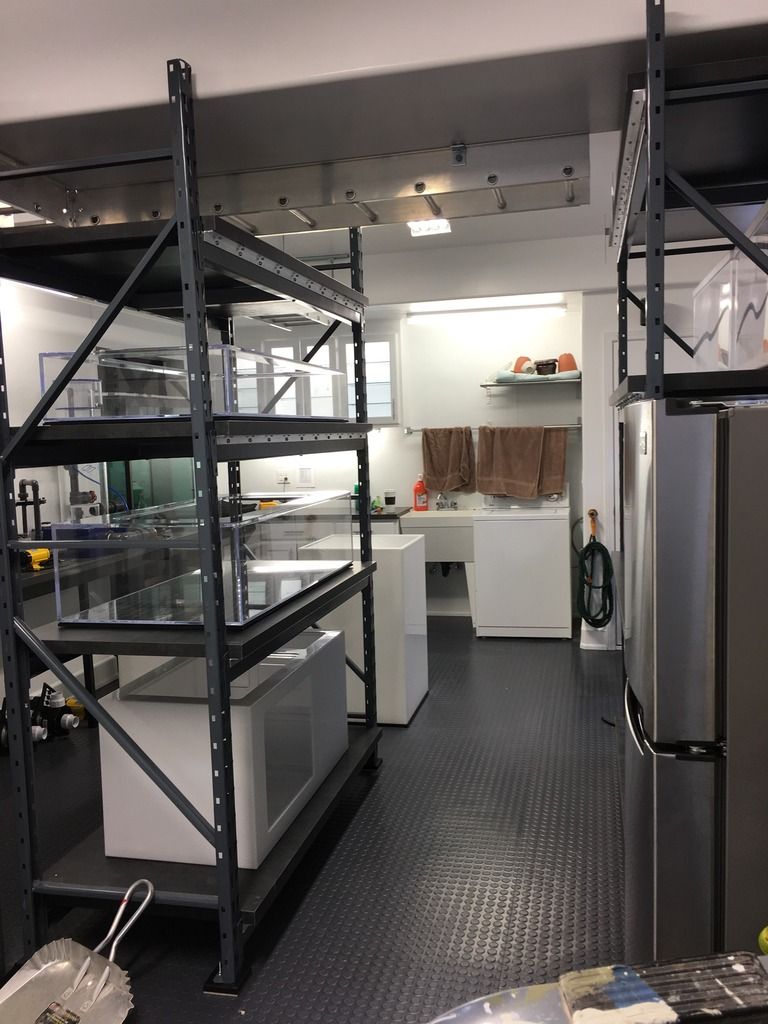
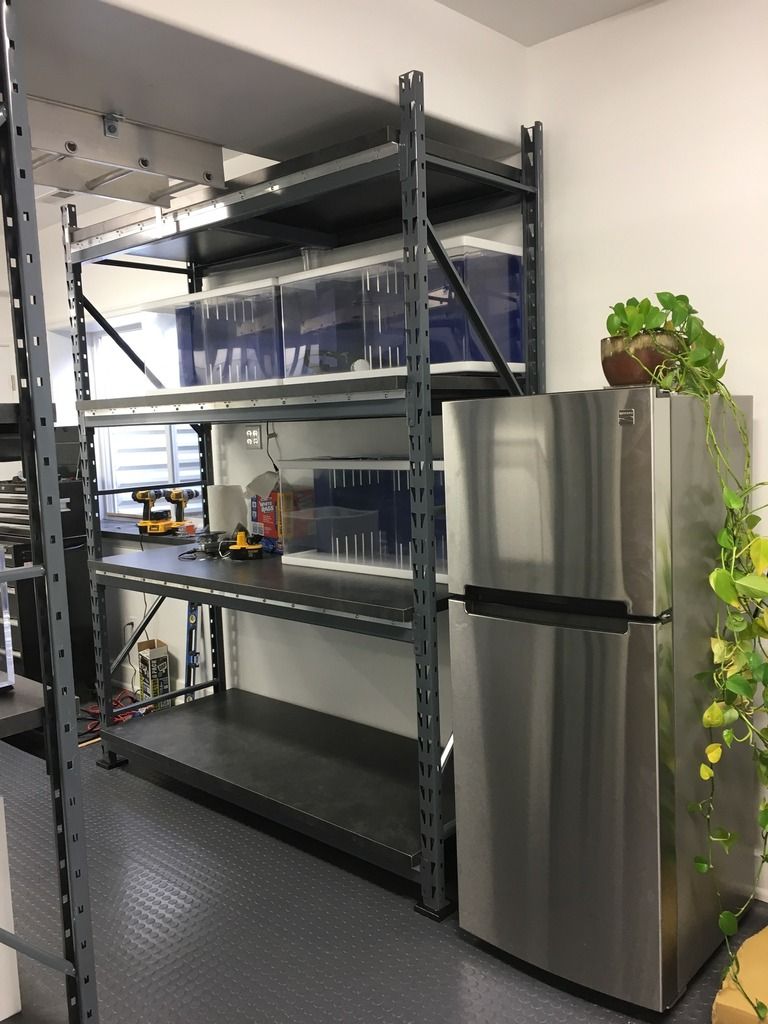
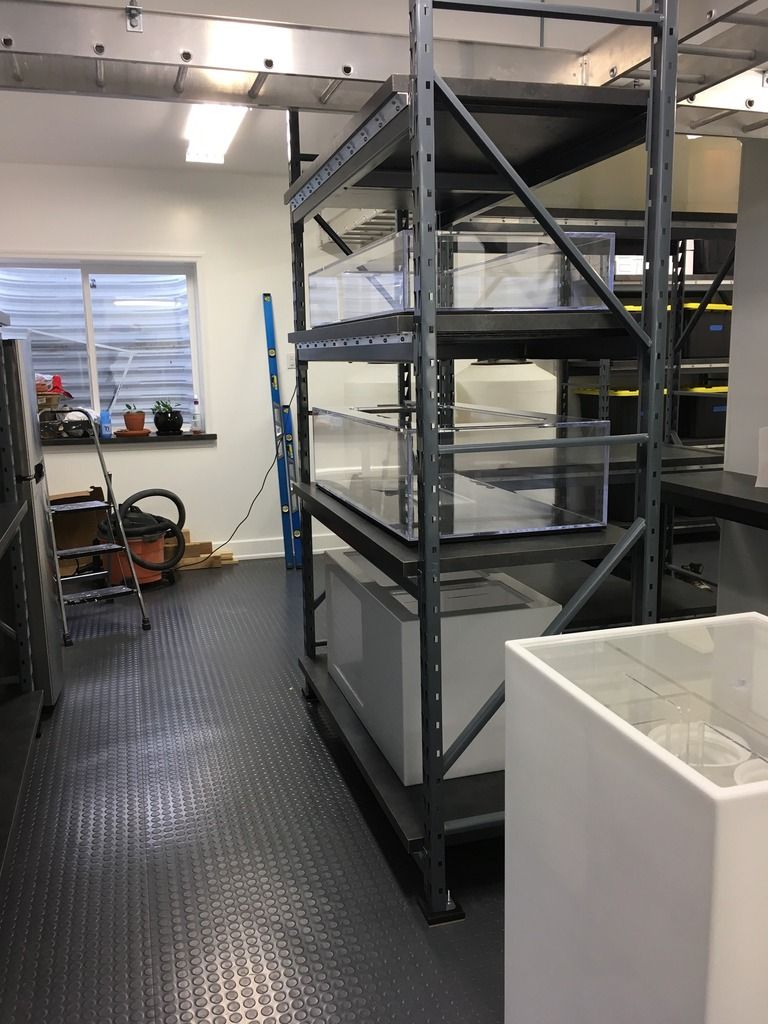
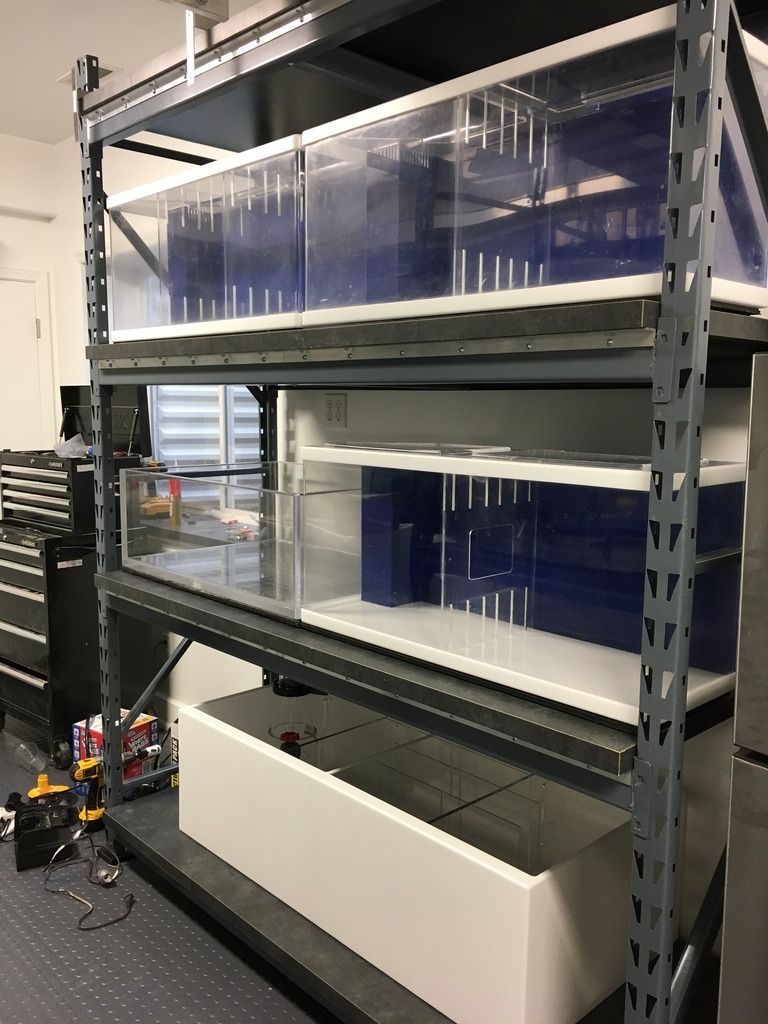
I made a sump for the QT tanks that actually two separate sumps built into one. The sump on the bottom shelf is 48" x 24" x 15" deep. The top three tanks are the fish QT (the ones with blue backs). I wanted a separate coral QT tank in case I need to hospitalize and treat fish. I also wanted the option of joining all of these tanks together into one single system.


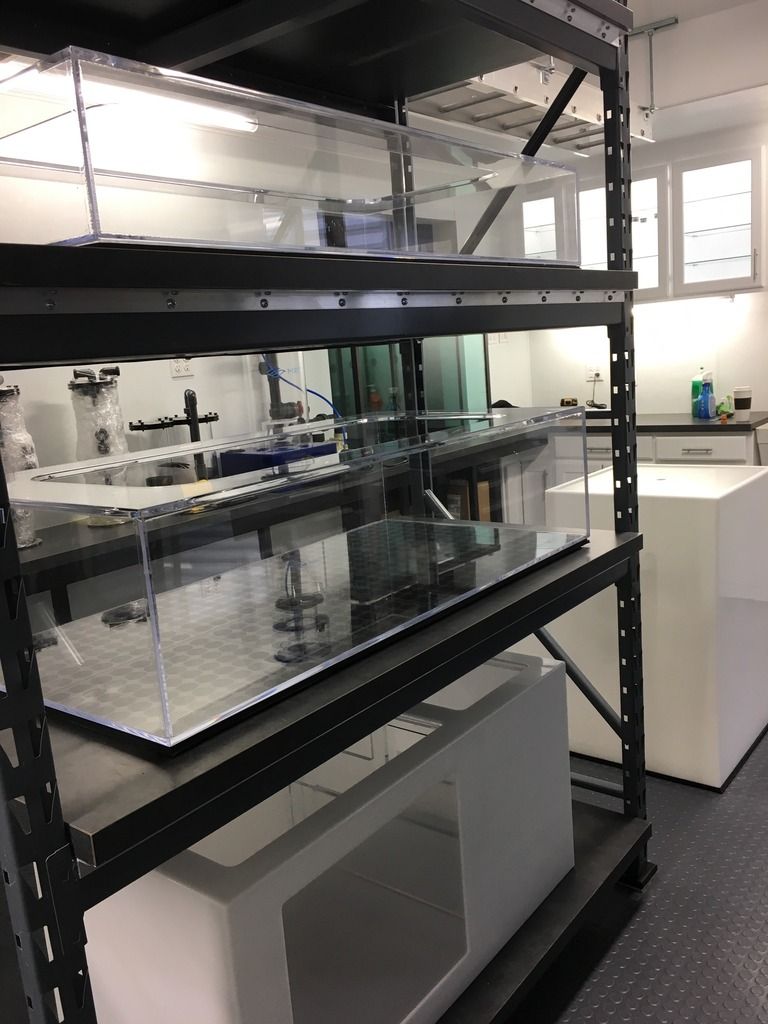
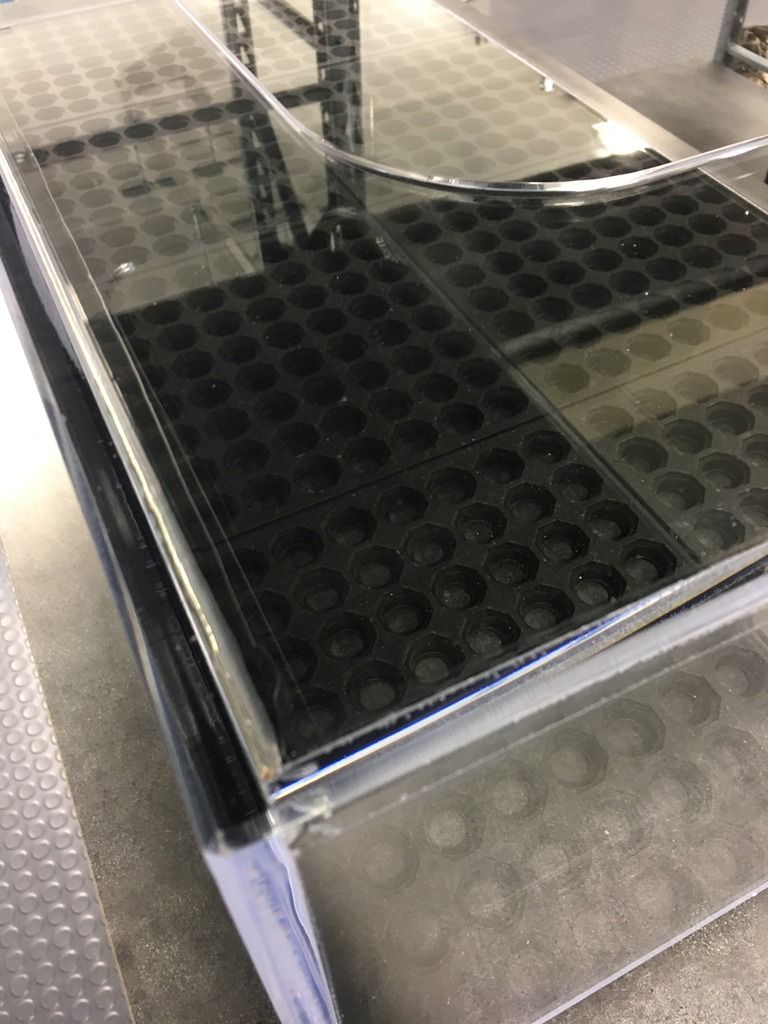
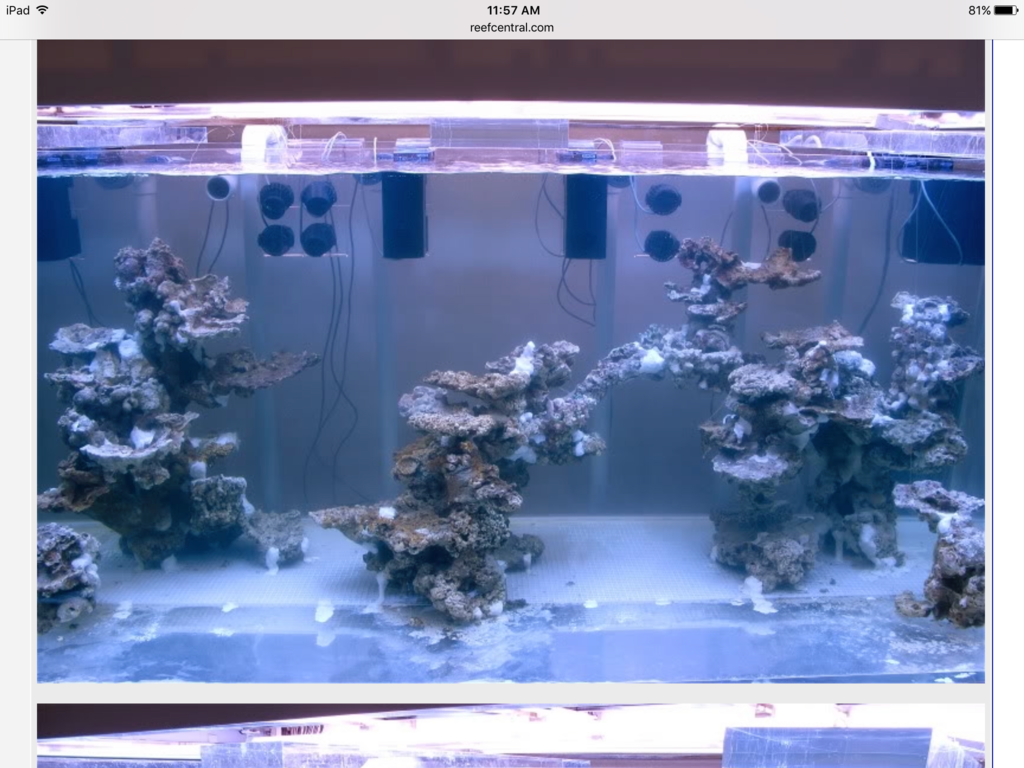
This is the coral QT tank. It's 24" x 30" x 12" deep. I rescued 1" acrylic from a contractor a while ago. He was tearing down a customer's tank and didn't know what to do with it. Anyway, I made the coral QT tank from that 1" thick material.


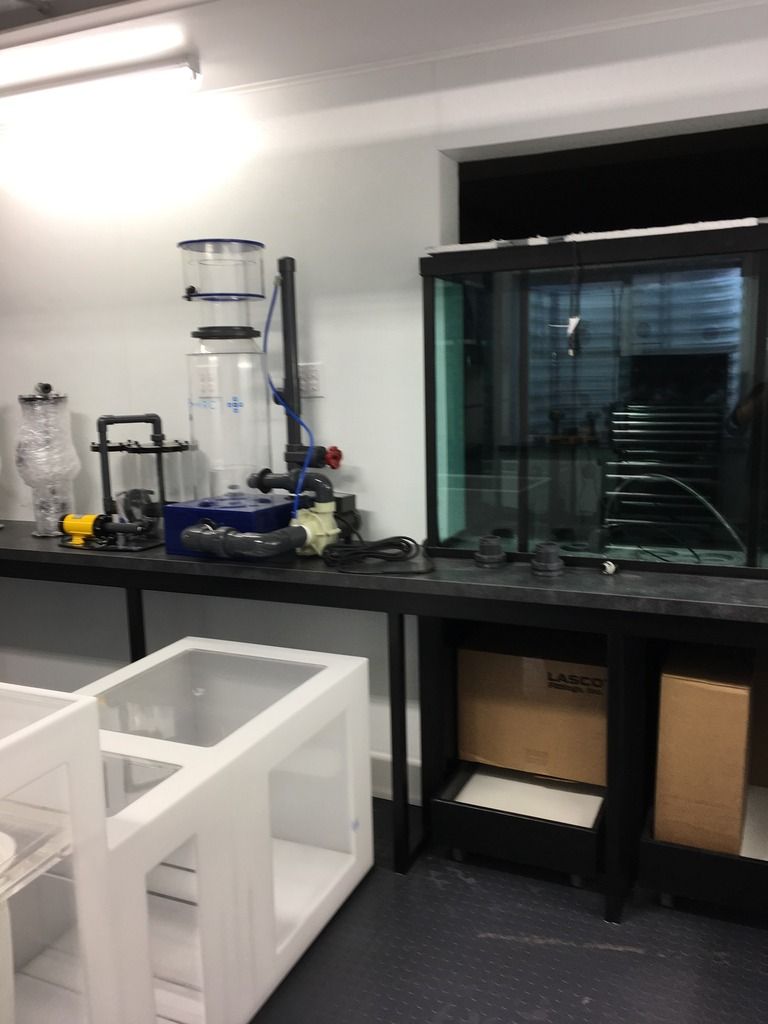
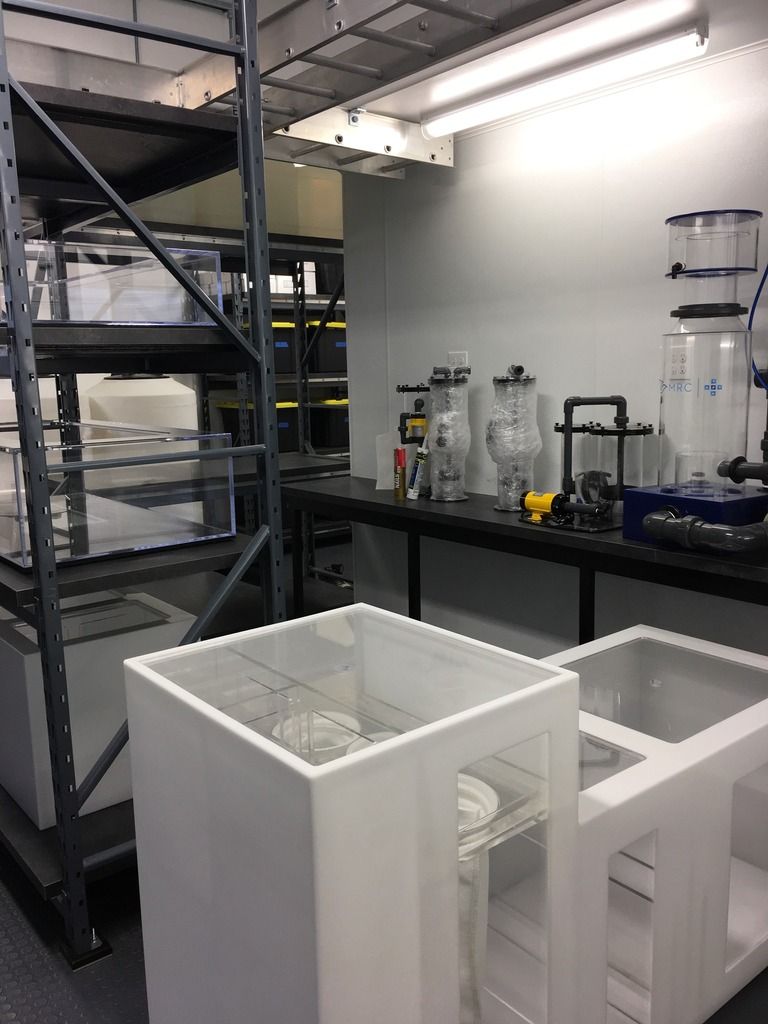
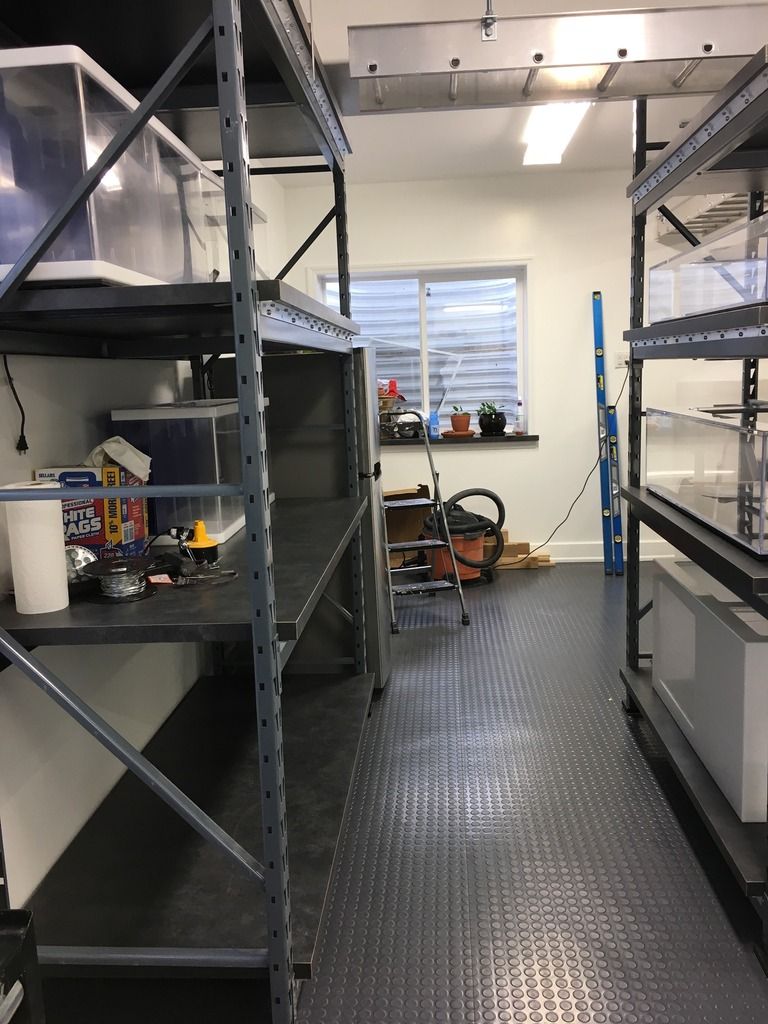
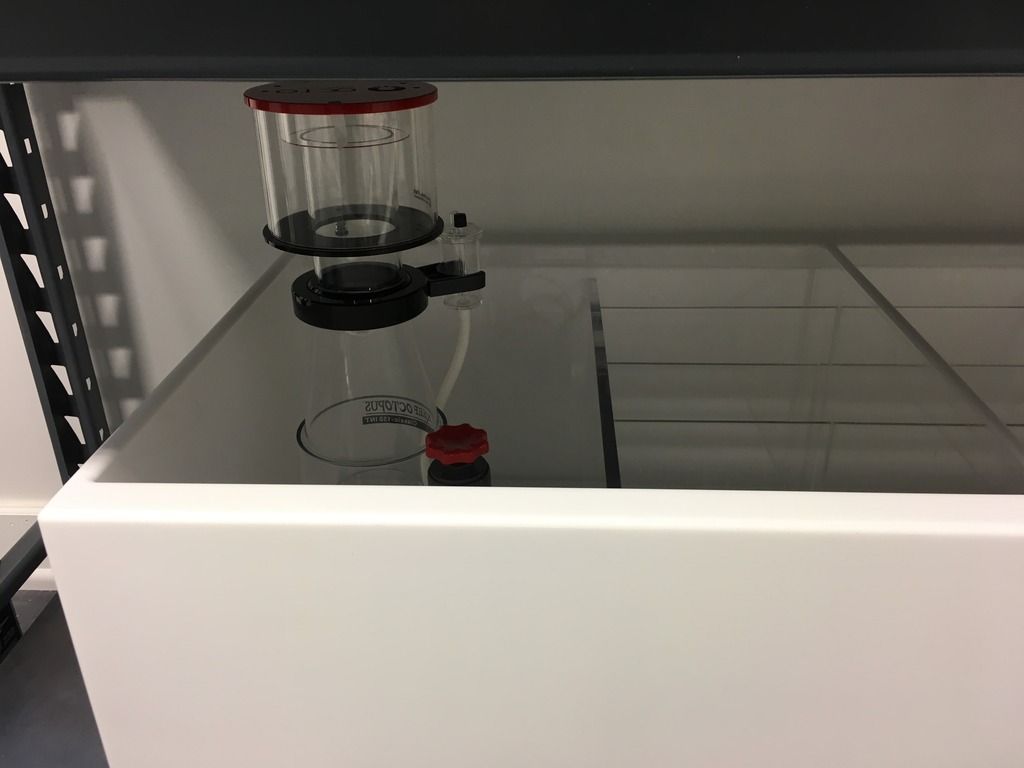
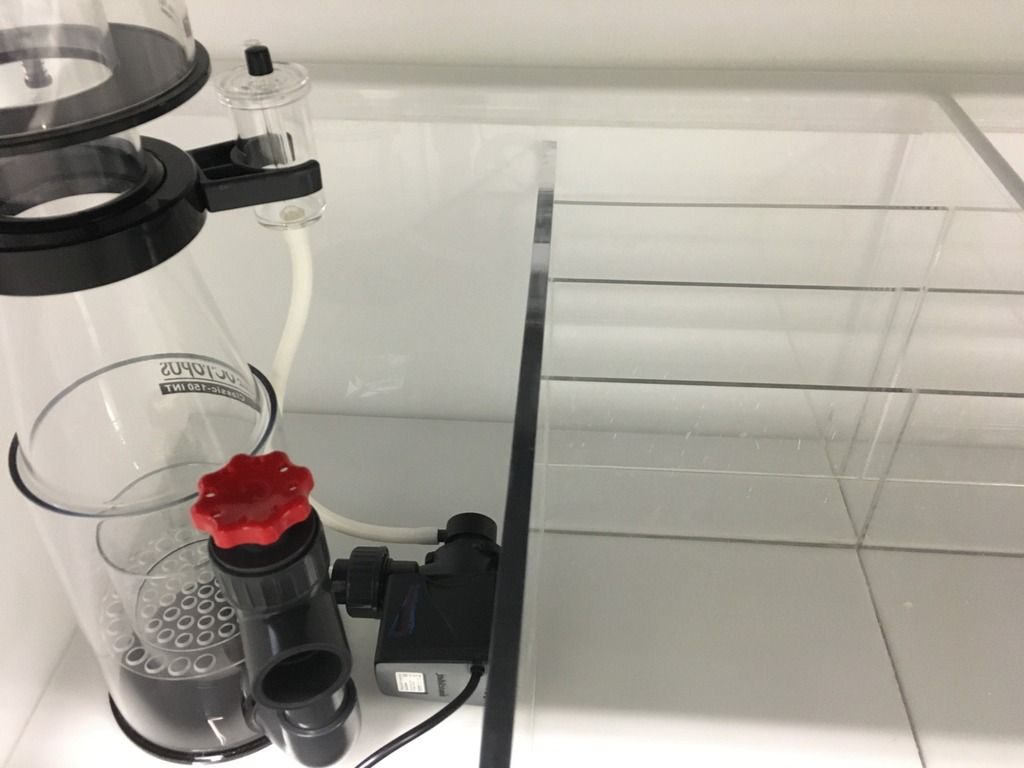
The right and left sides here are mirror images. I'm going to be running the same model of skimmer left and right side. I'll have reactors for phosphate and carbon. Basically, I'm trying to set this up to be one large holding system for coral and/or fish if the need arises. Most of the time, I'll just be running the coral QT alone and maybe one or two of the fish QT's stand-alone.

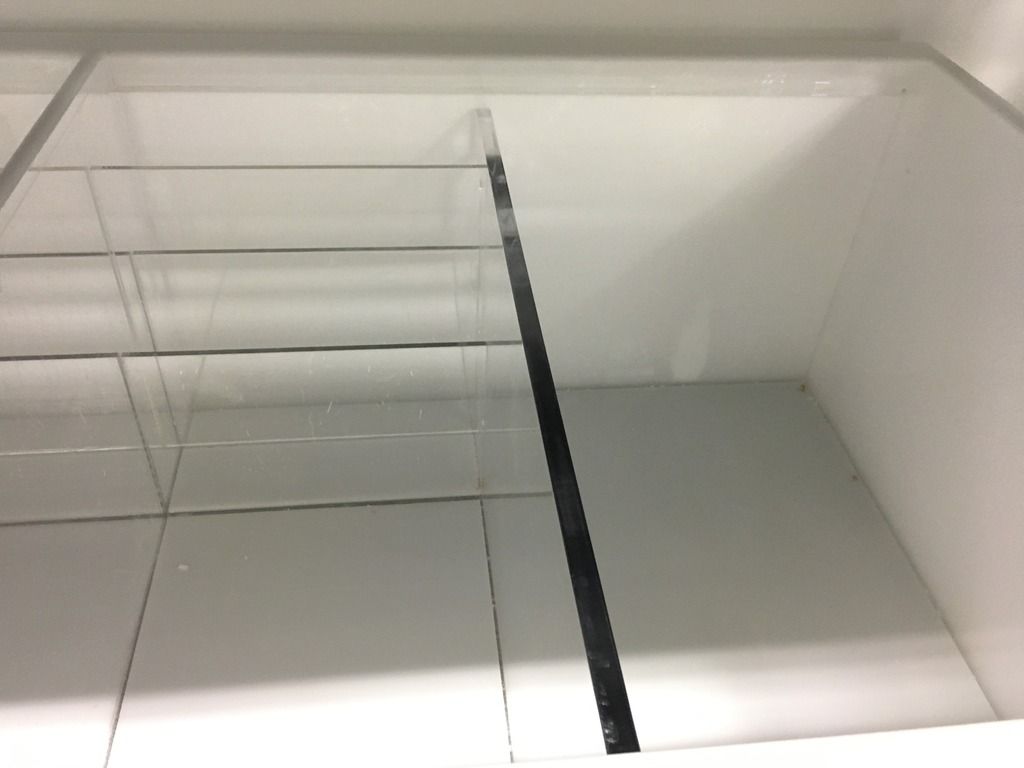
The sump is fairly simple in design. There's just the return/skimmer section, a bubble trap, and a return section.


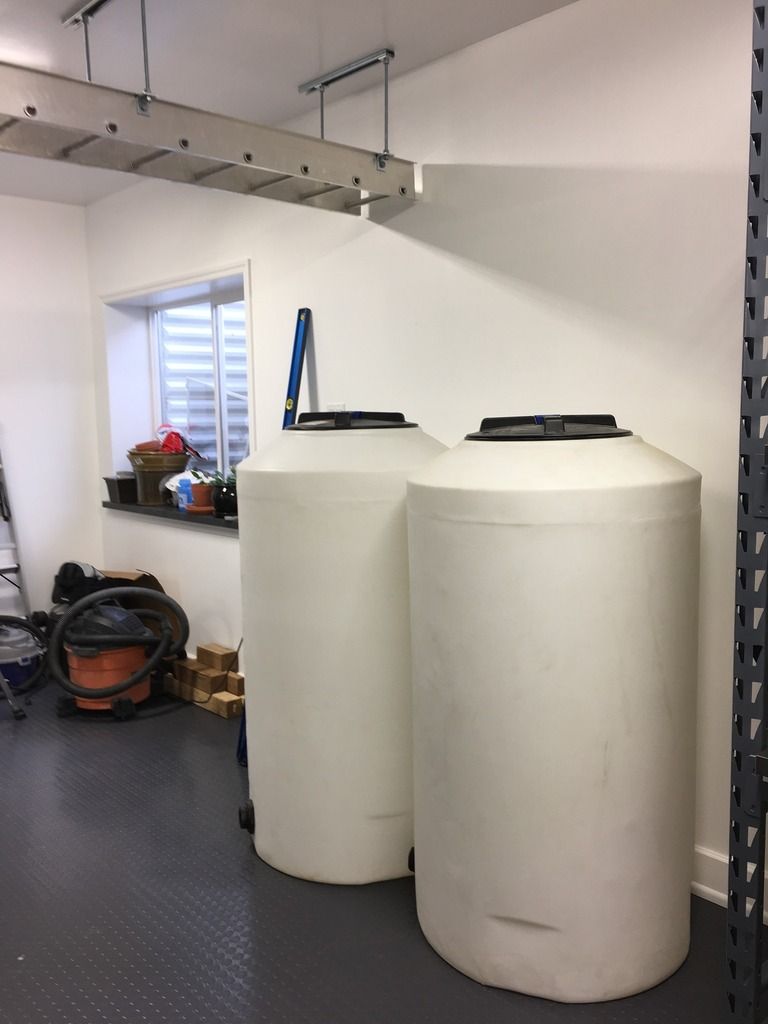
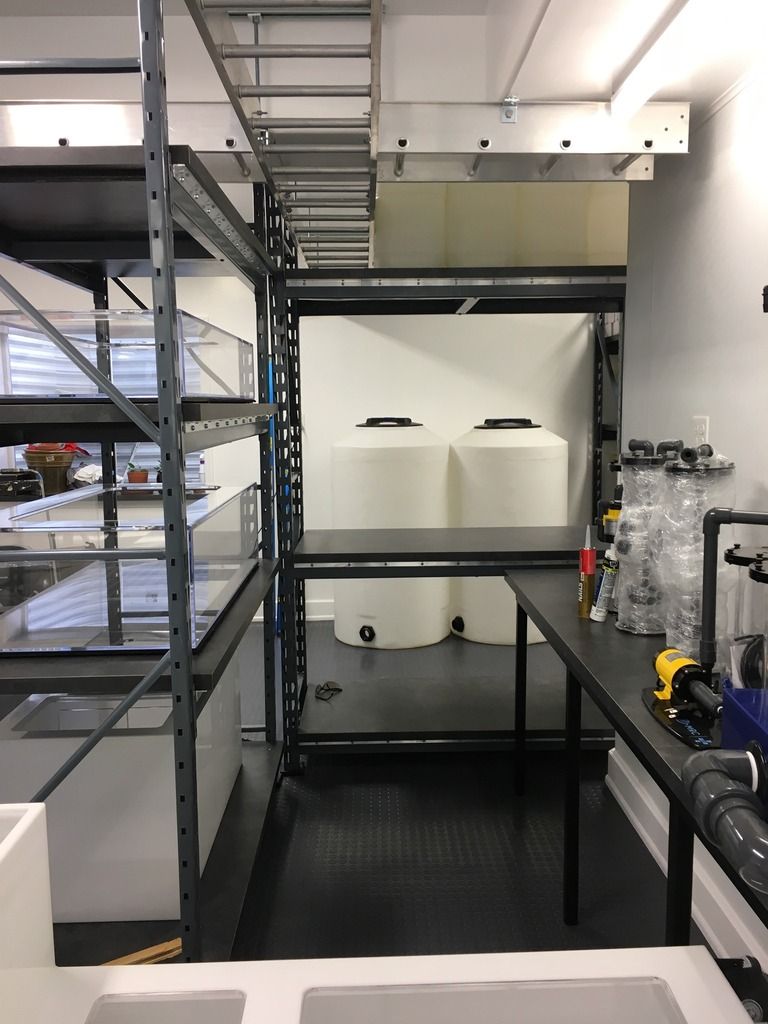
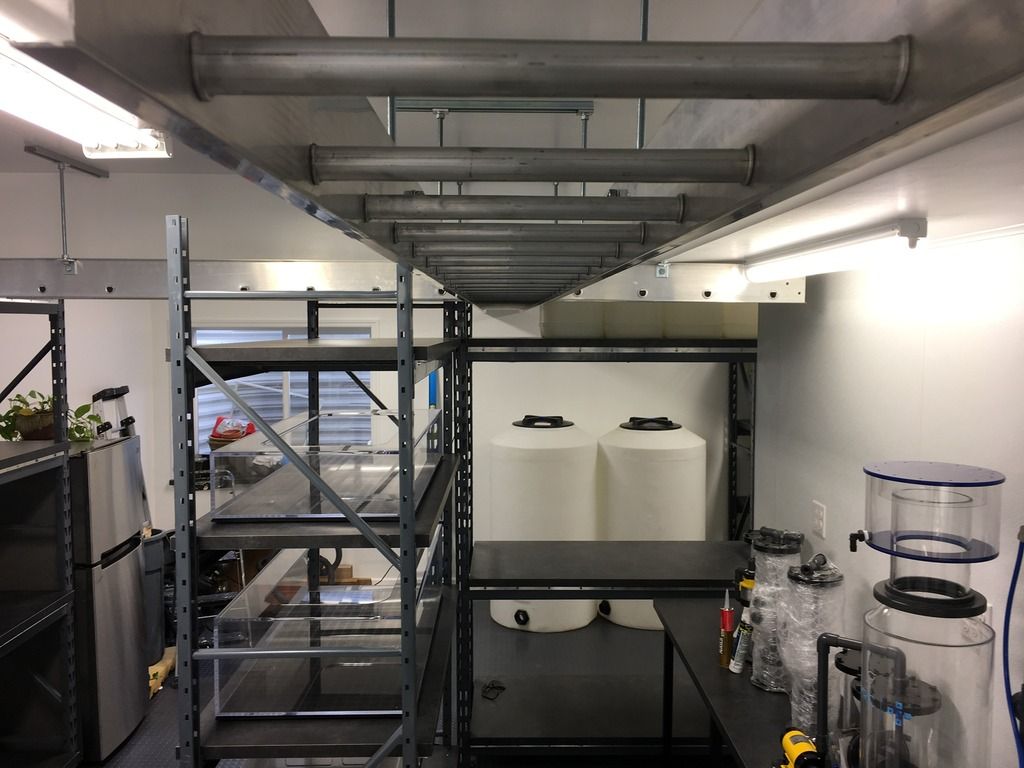
I'm also working on a tank that will hold water for top-off. That will go on a top shelf somewhere and the tanks will be topped off by gravity and float valves.

The only other acrylic work I have planned is just a quick drip pan that I'll put under the skimmer. Then, I can start plumbing!!!! So, by February, I should be running pipe.
 

SynDen

Administrator
Staff member
M.A.S.C Club Member
M.A.S.C. B.O.D.
M.A.S.C President
M.A.S.C Webmaster
Well since ADHI sold out, :(
I think you could go into business and dominate the market for local acrylics ;) Serious pro work there man,
For your first order, I could use the following:
ATO,
ATS box,
Air exchange box
Frag tank
Overflow ...

mwhahaha
 

halmus

Registered Users
M.A.S.C Club Member
ex-officio
Thanks everyone.

The folks at Plasticare know me by name now. THEM: "Need some more white acrylic???" "How about more Weld-On?" "More applicators?" ME: "yes, yes, and yes".

I've taken multiple 50 gal trash cans of acrylic snow out over the last two months.

I'm hoping the plumbing goes well. I am somewhat guessing at what drain line sizes I'll need. It's an educated guess based on past builds, but it's still hard to know what diameters I'll need to go with for the drain lines without having the pumps running. I'm using pumps that I don't have past experience with. I know I've seen charts online for GPH various pipe diameters will handle under a full siphon. I need to find that chart again before I start drilling holes. I don't want to spend all of this time making the tanks look pretty and then turn them into swiss cheese.
 

halmus

Registered Users
M.A.S.C Club Member
ex-officio
While I'm working on other things with the tank, I could use a little advice. Here's a sample of the type of rock work I'm probably going to be aiming to copy as far as style. I like the openness of the rock structures. This is a tank in Thailand, the thread is on RC. The rock was assembled using a product called Epo Putty. The thing about trying to accomplish this style is needing to have a reliable bond between the rocks because the structures are gravity defying. The rely on a good solid long term bond.


What kinds of products, if any, do all of you use to bond your rock together? 2-part reef epoxies? Reef safe superglue? Portland cement? Just good old fashioned gravity and proper placement? Acrlyic rods?
 

SynDen

Administrator
Staff member
M.A.S.C Club Member
M.A.S.C. B.O.D.
M.A.S.C President
M.A.S.C Webmaster
Mine are all done with 1/2" pvc, portland cement and reef sand, which works great, if you arent in a rush, because you need to leach it in freshwater for 3+months before curing.
Epoxy and acrylic rods would work best for a piece like these though. Marco rock makes a decent epoxy for stuff like this. Although, even with epoxy and rods getting the balance just right for these is tricky, as the feet still need to do the majority of the support.
 

halmus

Registered Users
M.A.S.C Club Member
ex-officio
Its kind of funny looking at the time stamps on responses with this forum. We reefers keep some crazy diverse hours!

Thanks for the suggestions. I forgot about the Marko products. I might have to give that a try. I already picked up some white Portland cement because that was my original plan. However, I had a hard time getting the consistency right to where I felt comfortable using as a bonding agent between rocks. That might be because I was using crushed oyster shells not reef sand in the mix.

I might have to give Portland another try, but my concern is the crap that leaches out during curing. I almost have to build the rockwork in the tank to get what I'm aiming for. That means curing in the tank. Past experience with Portland was that it initially released a layer of scum that would permanently bond to the tub of water I was soaking it in, in my case a brand new glass aquarium.
 

halmus

Registered Users
M.A.S.C Club Member
ex-officio
I figured you were on a weird schedule with your work. At least the commute should be easier.

I need to go back and read through your thread again to see if Marko will work for me. I saw it back when MACNA was in town but haven't really decided on rock yet. (Tonga/figi/realreef...). I'd like to pick up the rock locally so I can cherry pick the pieces and support the local stores. I'll probably spend a day traveling to every store in the region picking up the first round of rock.

I have the advantage of not being in a hurry. I'll be building the rock outside of water no matter what I go with, so whether a product cures under water or not isn't important.

I'm shooting for the record of longest build ever.
 

MuralReef

Administrator
Staff member
M.A.S.C Club Member
M.A.S.C. B.O.D.
MASC Vice-President
I've been thinking about this too since I want to start with live rock not dry. I have been thinking about using a product like Fauna Marine Aquascape fix which are the plastic pellets that become playable in hot water.
 
Top