Plugging drilled holes?

Haulin Oates

Reef Shark
M.A.S.C Club Member
#21
Oh! I just had a sick idea if you could pull it off...
Use the back hole as your overflow aNd the 2 centered holes as returns! Have 2 pipes sticking straight up with multiple holes drilled going on several directions and then stack your livestock in 2 towers over the pipes to hide it! Then you'd have flow through your live rock, and 2 rock stacks that you could have coral all over! That'd be pretty unique!
 

hurrafreak

Orca
M.A.S.C Club Member
#25
Whammy, problems (personal ones) solved without BOD interference :). Like has been said, emotions are tough to figure out on a forum so please be careful how you react. Remember, foul language (*****) ALL CAPS LOCK, !!!!!!!, and various other items only fuel these fires. Be careful how they are used. As has been said, nobody around here will shun you unless you do something absolutely terrible, or unless you ask for it (yes it's been done). Please attend the meeting if you were already planning on it :). I WILL be cleaning this thread up soon to remove all of the off topic stuff though.
 

skebo

Blenny
M.A.S.C Club Member
#26
Could someone elaborate on blazinjack's post. These are probably why these holes were drilled in this fasion I would guess? But if you lose power your going to drain all the way to the highest pont you have a hole for air to get into right? I saw this setup before on that tank show, how do you address this or what am I missing?
 

Haulin Oates

Reef Shark
M.A.S.C Club Member
#27
Skebo, I think you can use a one way valve in the plumbing to the pipes so that in the event of the pump failing (for whatever reason) no water would back flow down to the sump. But I have not personally used these so I don't really know how they work...
 

skebo

Blenny
M.A.S.C Club Member
#28
I have never seen anything like that. I thought we always depended on the overflows to stop at the top and the sump to have enough room for the difference of an inch or two. I would love to see something like this, and maybe crw can get a good deal on it? But the pressure of the return line with the pump, would this be a limitating factor? Genious. Who can make this? Anyone have this setup now? I would pay to see it.
 

Kindafishy

Cleaner Shrimp
#29
There is a check/ball valve available on the market for stopping reverse flows through those pipes. Although they mostly work fine. The issue comes down to IF something gets in the way of the ball sealing up all the way in a power outage or pump failing. If the ball does not seal up all the way, your tank drains into the sump until air gets to the lowest hole in the pipe.

Thanks Zooid for the Bulkhead plug information. I was unaware they made those at all, After re-watching the BRS video, I do believe they were meaning you can't screw onto the outside of the bulkhead. The only two bulkheads I have are in the bottom of my external overflow box and the side of my sump. Neither have a threaded interior. Just the outside, so I also didn't know they had threaded inside, bulkheads. Just the threaded outsides.

Point is, I'm getting an unscratched 110!! Woot! LOL

I would assume this water weight WOULD effect your pump when setup how you guys are talking. Although it could be pretty cool, I'm not sure I'm up for risking it. LOL
 
Last edited by a moderator:

Zooid

Reef Shark
M.A.S.C Club Member
#30
Now that I've gotten this thread completely off track....

Kindafishy, you work in electronics.....Do you have access to a reflow oven?
LOL, I ask because it would be extremely helpful for some of us that DIY LED setups :D
 

Zooid

Reef Shark
M.A.S.C Club Member
#31
Kindafishy;144721 said:
Thanks Zooid for the Bulkhead plug information. I was unaware they made those at all, After re-watching the BRS video, I do believe they were meaning you can't screw onto the outside of the bulkhead. The only two bulkheads I have are in the bottom of my external overflow box and the side of my sump. Neither have a threaded interior. Just the outside, so I also didn't know they had threaded inside, bulkheads. Just the threaded outsides.

Point is, I'm getting an unscratched 110!! Woot! LOL

I would assume this water weight WOULD effect your pump when setup how you guys are talking. Although it could be pretty cool, I'm not sure I'm up for risking it. LOL
No problem....and if you need a hand with anything, I may be able to help :D
I have the check valves installed in my overflow pipes but I don't depend on them to stop my flow. I won't depend on them either because
after running this tank for six years, I've had to chisel out some calcified animals that completely blocked one of my 1 1/2" overflow pipes.
 

Kindafishy

Cleaner Shrimp
#32
Not right now we don't. Most of the boards I build are through hole. The few we've converted to surface mount, I stuff and solder by hand. HOWEVER through hole parts are getting hard to find these days. So the company is converting our old through hole stuff into newer surface mount. Once this is complete, We'll likely end up buying an oven to speed production and lower cost to produce them. As well as a used SMT machine to "stuff" parts.

I'd LOVE to have this yesterday for the EXACT reason you bring up BTW! LOL Unfortunately right now, if a rush order comes in we hire it out to a stuffing company.

. Also, It's not extremely easy but solder melts at a pretty low temperature. I solder at 690-730 Deg on through hole stuff. Most surface mount stuff is even lower temperature, because the internals are so microscopic. On many SMT chips if you use heat higher then 740deg internal micro traces will sometime melt. Thus destroying the part!

Solder paste is pretty smokey. However I'd suggest a standard electric oven used outdoors or in a garage with the garage doors open. Paint on your paste, carefully place your parts, bake it in the Craigslist cheapo oven. CAREFULLY remove from oven, as parts are literally floating on liquid metal. Timing is everything. The solder joints will go cold if left molten for to long.
 
Last edited by a moderator:

Kindafishy

Cleaner Shrimp
#33
I added to this old post, and it took 15 min. Should have just posted again with more info.:D
 

Kindafishy

Cleaner Shrimp
#35
I committed to the buy! I shall have the furniture grade stand, canopy and UNSCRATCHED 110g! Woot!:cool: This will be the nicest aquarium I've ever owned! :D

I agree tlsrcs, the site emoticons ARE lacking. clicking more seems to offer ONE extra, and it's not to good. Although, some sites, they will still work, they just don't offer the easy one click "smiley" versions. :p
 

dv3

Beluga
M.A.S.C Club Member
#37
i know you didnt ask but you really could find a better deal if you look around and wait its really not one of those once in a life time deals you cant pass on ....110's do not make ideal reef tanks IMO because they are too tall for alot of light to penetrate to the bottom ...just my opinion but i hate to see you have problems with it down the road
 

Kindafishy

Cleaner Shrimp
#38
It's all good dv3. Your treading on iffy ground, but it's just years of frustration, culminated onto a tank I absolutely hate, and would nearly throw someone under a bus to replace!

I know a 110 is not prime for SPS in the lower areas. However it should be OK in the upper areas, with some lower light corals such as leathers down low. Add to that I've been fighting this for over twelve years.

The main reason for this size is, well, the size.:) I can't really go much larger then 100g due to living in a mobile home. Four feet is a great length as it just crosses two steel beams. I'd prefer longer, with a bit less depth, but it would also take up more floor space in an already cramped room (anyone want an early 70's Wurlitzer Organ?):confused:. Also I'd like to see into my tank without bending over as far. Add to that, I'd like a Tang!

So it comes down to what fits, is better then what I have, and costs the right amount. My filters are great. My lighting is OK (but needs an upgrade in the next year). My tank is terrible (scratches, chips, no overflow). My stand is terrible (and garbage wood), My plumbing is terrible (due to the terrible stand and tank).

Fact be known I'd love the stand and canopy I'm looking at, with a 90g a lot more! I've watched Craig's DAILY for years! I've seen tanks come and go VERY fast! (unless the seller wants $2K or something insane). I also noticed today that it's often club members who got them (there's a Craig's thread, where tanks I missed, were posted about over the last three weeks).

The guy selling this one isn't posting it anywhere, and he's willing to finance me. I've waited twelve years to replace this scratched up (shoulda been a sump 15 years ago) piece of Sh17!! LOL I've had enough waiting for the "right tank" to come down the pipe at the right time. It may not be perfect, but it's a LOT better!

Worst thing is if I start second guessing what I do. Then I'll do nothing! the lack of any progress, will lead to another project instead of the tank (like my truck).

I have a hard time even looking at my current tank. I need to fix it right away!:wall:
 

Kindafishy

Cleaner Shrimp
#39
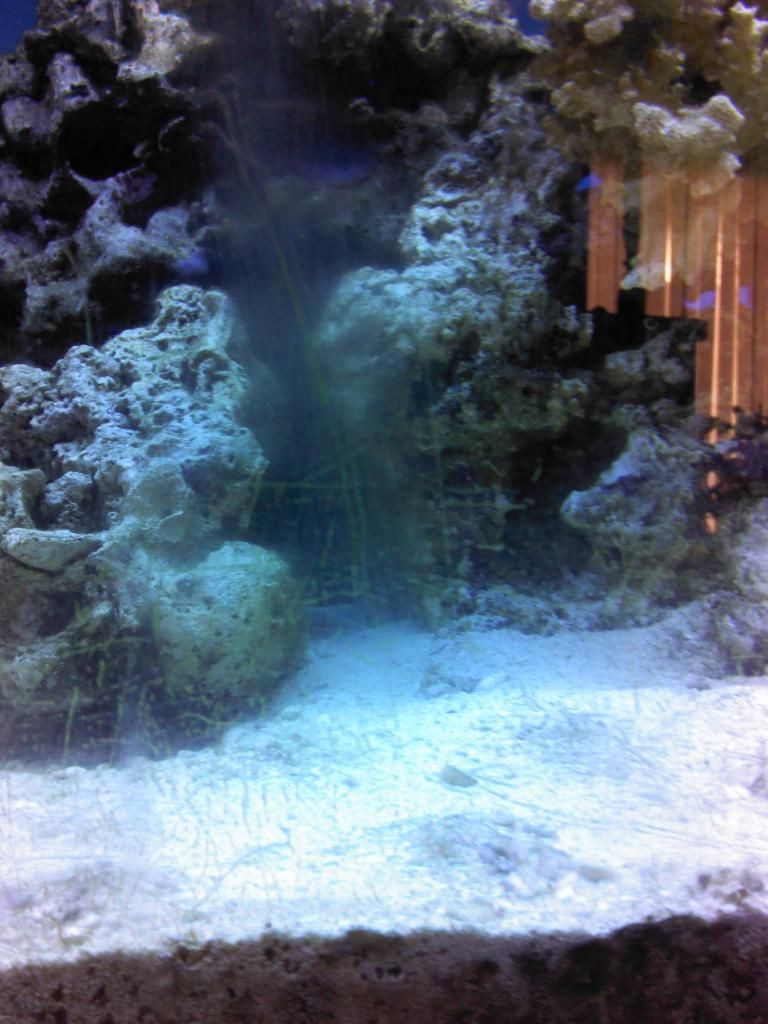
Lights are on (early ones anyway). Here's dead center bottom, It's just as bad dead center mid, Right, Left.. Deep scratches, with fines all around from the last guy using a Brillo pad to try and remove the scratches.


The stand is cheap pine, with TWO cross beams in the middle. Forcing me to have my Wet/dry on one side and sump with skimmer on the other. The pipe between them gurgles constantly.
 

dv3

Beluga
M.A.S.C Club Member
#40
well it sounds like your pretty much set on it for your own reasons ....good luck ...sounds like you will enjoy it alot more than your current tank
 
Top