
WW's sutpid awesome 60G nem cube
- Thread starter Walter White
- Start date

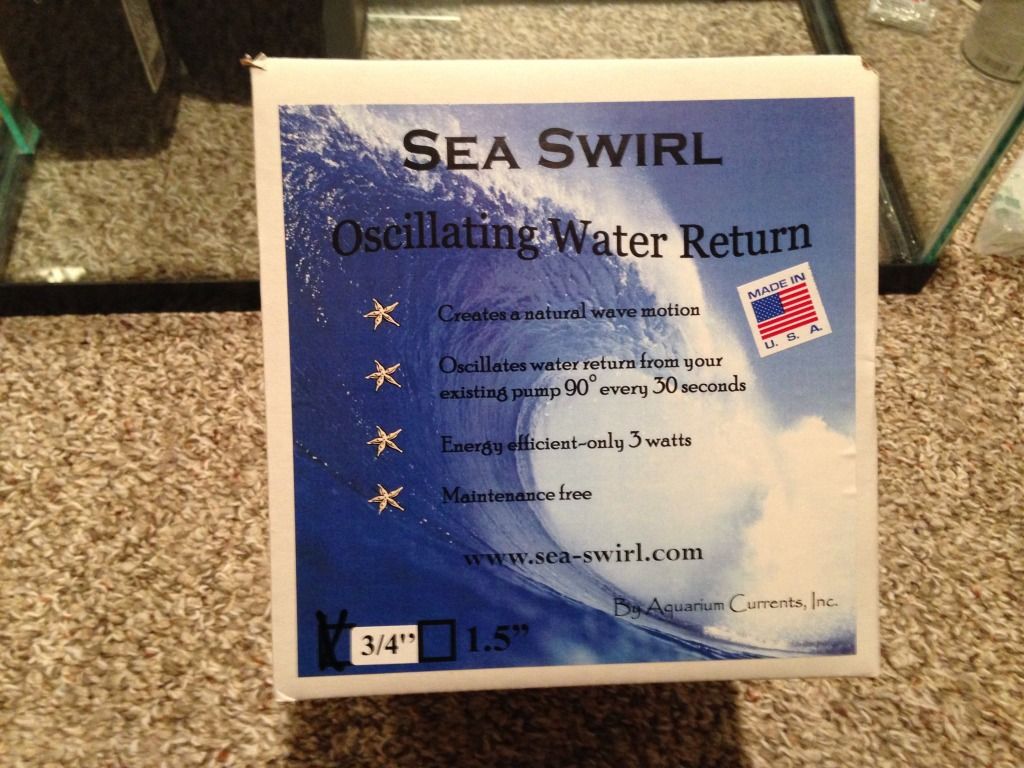
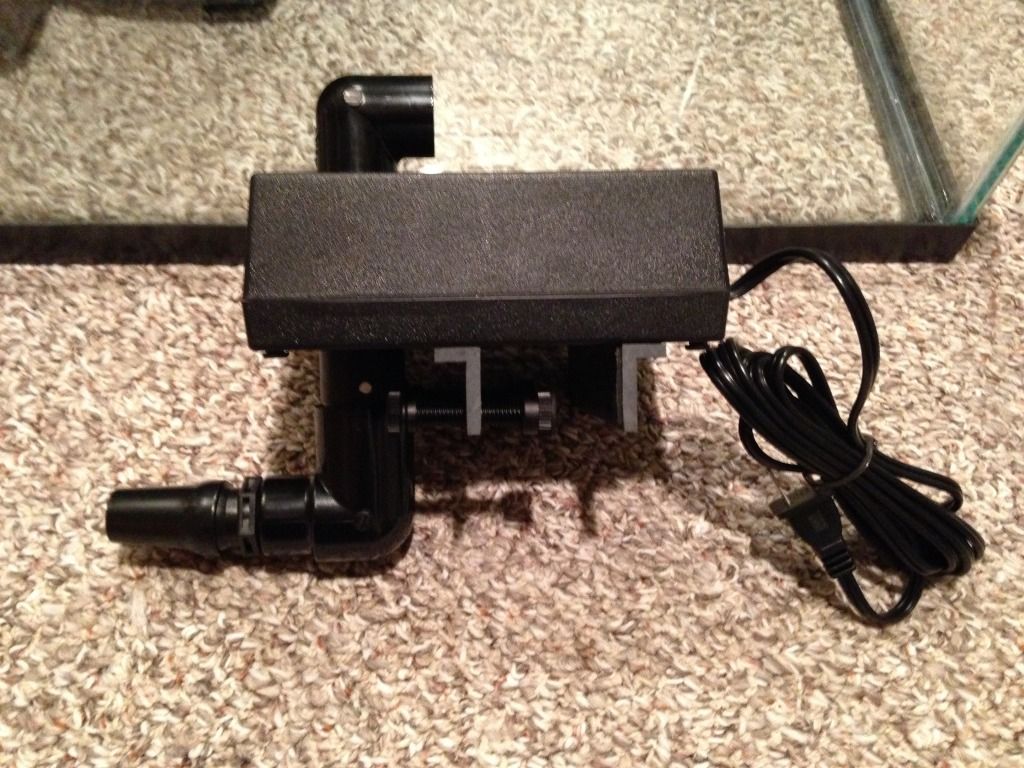
I spent most of the running all over town getting the rest of the supplies for my plumbing, stainless steel hardware, black vinyl for the back of the tank, and glass for my sump. I got one of my Sea Swirls in the mail today so at least I can get most of my plumbing done this weekend. The Sea Swirls are going to work perfectly, I'll have tons of random flow and I wont have to worry about any nems walking into a wave maker.
I started siliconing some of the glass baffles I had cut into place. The rest will go in in the morning

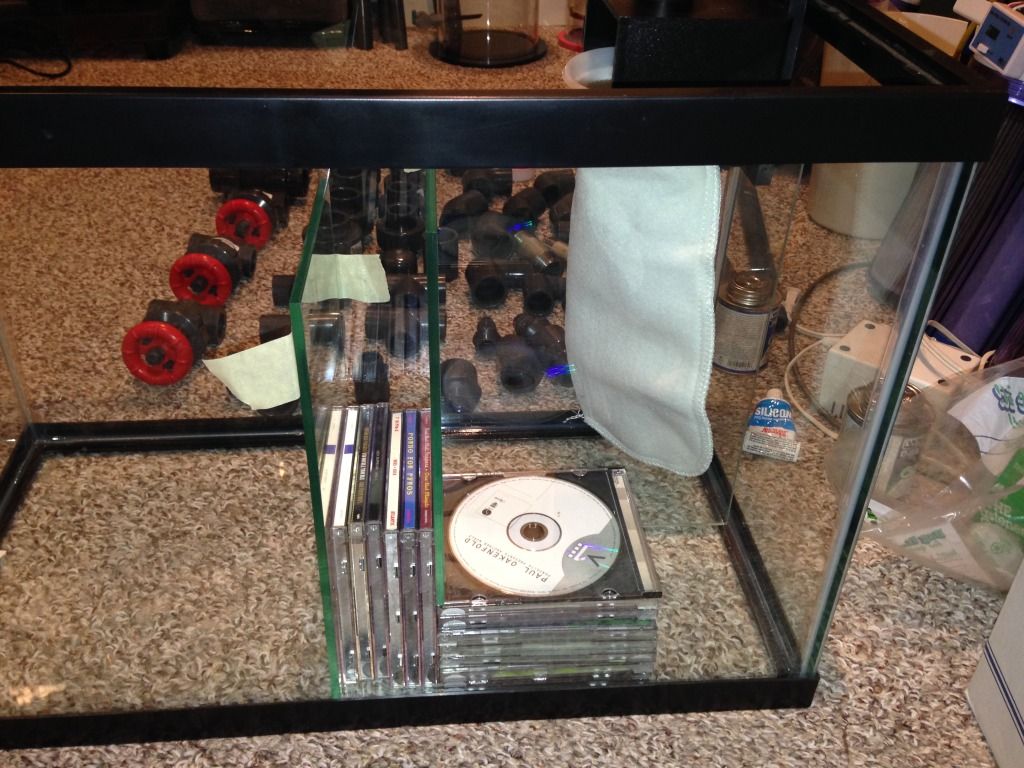
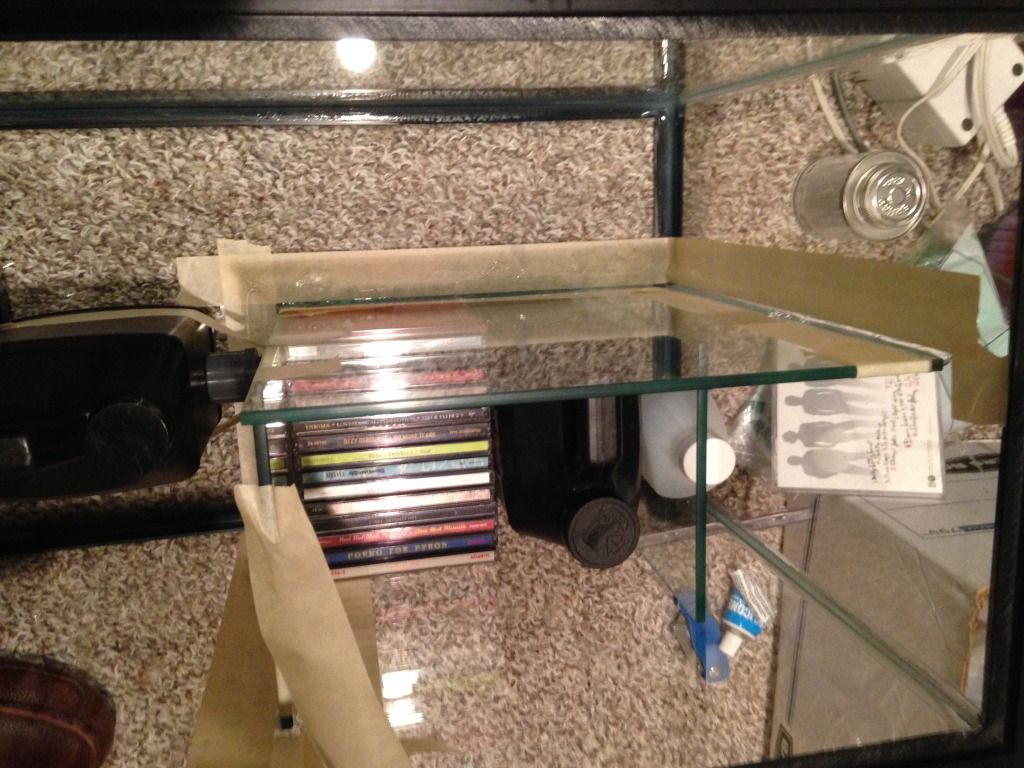


I started siliconing some of the glass baffles I had cut into place. The rest will go in in the morning


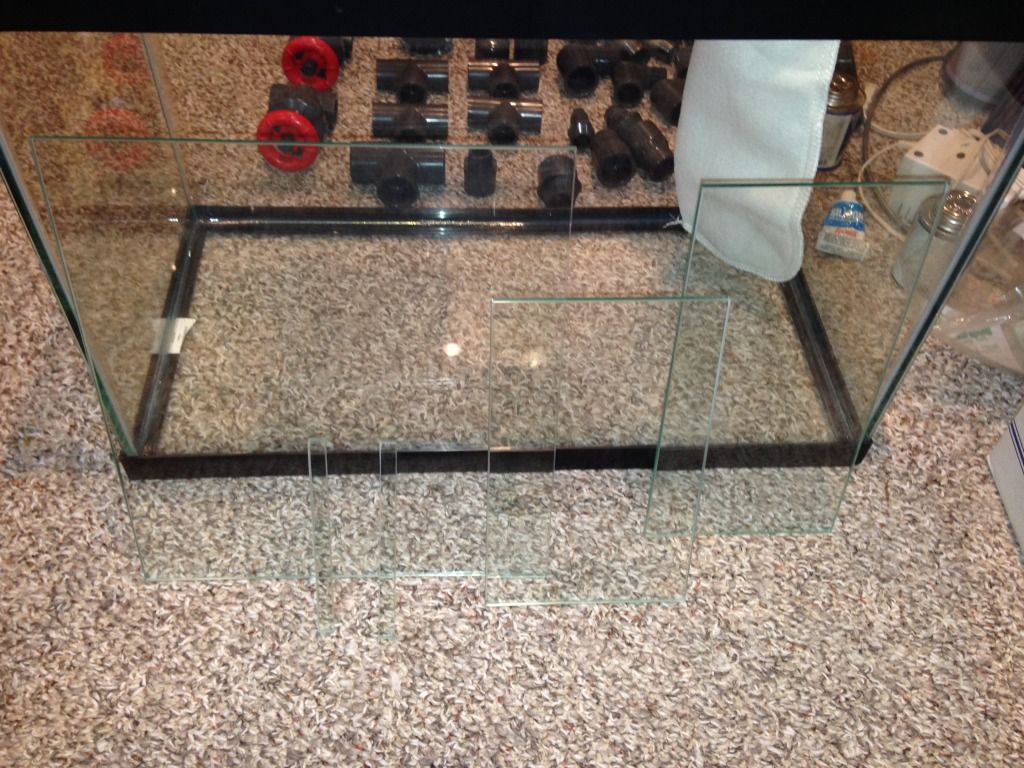
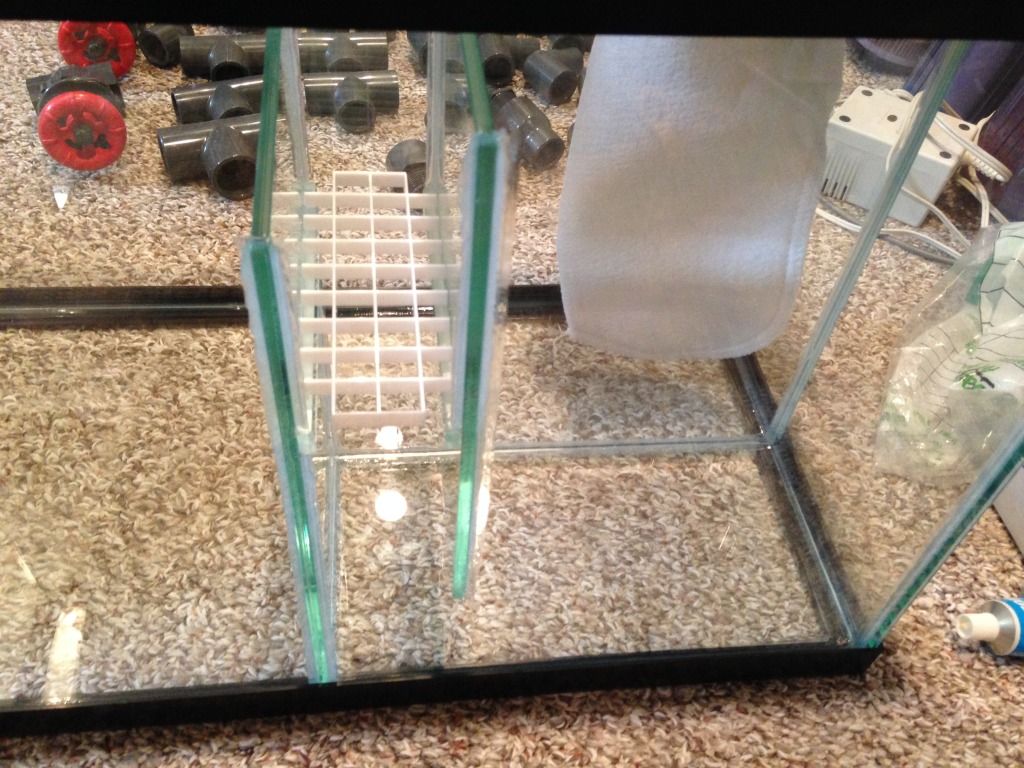
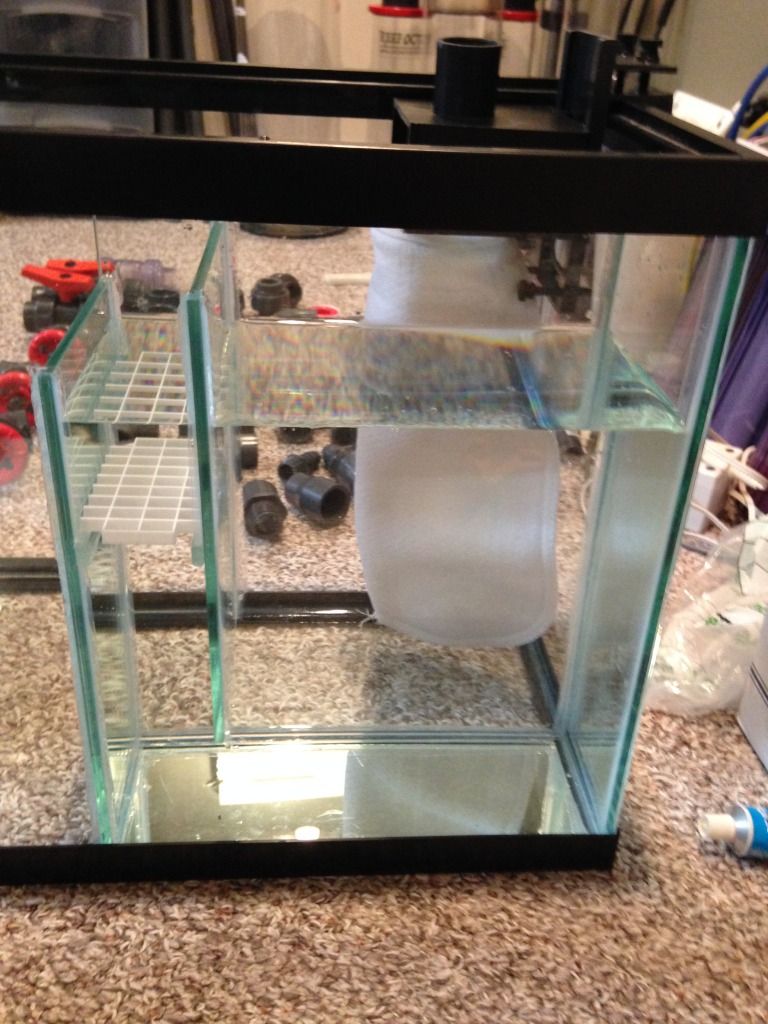
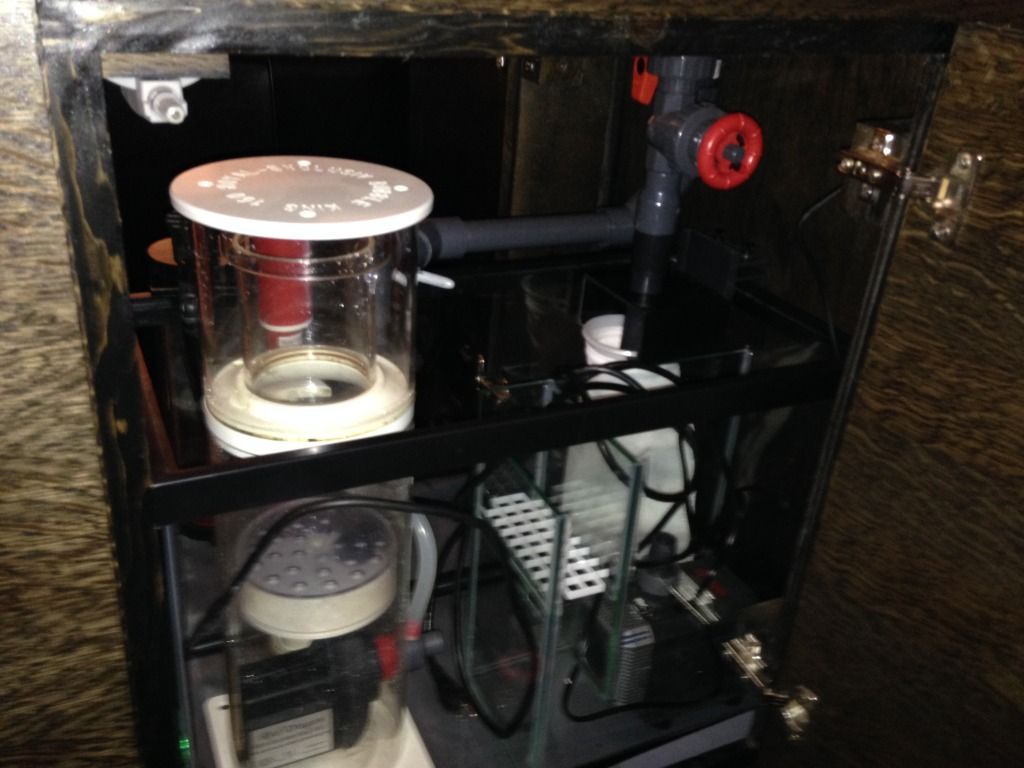
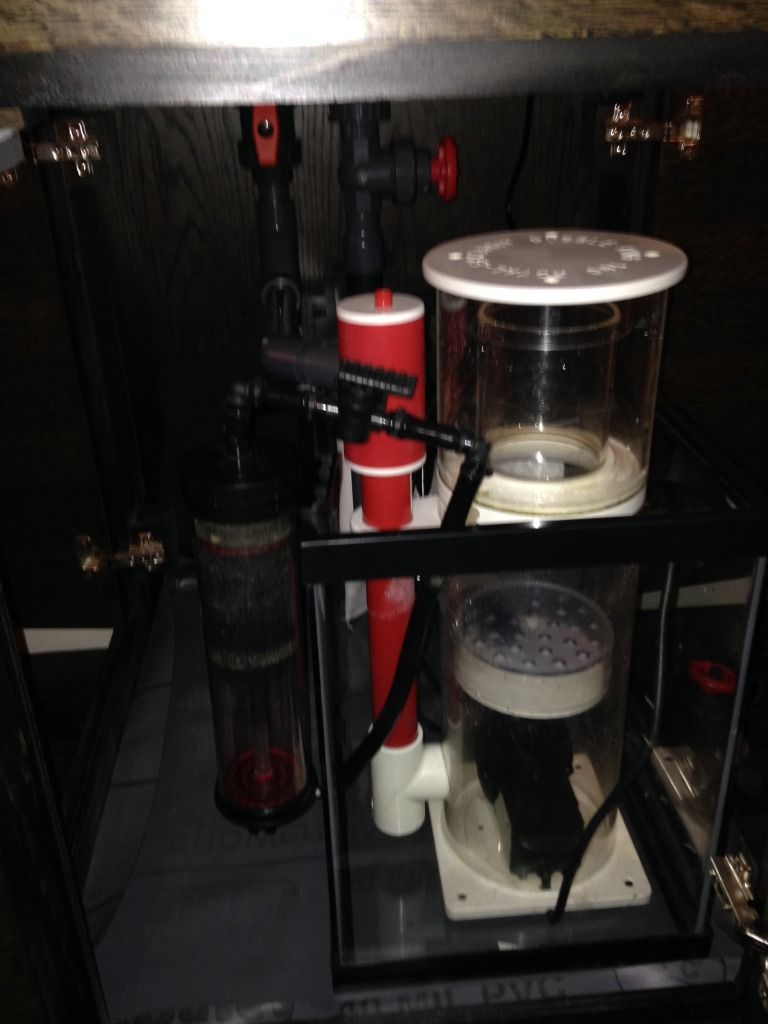
So I had some more time to work on the tank today. I got the sump completed and leak tested. Luckily no leaks.
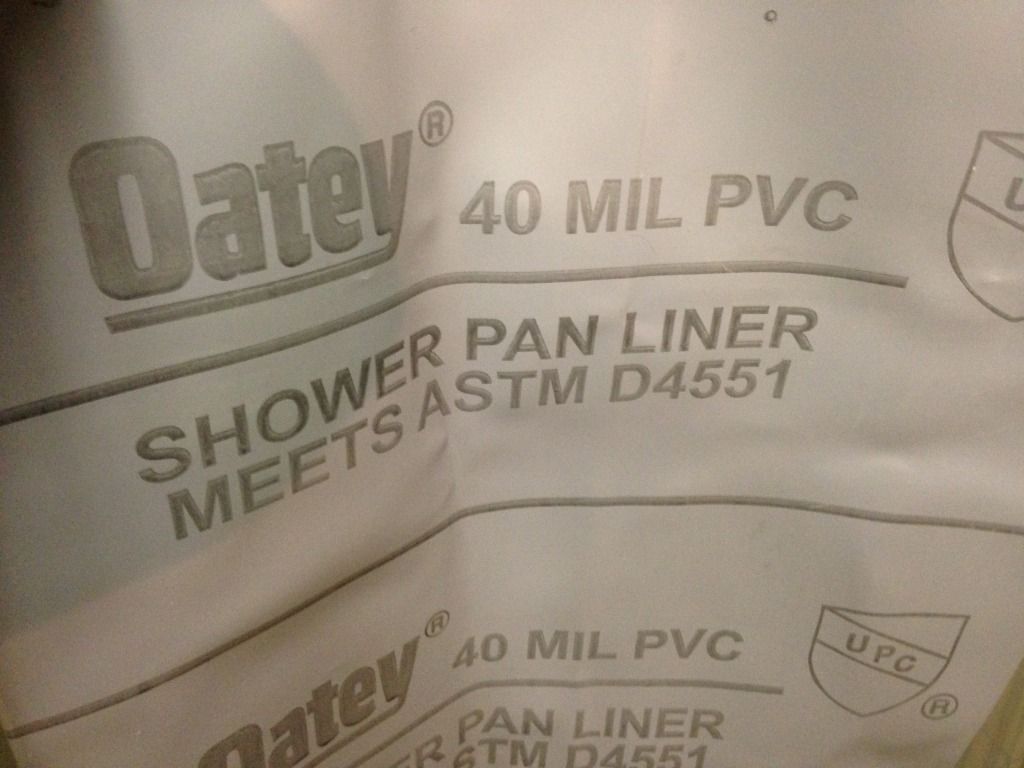
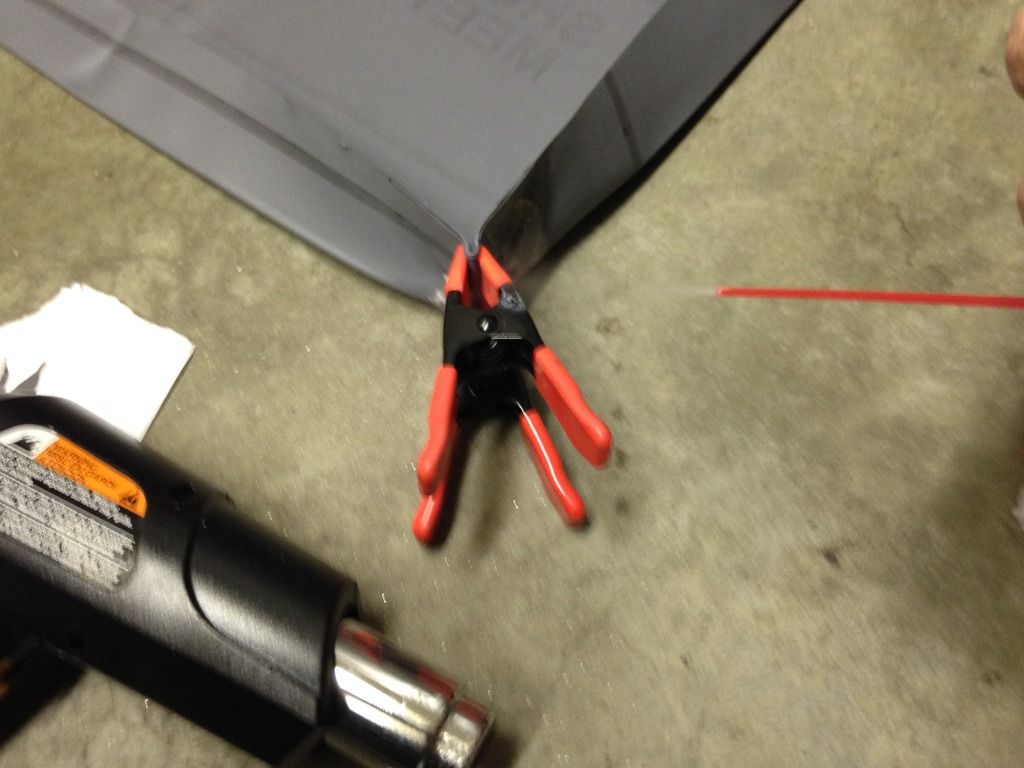
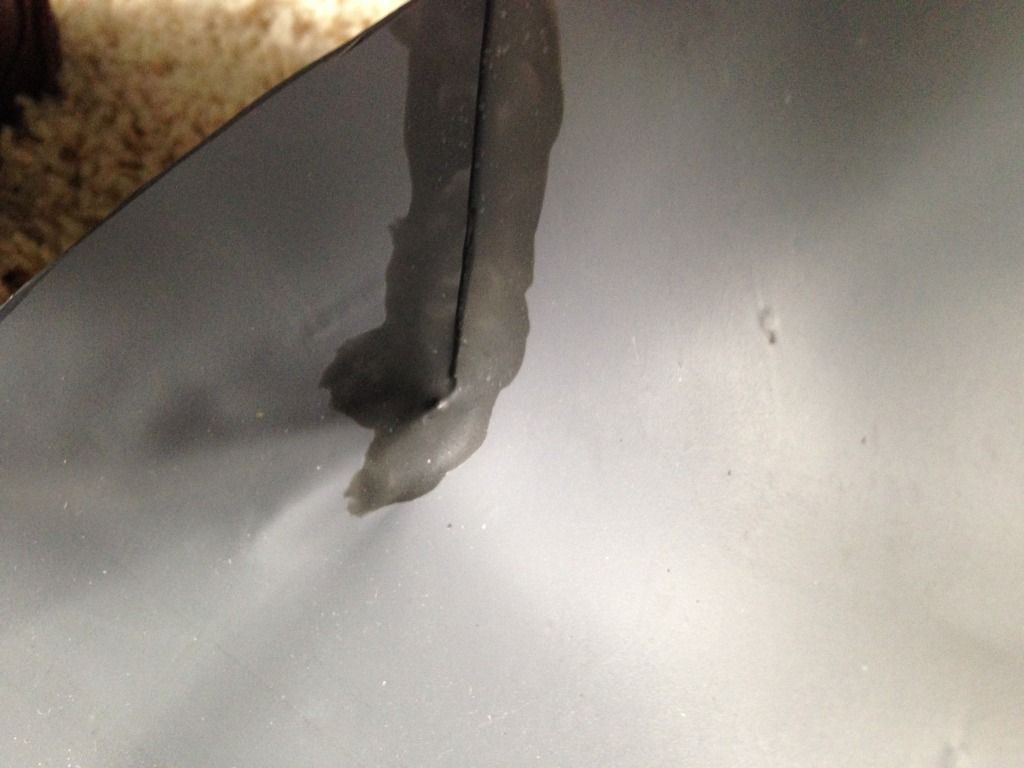
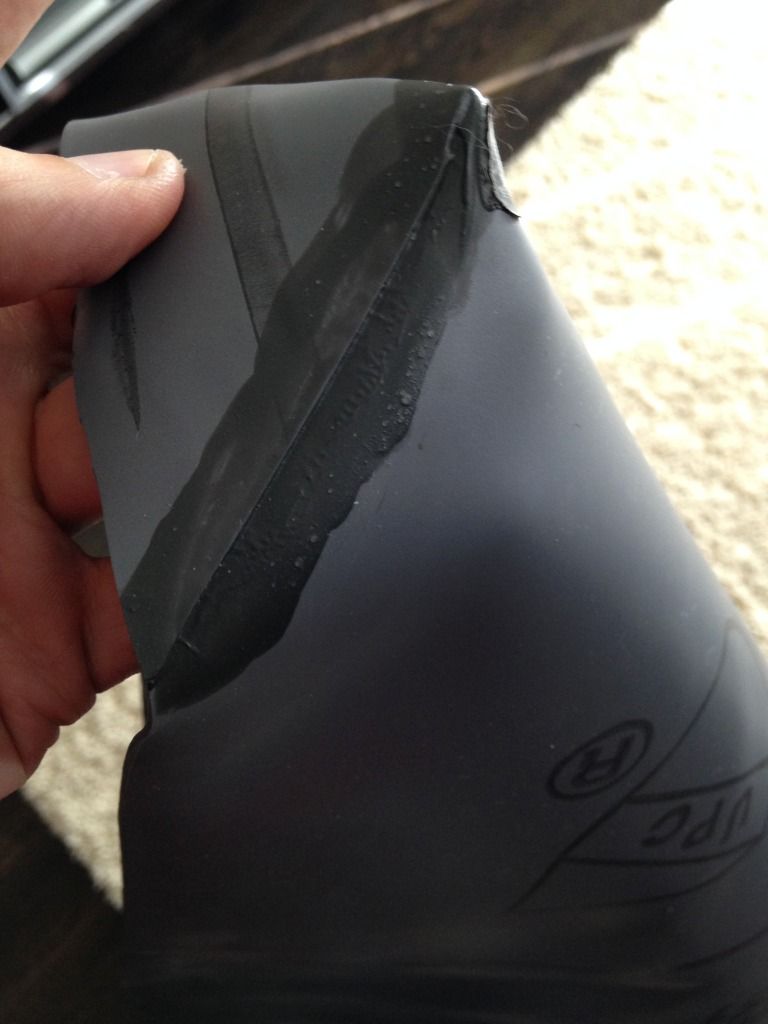
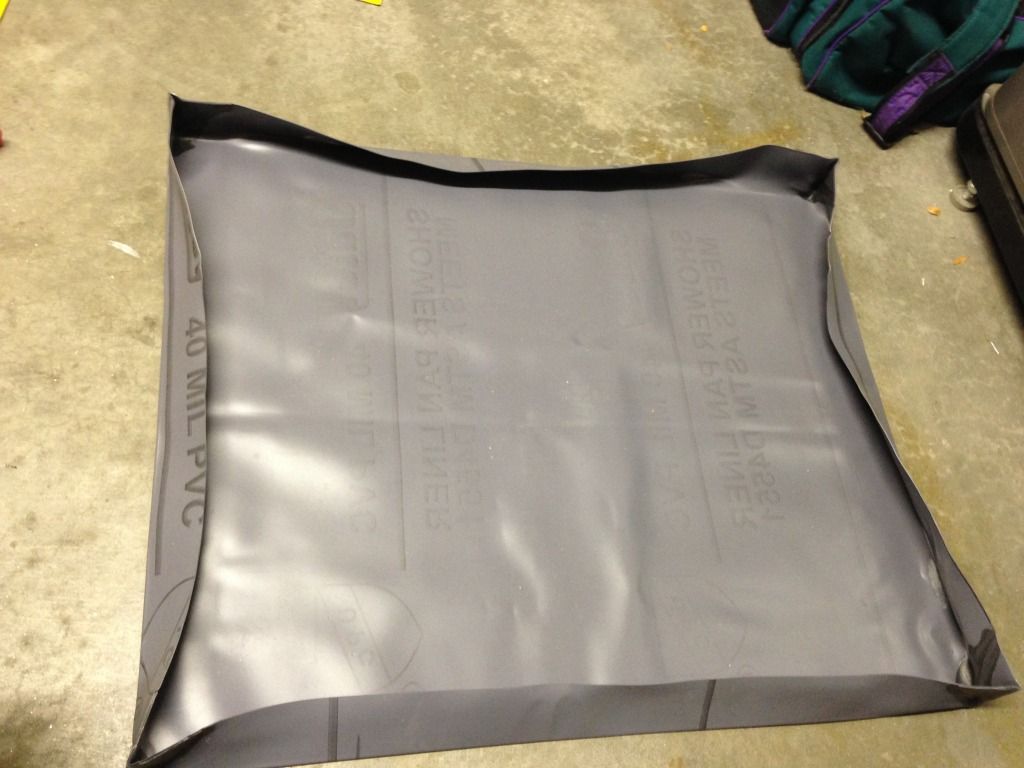
I made a PVC liner for under the stand to help protect the stand bottom as well as the floor underneath. I used PVC shower pan liner and industrial strength Weldon PVC glue to glue the corner together and seal them. To make the hard folds on the corners and edges I used a metal straight edge and a heat gun to heat the PVC liner till it was just starting to melt then sprayed the fold with with liquid nitrogen to freeze the fold and solidify the shape. The fit came out perfect.
I also got one side of the back of the tank covered with black vinyl but the second piece fell out of my hand while I was getting ready to spray it with windex and of course the two sticky sides fell together and the piece was ruined. Ill have to go back to the sign store tomorrow and get another piece.


I made a PVC liner for under the stand to help protect the stand bottom as well as the floor underneath. I used PVC shower pan liner and industrial strength Weldon PVC glue to glue the corner together and seal them. To make the hard folds on the corners and edges I used a metal straight edge and a heat gun to heat the PVC liner till it was just starting to melt then sprayed the fold with with liquid nitrogen to freeze the fold and solidify the shape. The fit came out perfect.


I also got one side of the back of the tank covered with black vinyl but the second piece fell out of my hand while I was getting ready to spray it with windex and of course the two sticky sides fell together and the piece was ruined. Ill have to go back to the sign store tomorrow and get another piece.

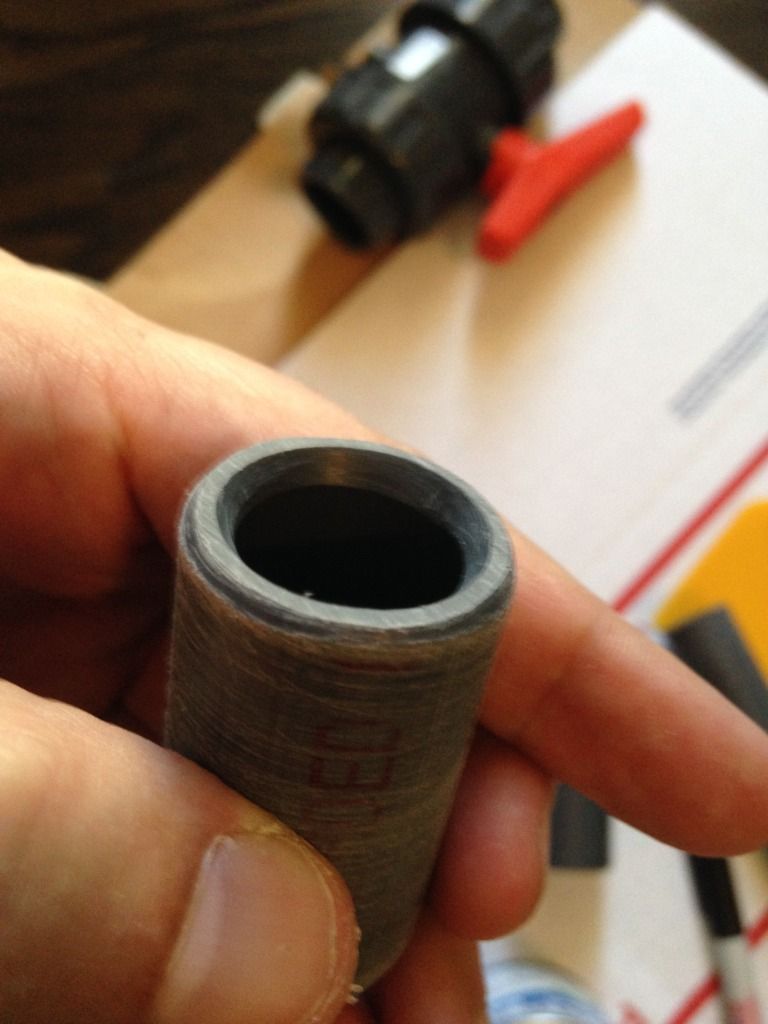
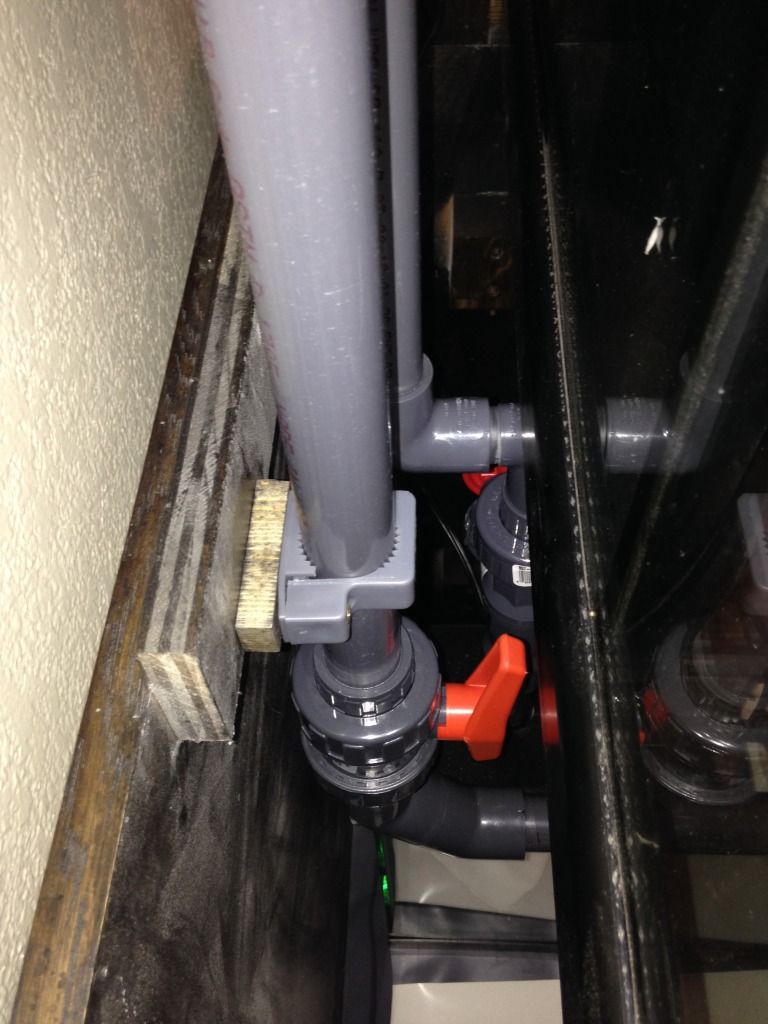
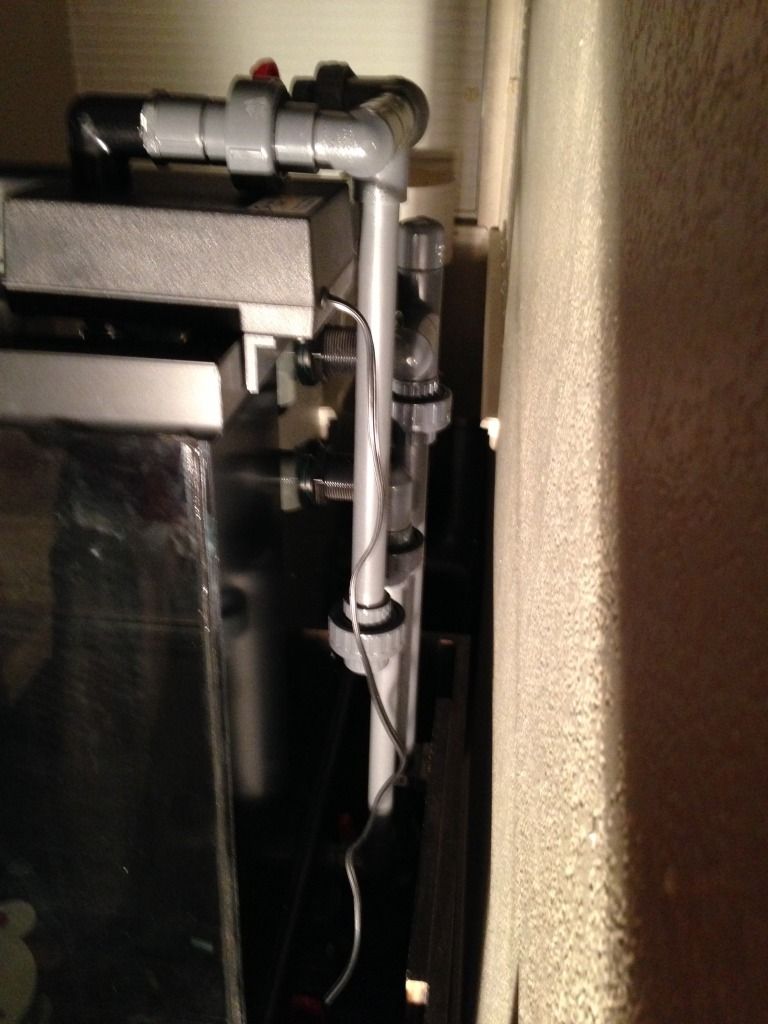
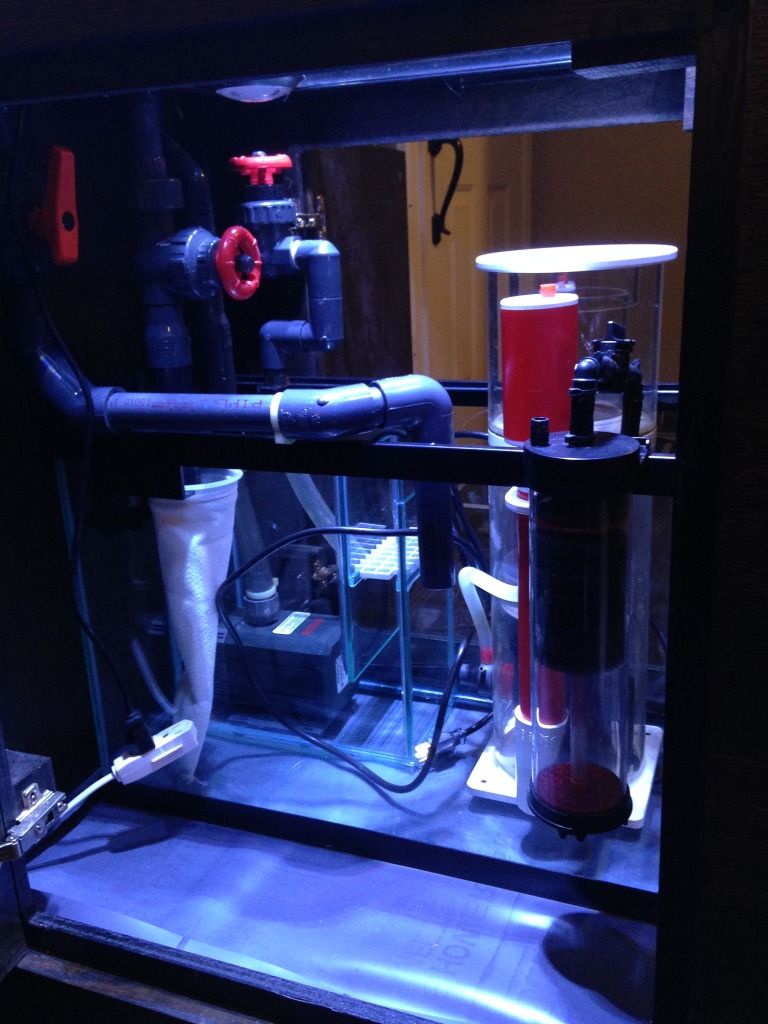
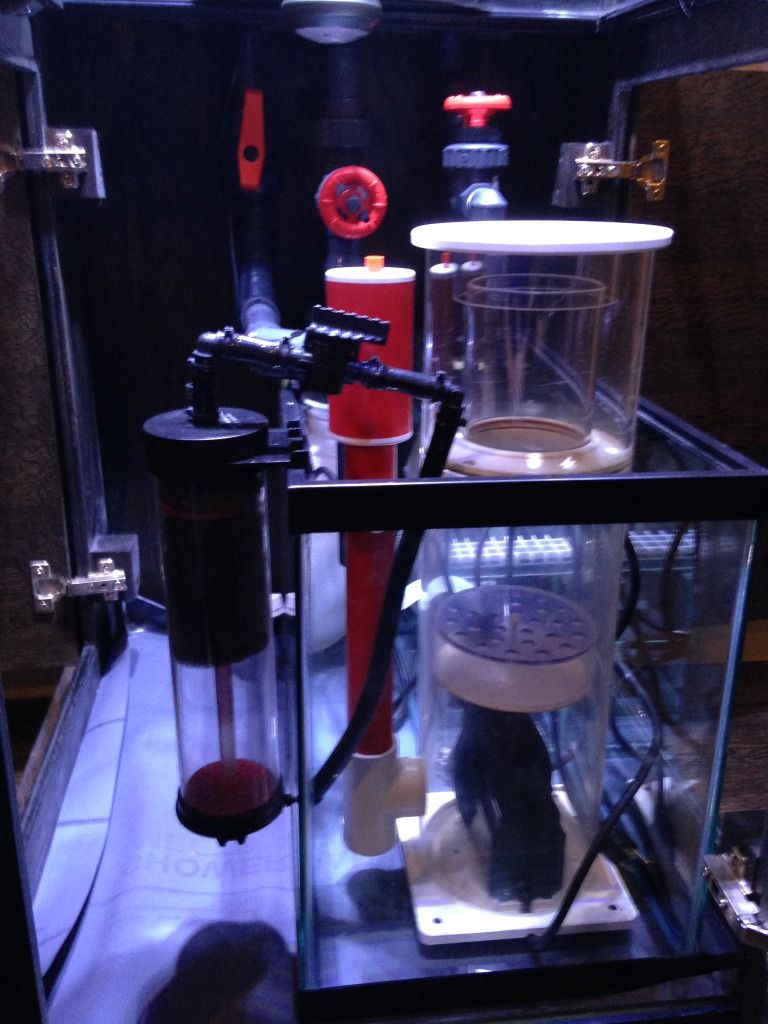
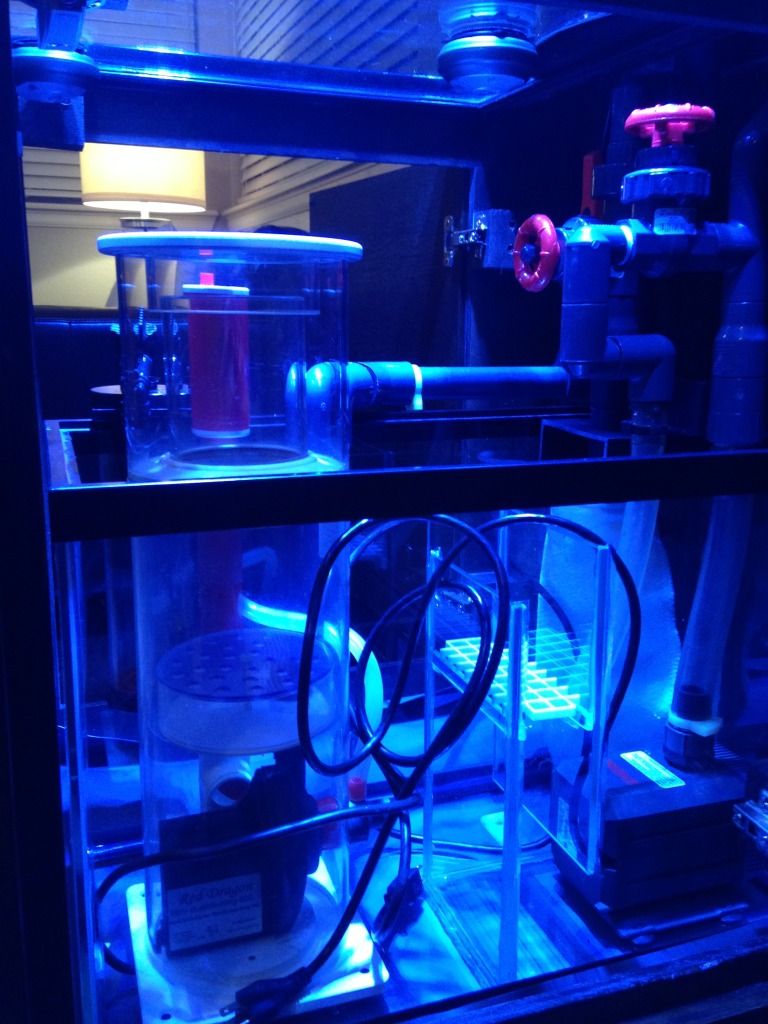
Got most of the plumbing done today but it took me forever but mostly because beveled both the inside and outside edges of each union. The out side edge helps to wick the glue between the two pieces instead up push it all to the end. The inside bevel is supposed to reduce drag but I doubt it really make a difference. Finally I sanded all the goings before gluing them.
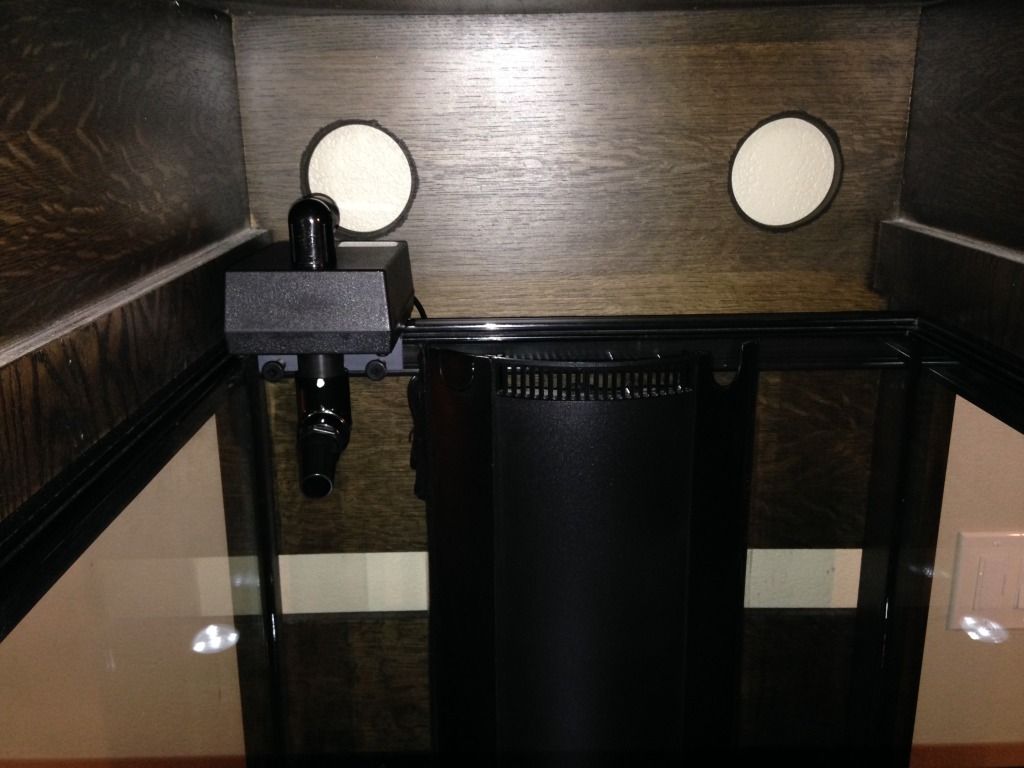
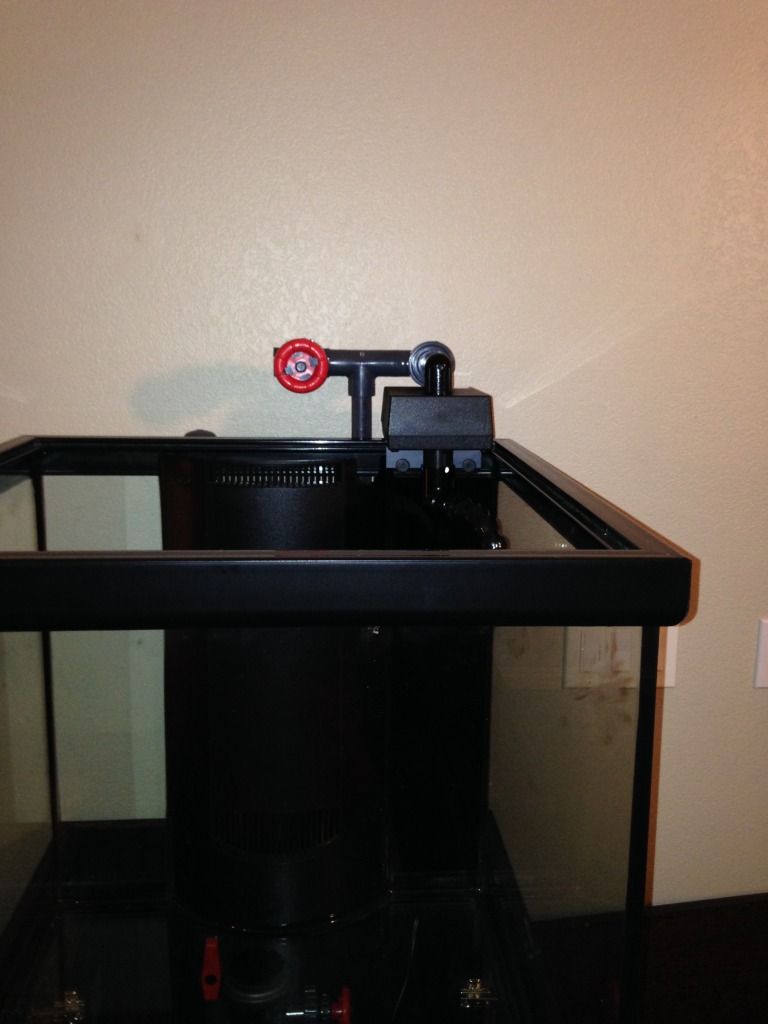
I got both drains of my modified BeAnAnimal overflow completed and got started on the return but ran out of time today. Ill definitely complete the plumbing tomorrow except for the second Sea Swirl since that has not come yet. I put a gate valve between the two Sea Swirls one so I can run with just the one until the other comes and two so I can control the flow of the second Sea Swirl.
I should have another round of updates tomorrow night.

I got both drains of my modified BeAnAnimal overflow completed and got started on the return but ran out of time today. Ill definitely complete the plumbing tomorrow except for the second Sea Swirl since that has not come yet. I put a gate valve between the two Sea Swirls one so I can run with just the one until the other comes and two so I can control the flow of the second Sea Swirl.


I should have another round of updates tomorrow night.
Got allot done today!
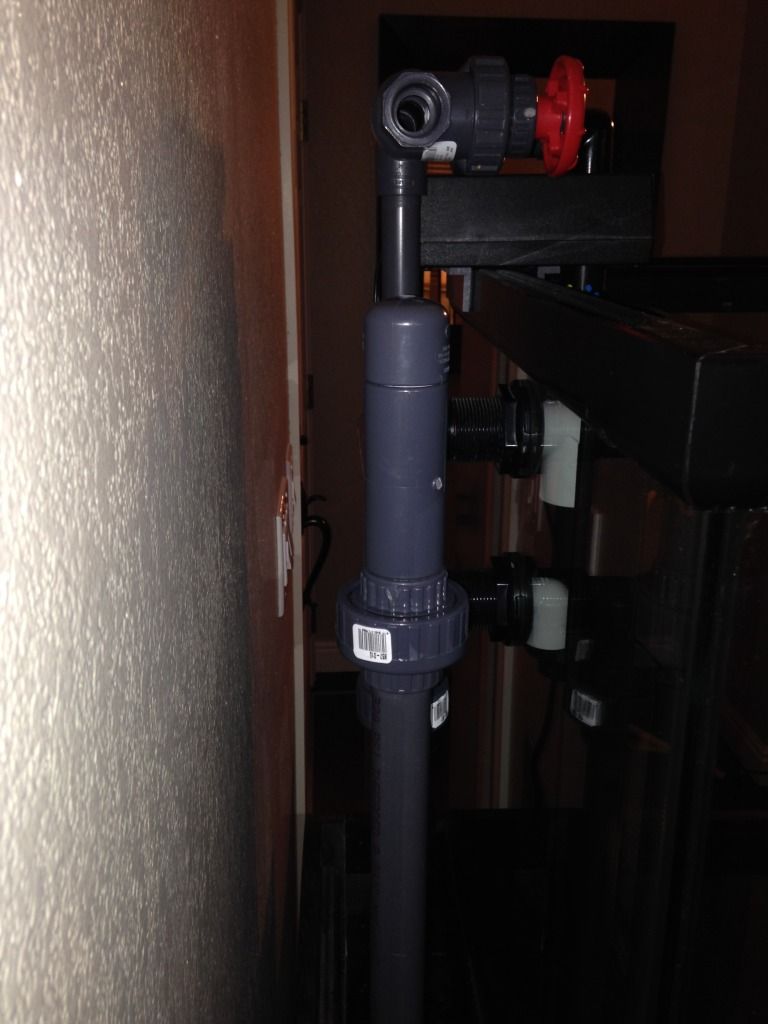
I finished all the plumbing with the exception of the second Sea Swirl which still has yet to be delivered. Otherwise its ready for water so maybe just another day or so before I fill it.
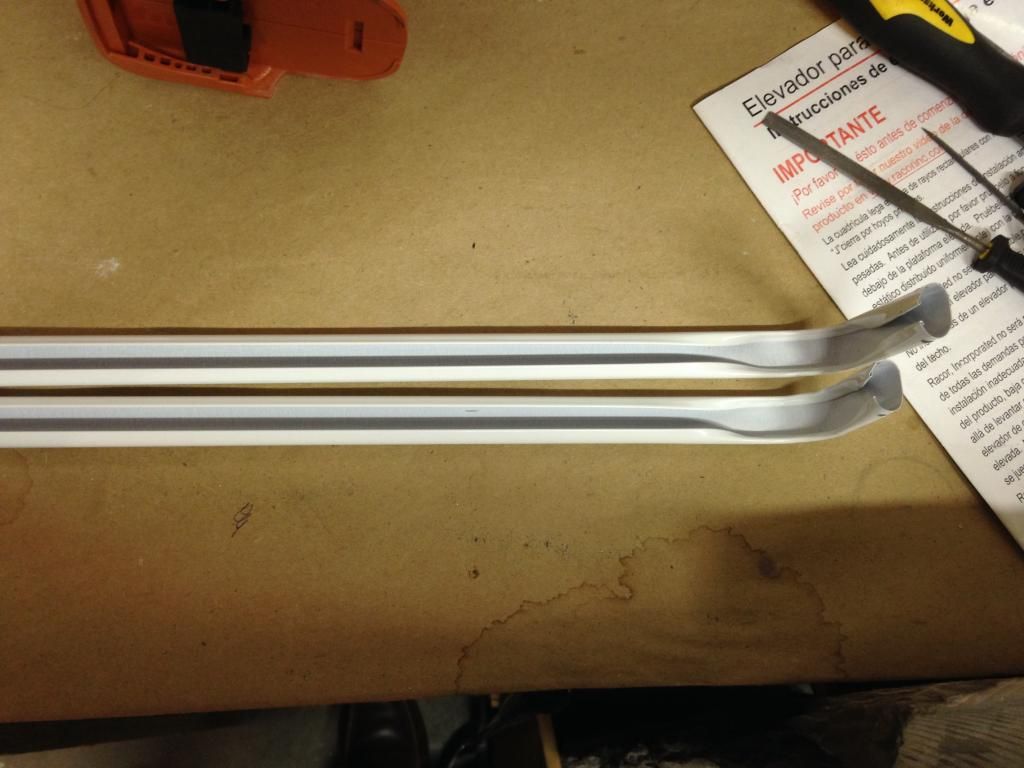
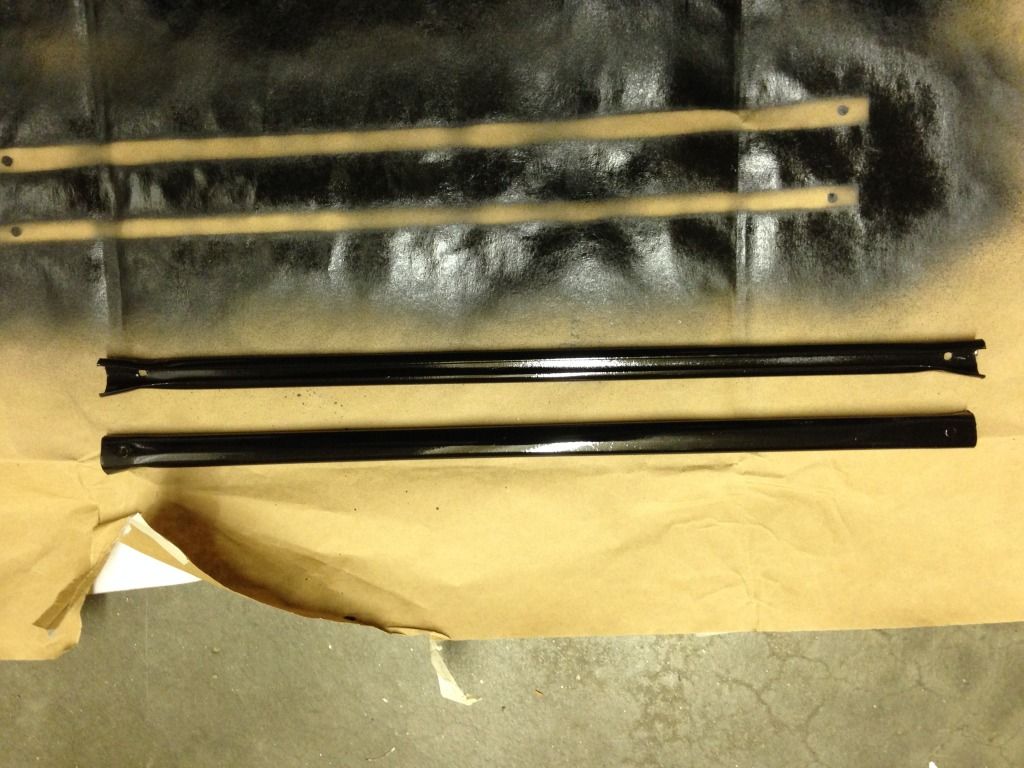
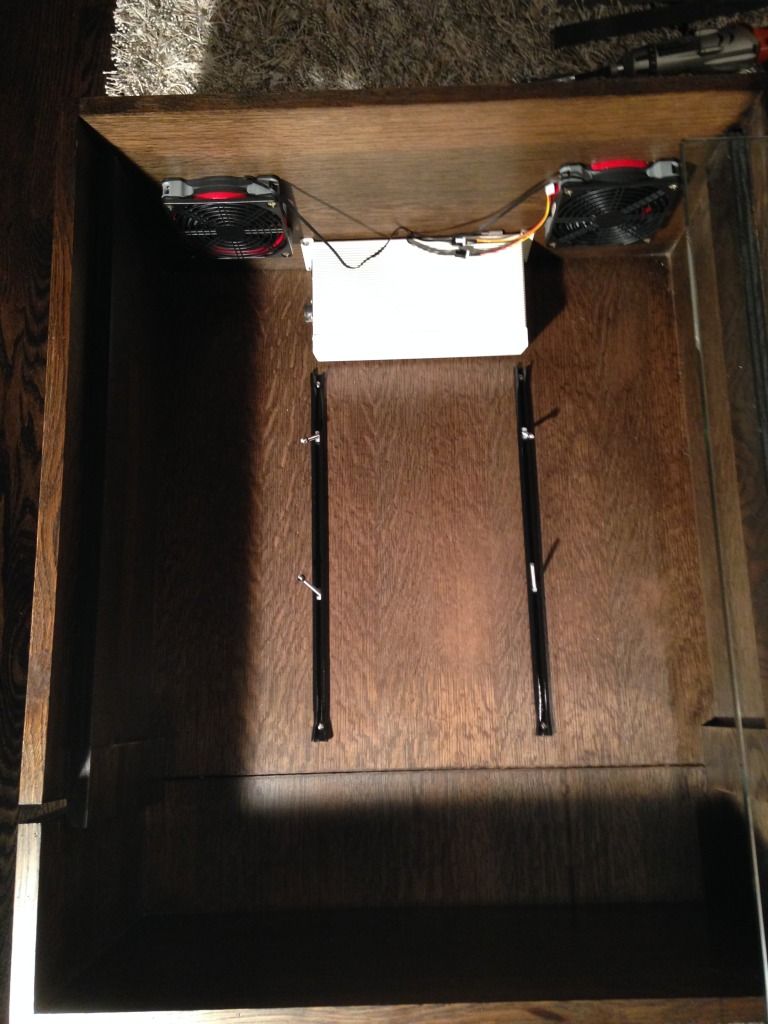
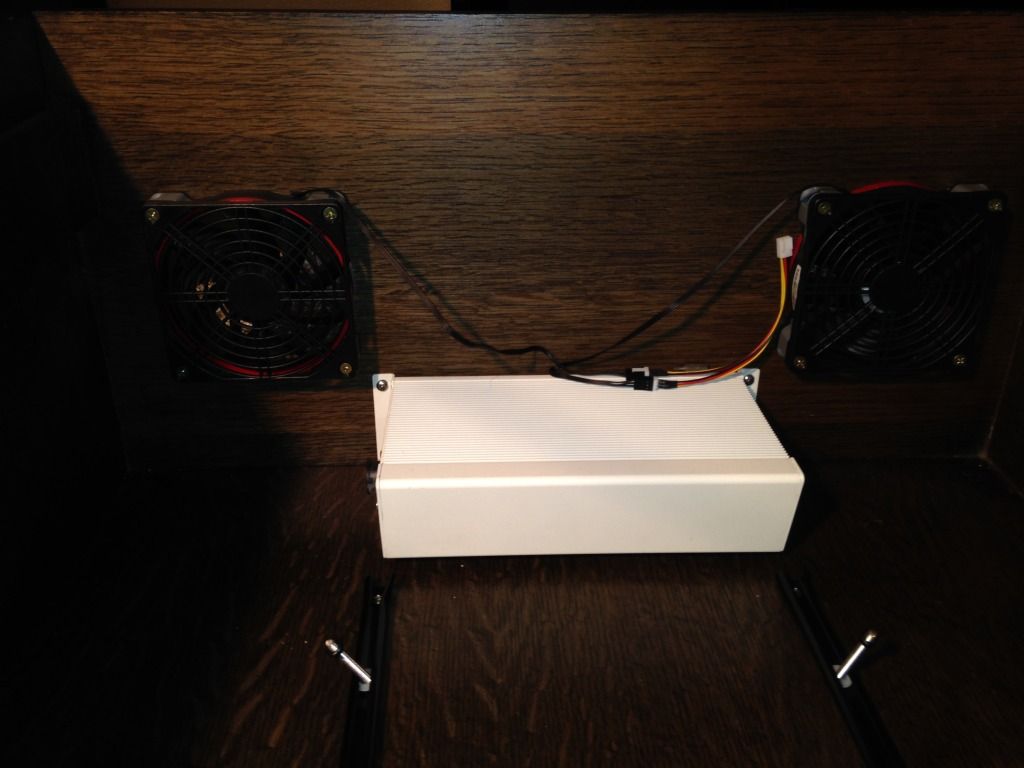
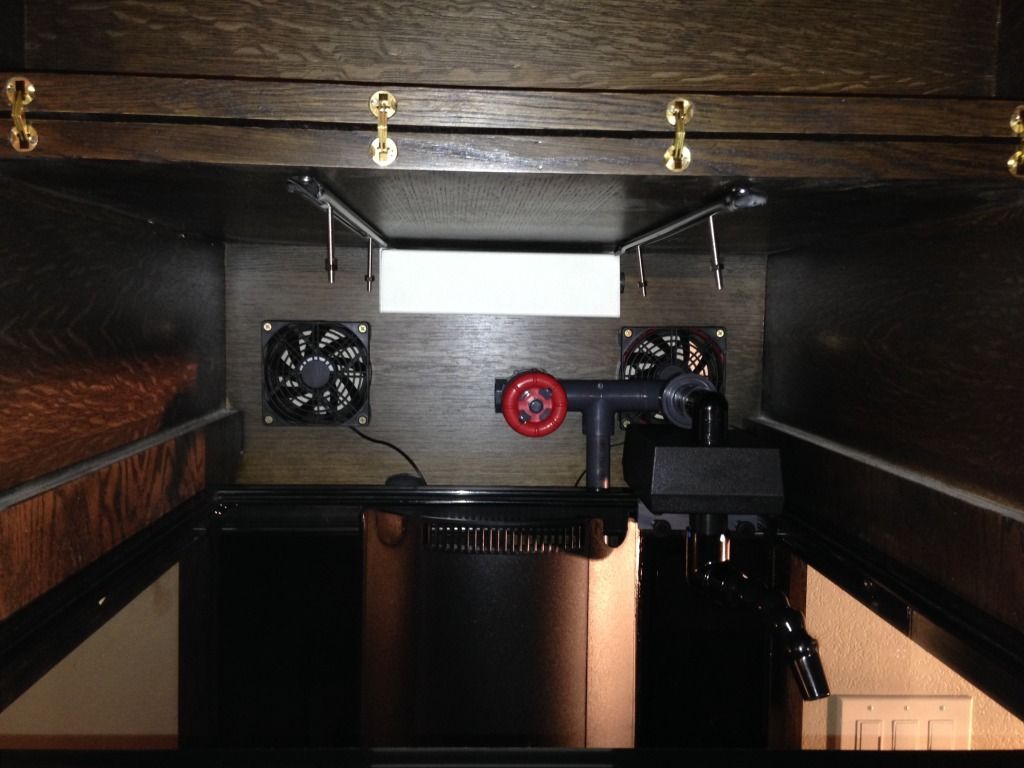
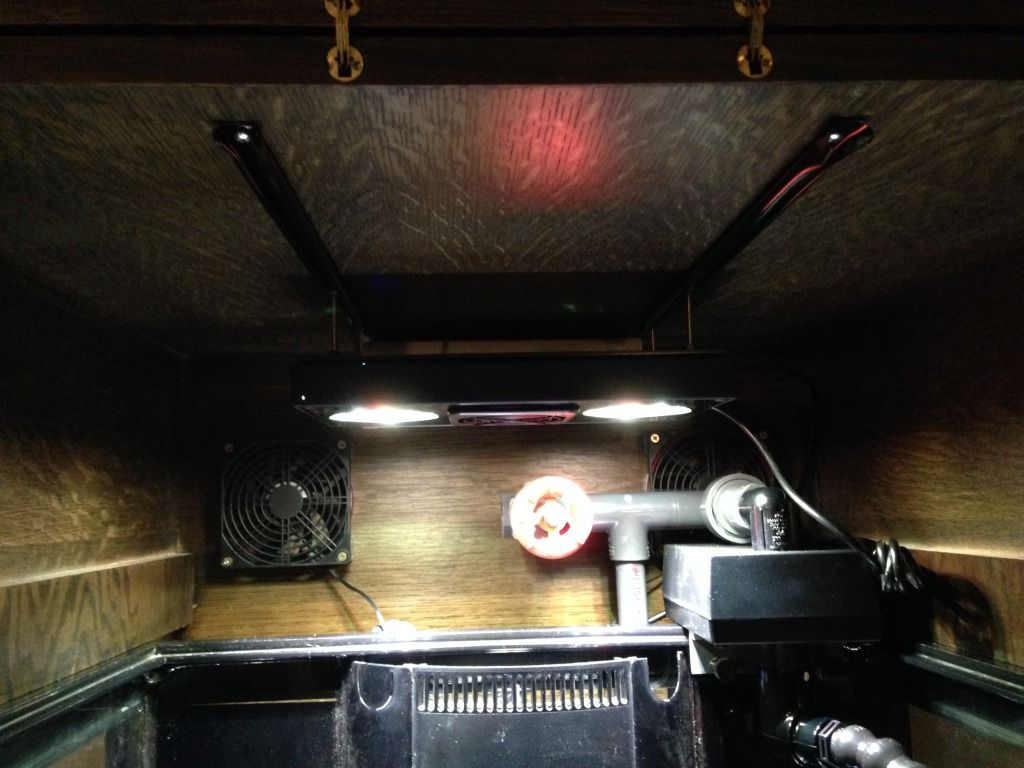
I finished installing the hood fans and Radion power supply and built a sliding rail system for the Radion so I can easily slide it all the way to the back when I got my arms in the tank. I used some sort of adjustable curtain rods from Ace Hardware for the rails that are sort of shaped like a "C". I can slide the head of a screw up and down the channel but it wont fall out. Works really well. I used nylon washers with the screw so it glides really nice.
I finished all the plumbing with the exception of the second Sea Swirl which still has yet to be delivered. Otherwise its ready for water so maybe just another day or so before I fill it.


I finished installing the hood fans and Radion power supply and built a sliding rail system for the Radion so I can easily slide it all the way to the back when I got my arms in the tank. I used some sort of adjustable curtain rods from Ace Hardware for the rails that are sort of shaped like a "C". I can slide the head of a screw up and down the channel but it wont fall out. Works really well. I used nylon washers with the screw so it glides really nice.


Am I the only one that heard the angel choir?
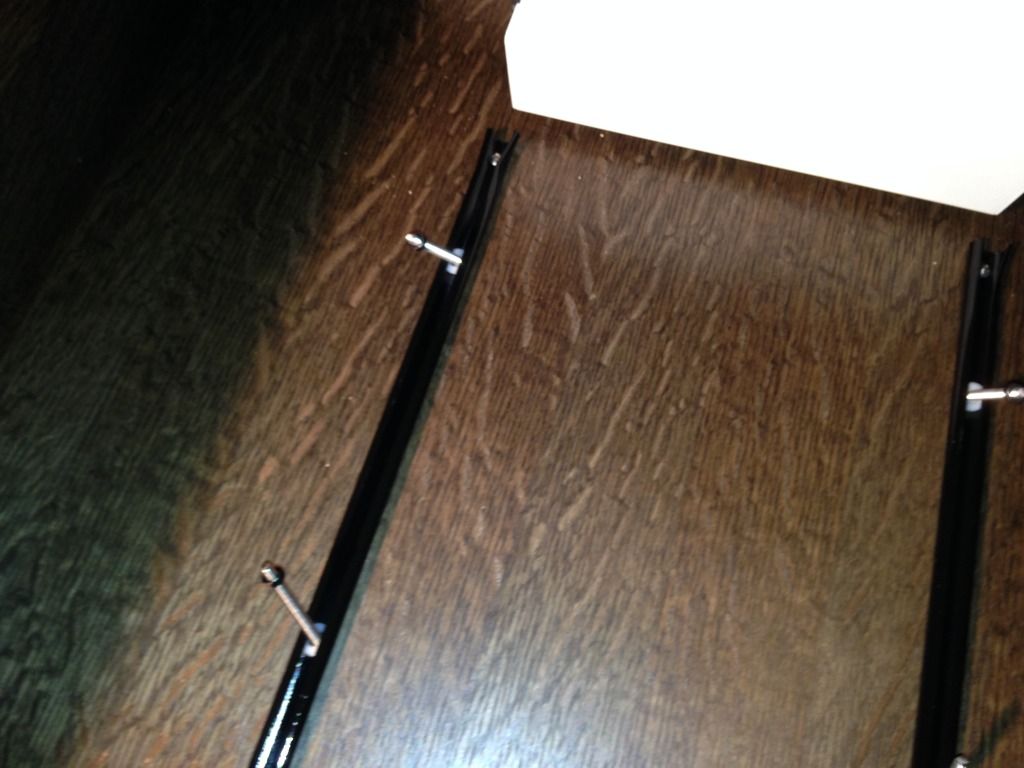
My only concern with the curtain rod rails and the Radion is whether they're strong enough to hold the weight of it. Takes very little to bend them because the metal is extremely thin. Last thing you need after all this work is to have one of those rails fail and drop a radion into your tank.
My only concern with the curtain rod rails and the Radion is whether they're strong enough to hold the weight of it. Takes very little to bend them because the metal is extremely thin. Last thing you need after all this work is to have one of those rails fail and drop a radion into your tank.
Thanks guys!
Believe me I gave a good solid yank on the rail just to be sure.") The top part that is screwed into the canopy is pretty thin but the open channel is doubled over so it's pretty sturdy and the Radion is really light weight it dosnt use a large heat sink like all of other LED fixtures and the power supply is remote. Also the open part was about 3/8-1/4" when it came out of the package but I crimped it down to just a tad over an 1/8" so the neck of the screw could just barely slide through with very little play. The crimping did seem to help the over all rigidity as well. If I can find the same sort of thing in aluminum or something I'd certainly like to swap it out. I'm more concerned with rust than anything. If anyone knows where I could get something like that or what it's called please let me know
The top part that is screwed into the canopy is pretty thin but the open channel is doubled over so it's pretty sturdy and the Radion is really light weight it dosnt use a large heat sink like all of other LED fixtures and the power supply is remote. Also the open part was about 3/8-1/4" when it came out of the package but I crimped it down to just a tad over an 1/8" so the neck of the screw could just barely slide through with very little play. The crimping did seem to help the over all rigidity as well. If I can find the same sort of thing in aluminum or something I'd certainly like to swap it out. I'm more concerned with rust than anything. If anyone knows where I could get something like that or what it's called please let me know
Believe me I gave a good solid yank on the rail just to be sure.
The top part that is screwed into the canopy is pretty thin but the open channel is doubled over so it's pretty sturdy and the Radion is really light weight it dosnt use a large heat sink like all of other LED fixtures and the power supply is remote. Also the open part was about 3/8-1/4" when it came out of the package but I crimped it down to just a tad over an 1/8" so the neck of the screw could just barely slide through with very little play. The crimping did seem to help the over all rigidity as well. If I can find the same sort of thing in aluminum or something I'd certainly like to swap it out. I'm more concerned with rust than anything. If anyone knows where I could get something like that or what it's called please let me know